
Welcome to the twelfth and final lesson of the Creative Prayer Book. In this lesson, I try to wrap up my pages with some simple embellishments. Though I talked of embellishing text last week, this lesson is about adding a bit more to the pages in general, as a way to tie things together on a page, to fill in some empty areas, and to bring some emphasis to certain areas.
You can use any materials to embellish, but I like to use drawing materials like pens, paint markers, and colored pencils. There are also a large number of ways to embellish, but I’m keeping it rather simple as I bring a bit of polish to my pages.
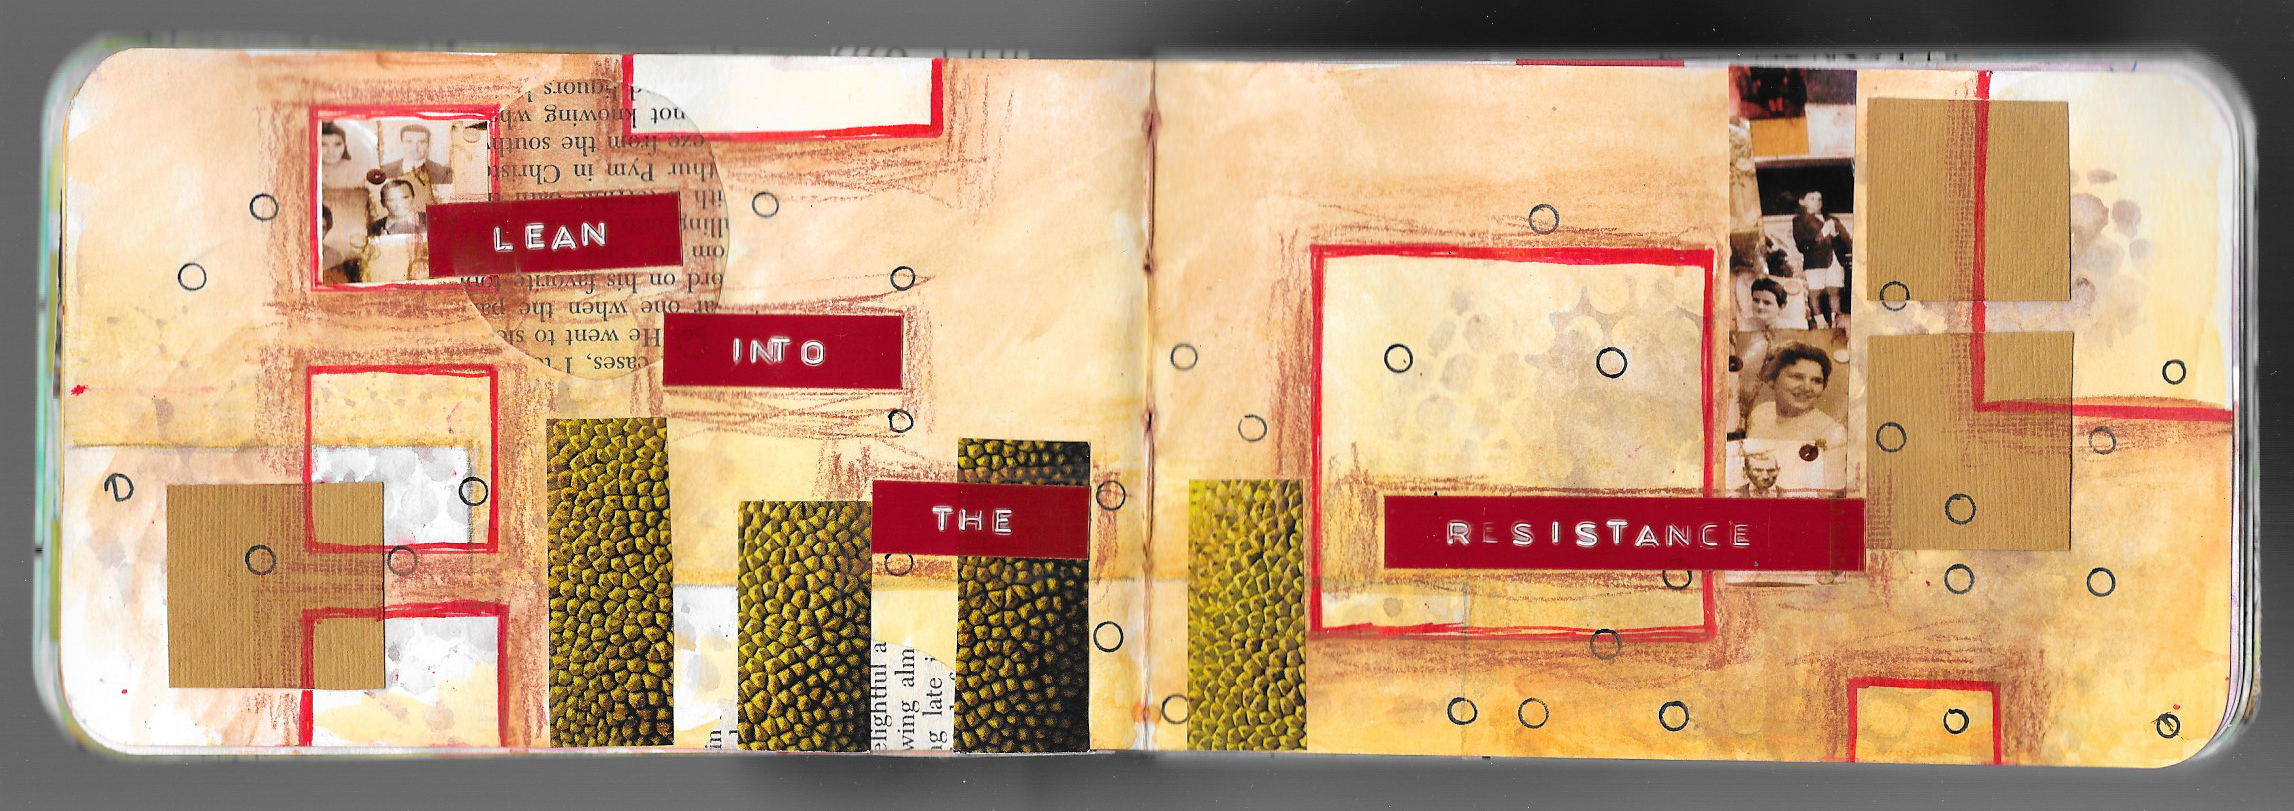
Lines, Shapes, and Patterns
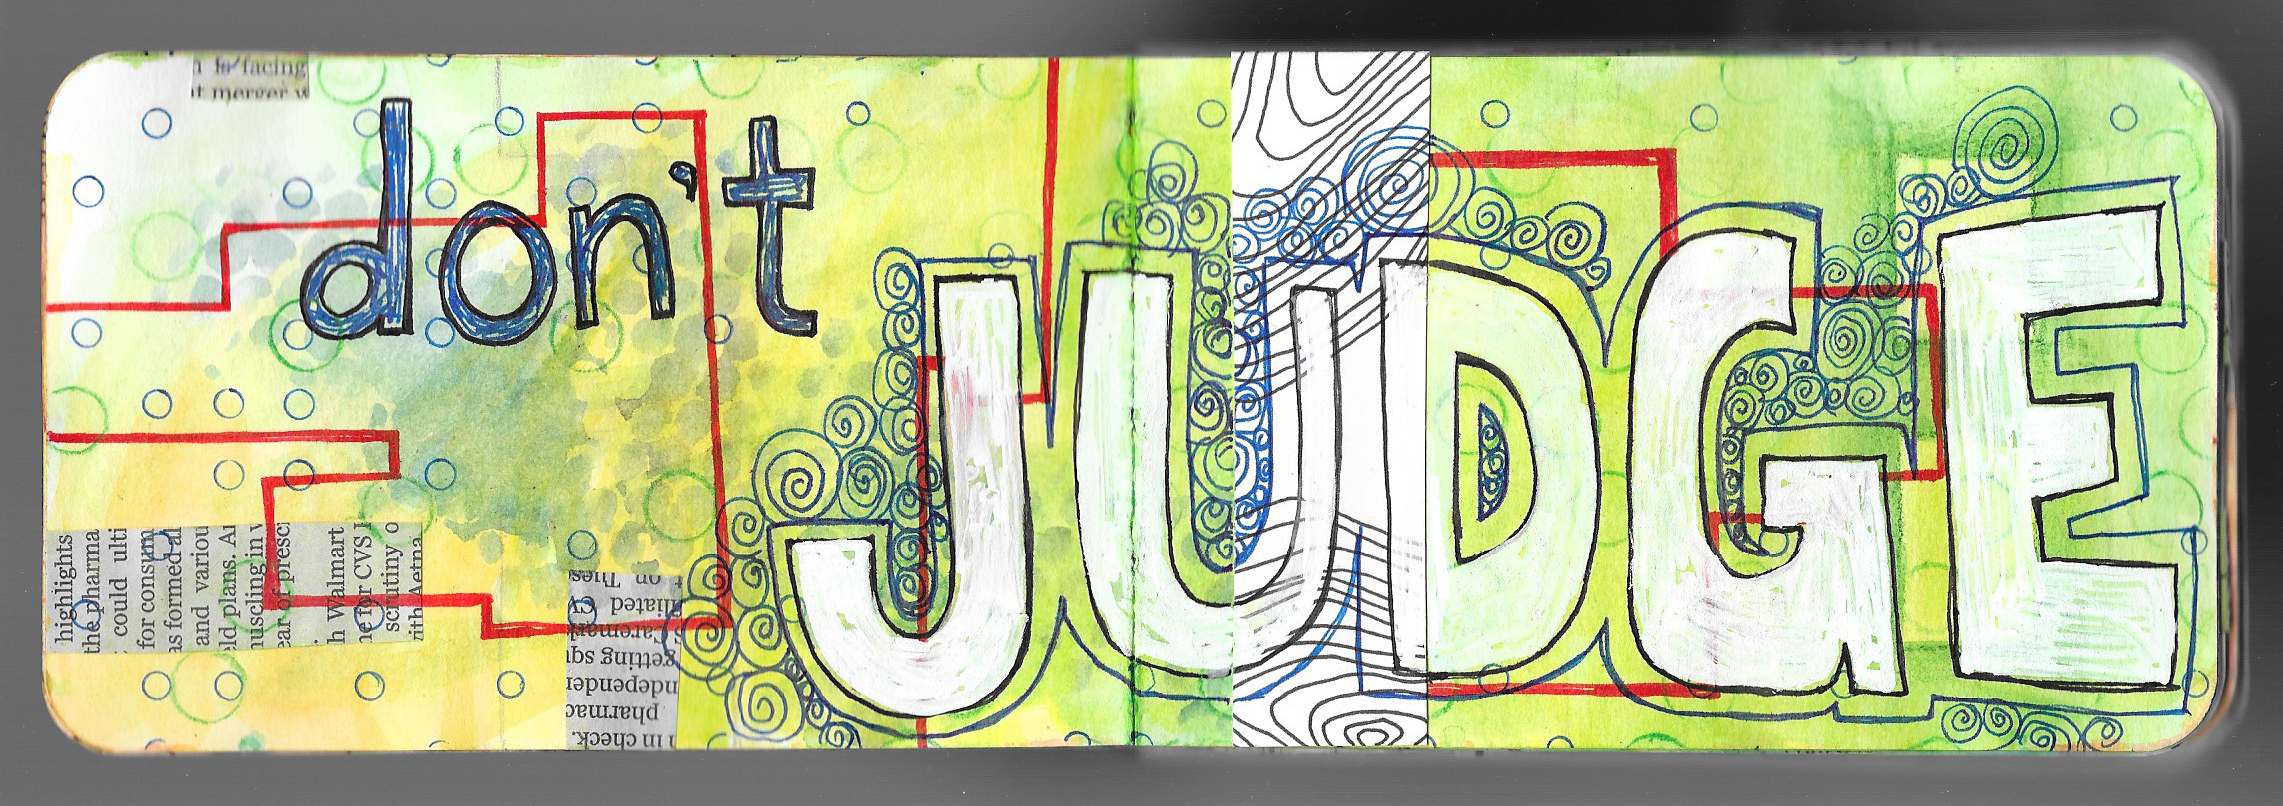
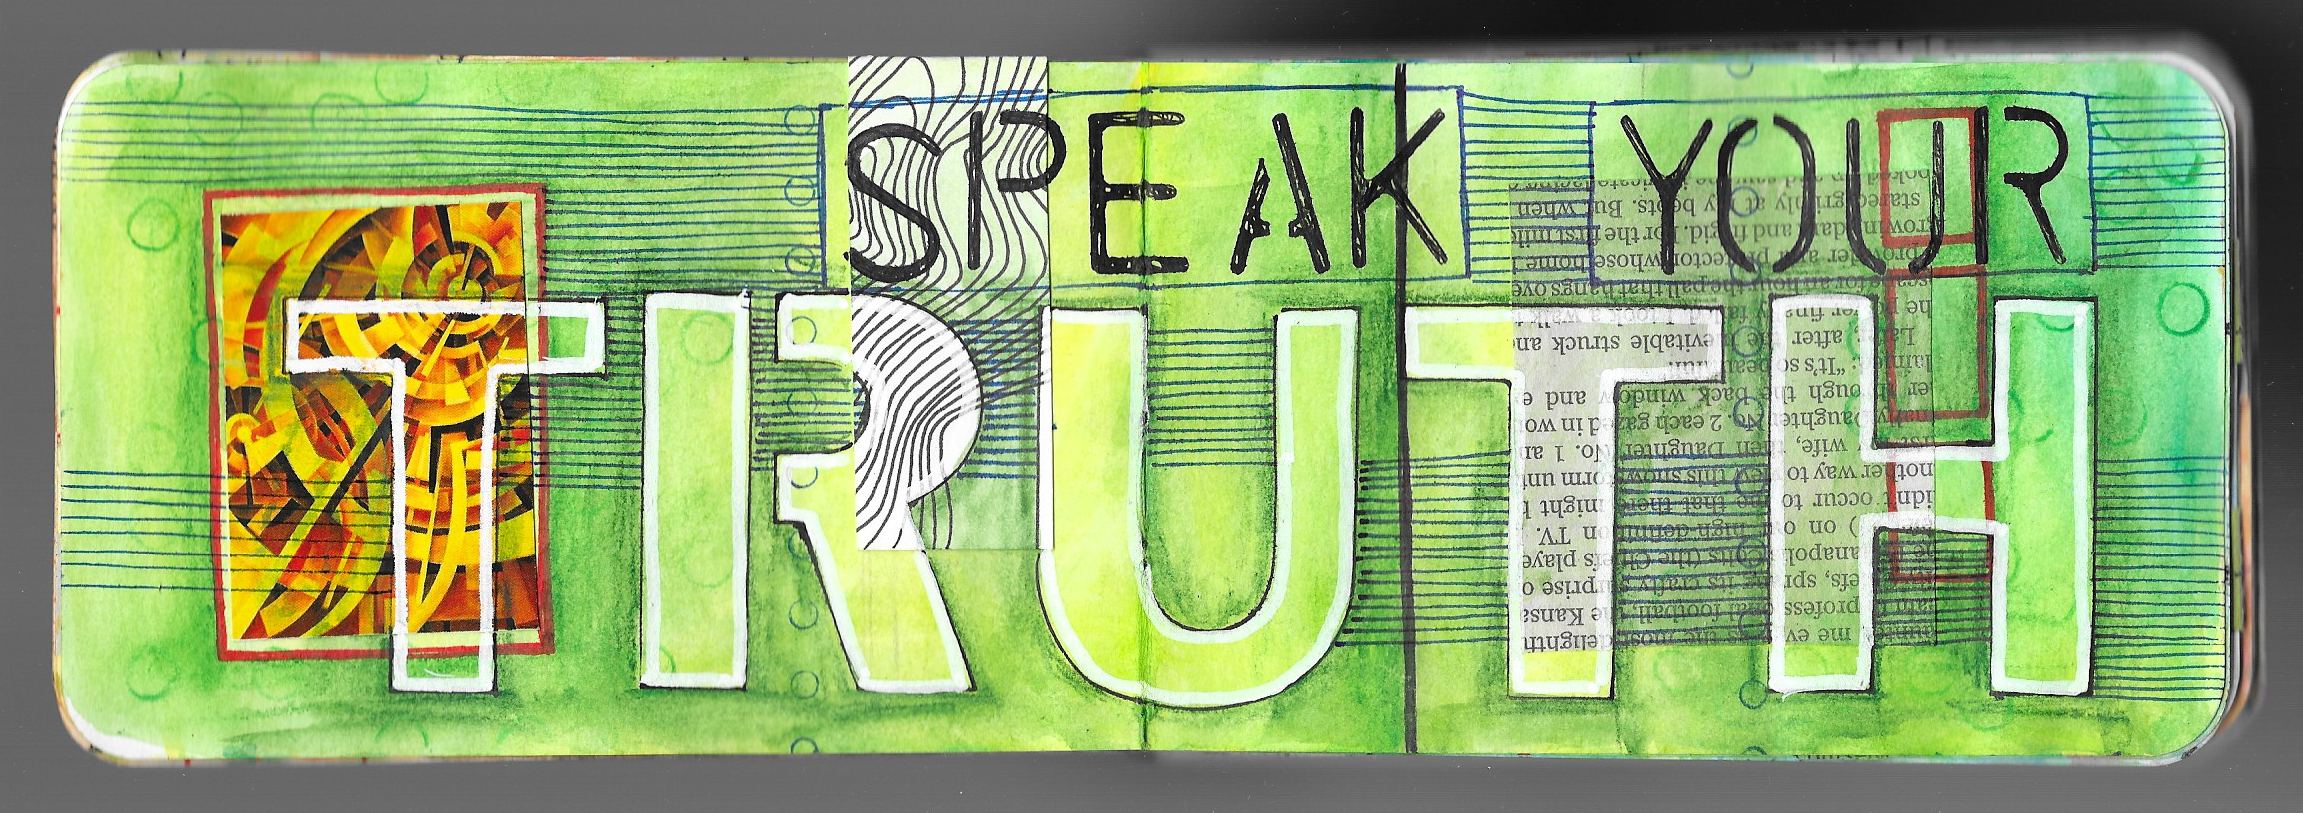
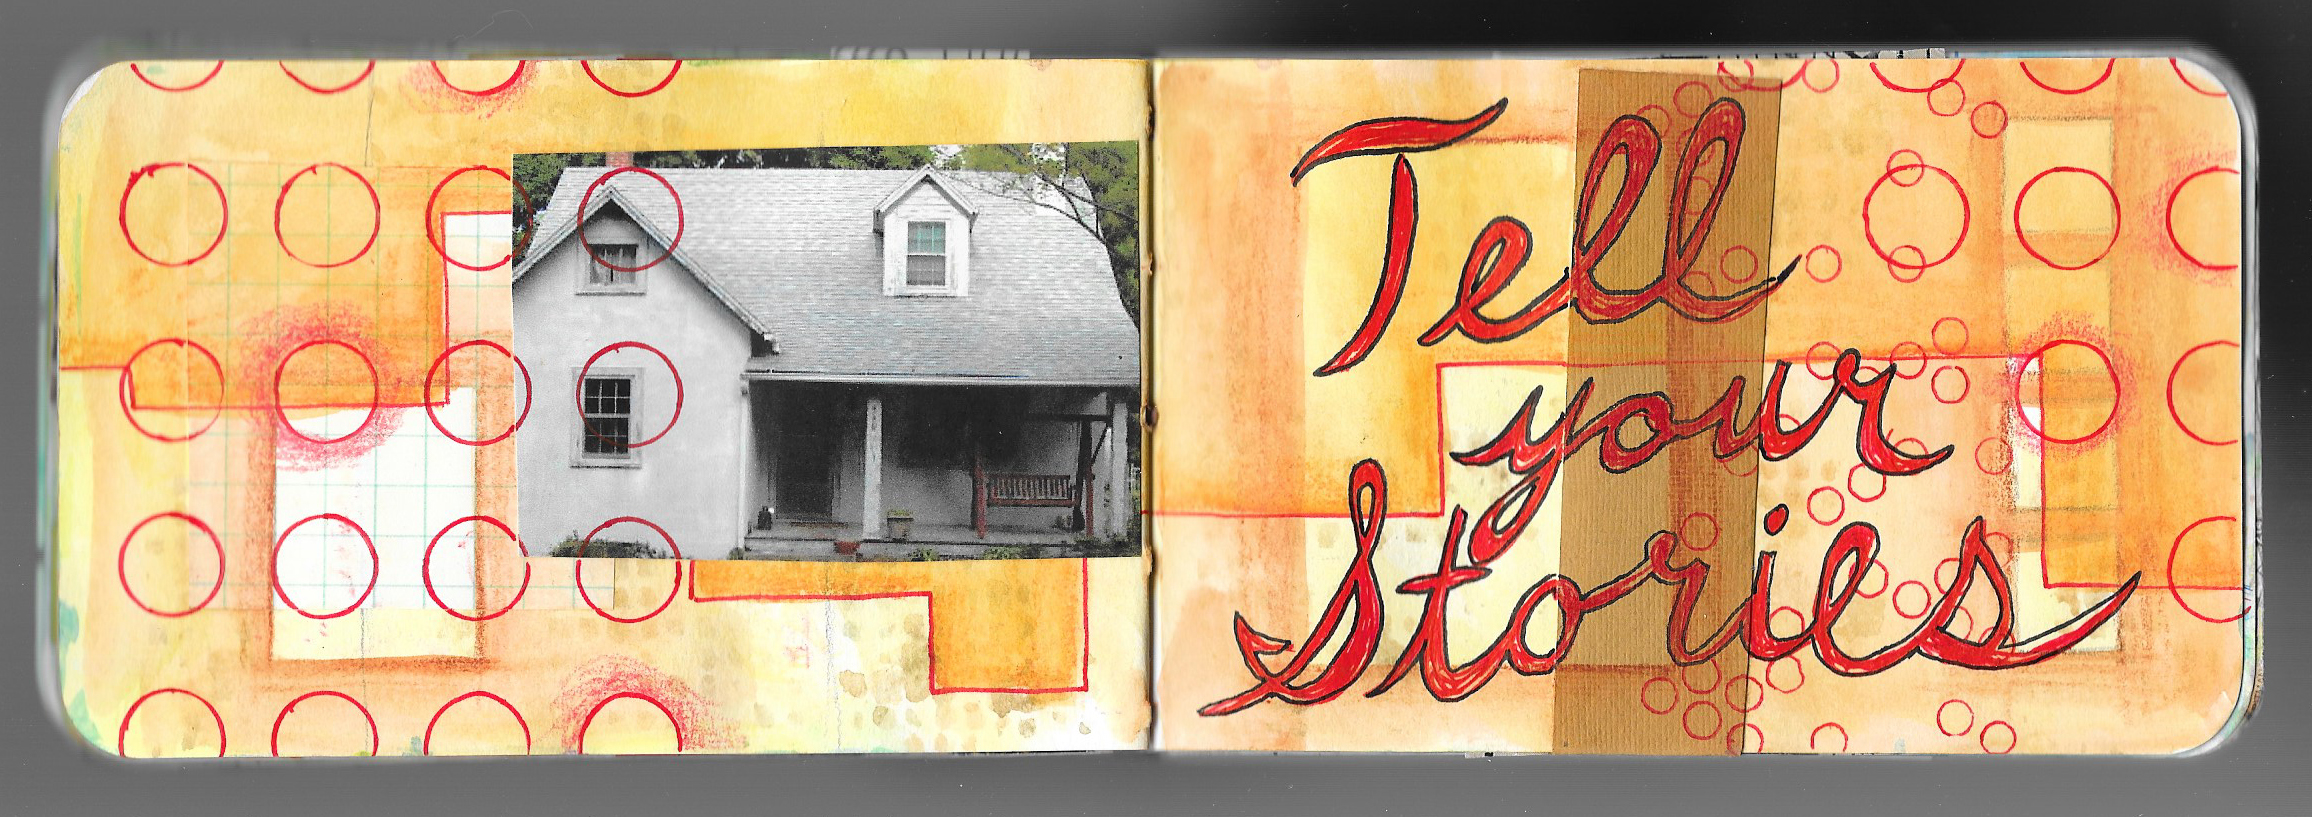
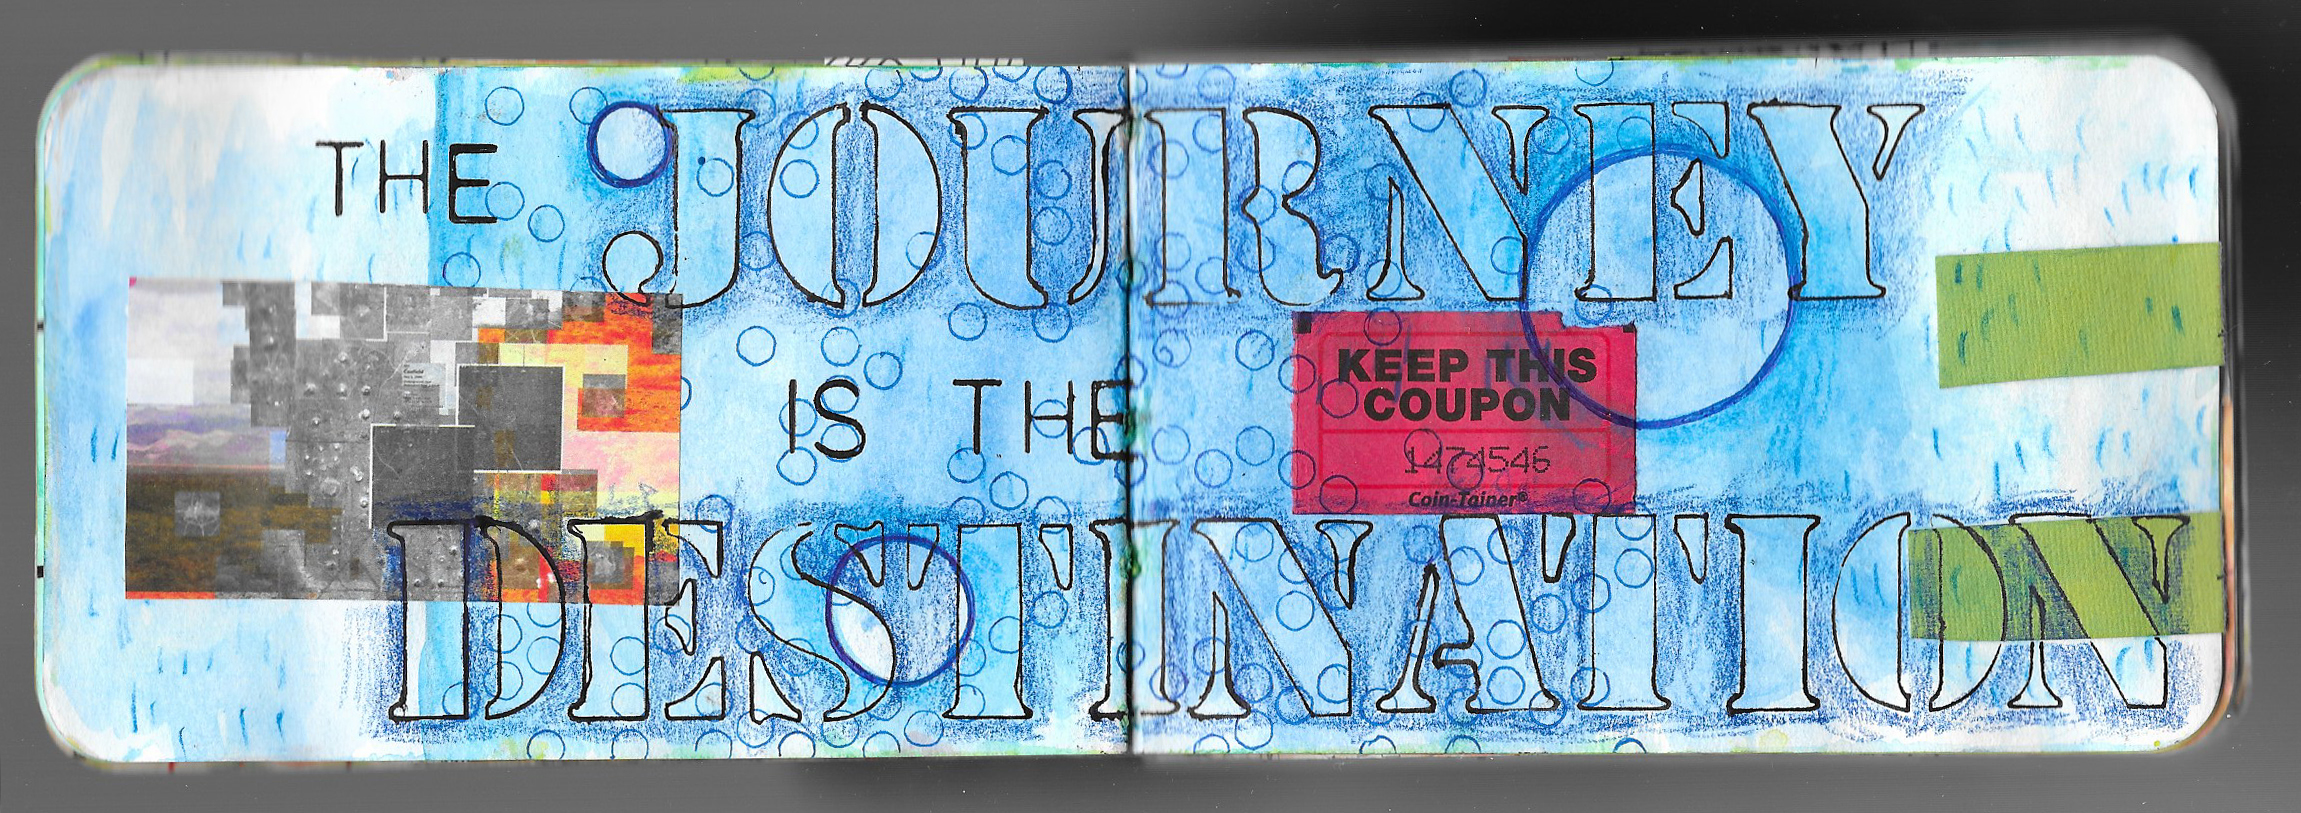
One of the simplest ways to add embellishments is to add lines, shapes, and patterns. These little touches can help fill in empty areas and add a final layer to pages. By grouping them closely together around elements you can bring a bit of emphasis and make the elements “pop”. I like to use my uni-ball Vision pens for much of this, but paint markers work great, as well, especially when drawing over glossy surfaces like magazines.
I like to use stripes, spirals, rectangles, and circles as I embellish, and I can even use stencils and tracers to add the embellishments.
Shading
Colored pencil is perfect for adding a bit of depth to my pages as I use them to shade and color in areas. I use the colored pencils very much like I did the Inktense and watercolor pencils earlier on in the workshop and shade around elements. By applying a darker value around a shape or a letter, the shape or letter “pops” out from the page since the colored pencil acts like a shadow. I try to lighten up on my pressure so that the color fades into the background. I can be very neat and careful with this technique, or I can be a bit messy and give my page a bit of a rougher feel.
I also use the colored pencil to shade or color in areas and letters, and I like to use white colored pencil sometimes. The white doesn’t cover everything within the space, but it lightens it. This can bring a bit of contrast to the space making it stand out.
Shading is always a great way to add some final embellishment to a page.
As you work, try to think of various ways to decorate and embellish your pages. Try some of these ideas, and perhaps, try combining them. Or think of your own ways to wrap up your pages, and use any material that you like. Just remember that you’re just trying to add a bit of pizzazz to your pages on not completely reworking them.
I hope that you enjoyed these lessons, and I’ll be back next week to wrap up things. I’ll share a flip through my pages, and talk about the project, as well as share about what’s to come.
Thank you so much, and happy creating!