workshops

John C. Campbell


I was very fortunate to spend last week teaching at the renowned John C. Campbell Folk School in the mountains of western North Carolina. I’ve known about Campbell for quite some time, and I probably heard about it fifteen years or so ago when I was teaching at the North Carolina Center for the Advancement of Teaching (NCCAT) and learned of it and other schools like it, such as Penland and Arrowmont. Ever since teaching at NCCAT, I had dreamed of teaching at places like this, and this past week, it came to be.

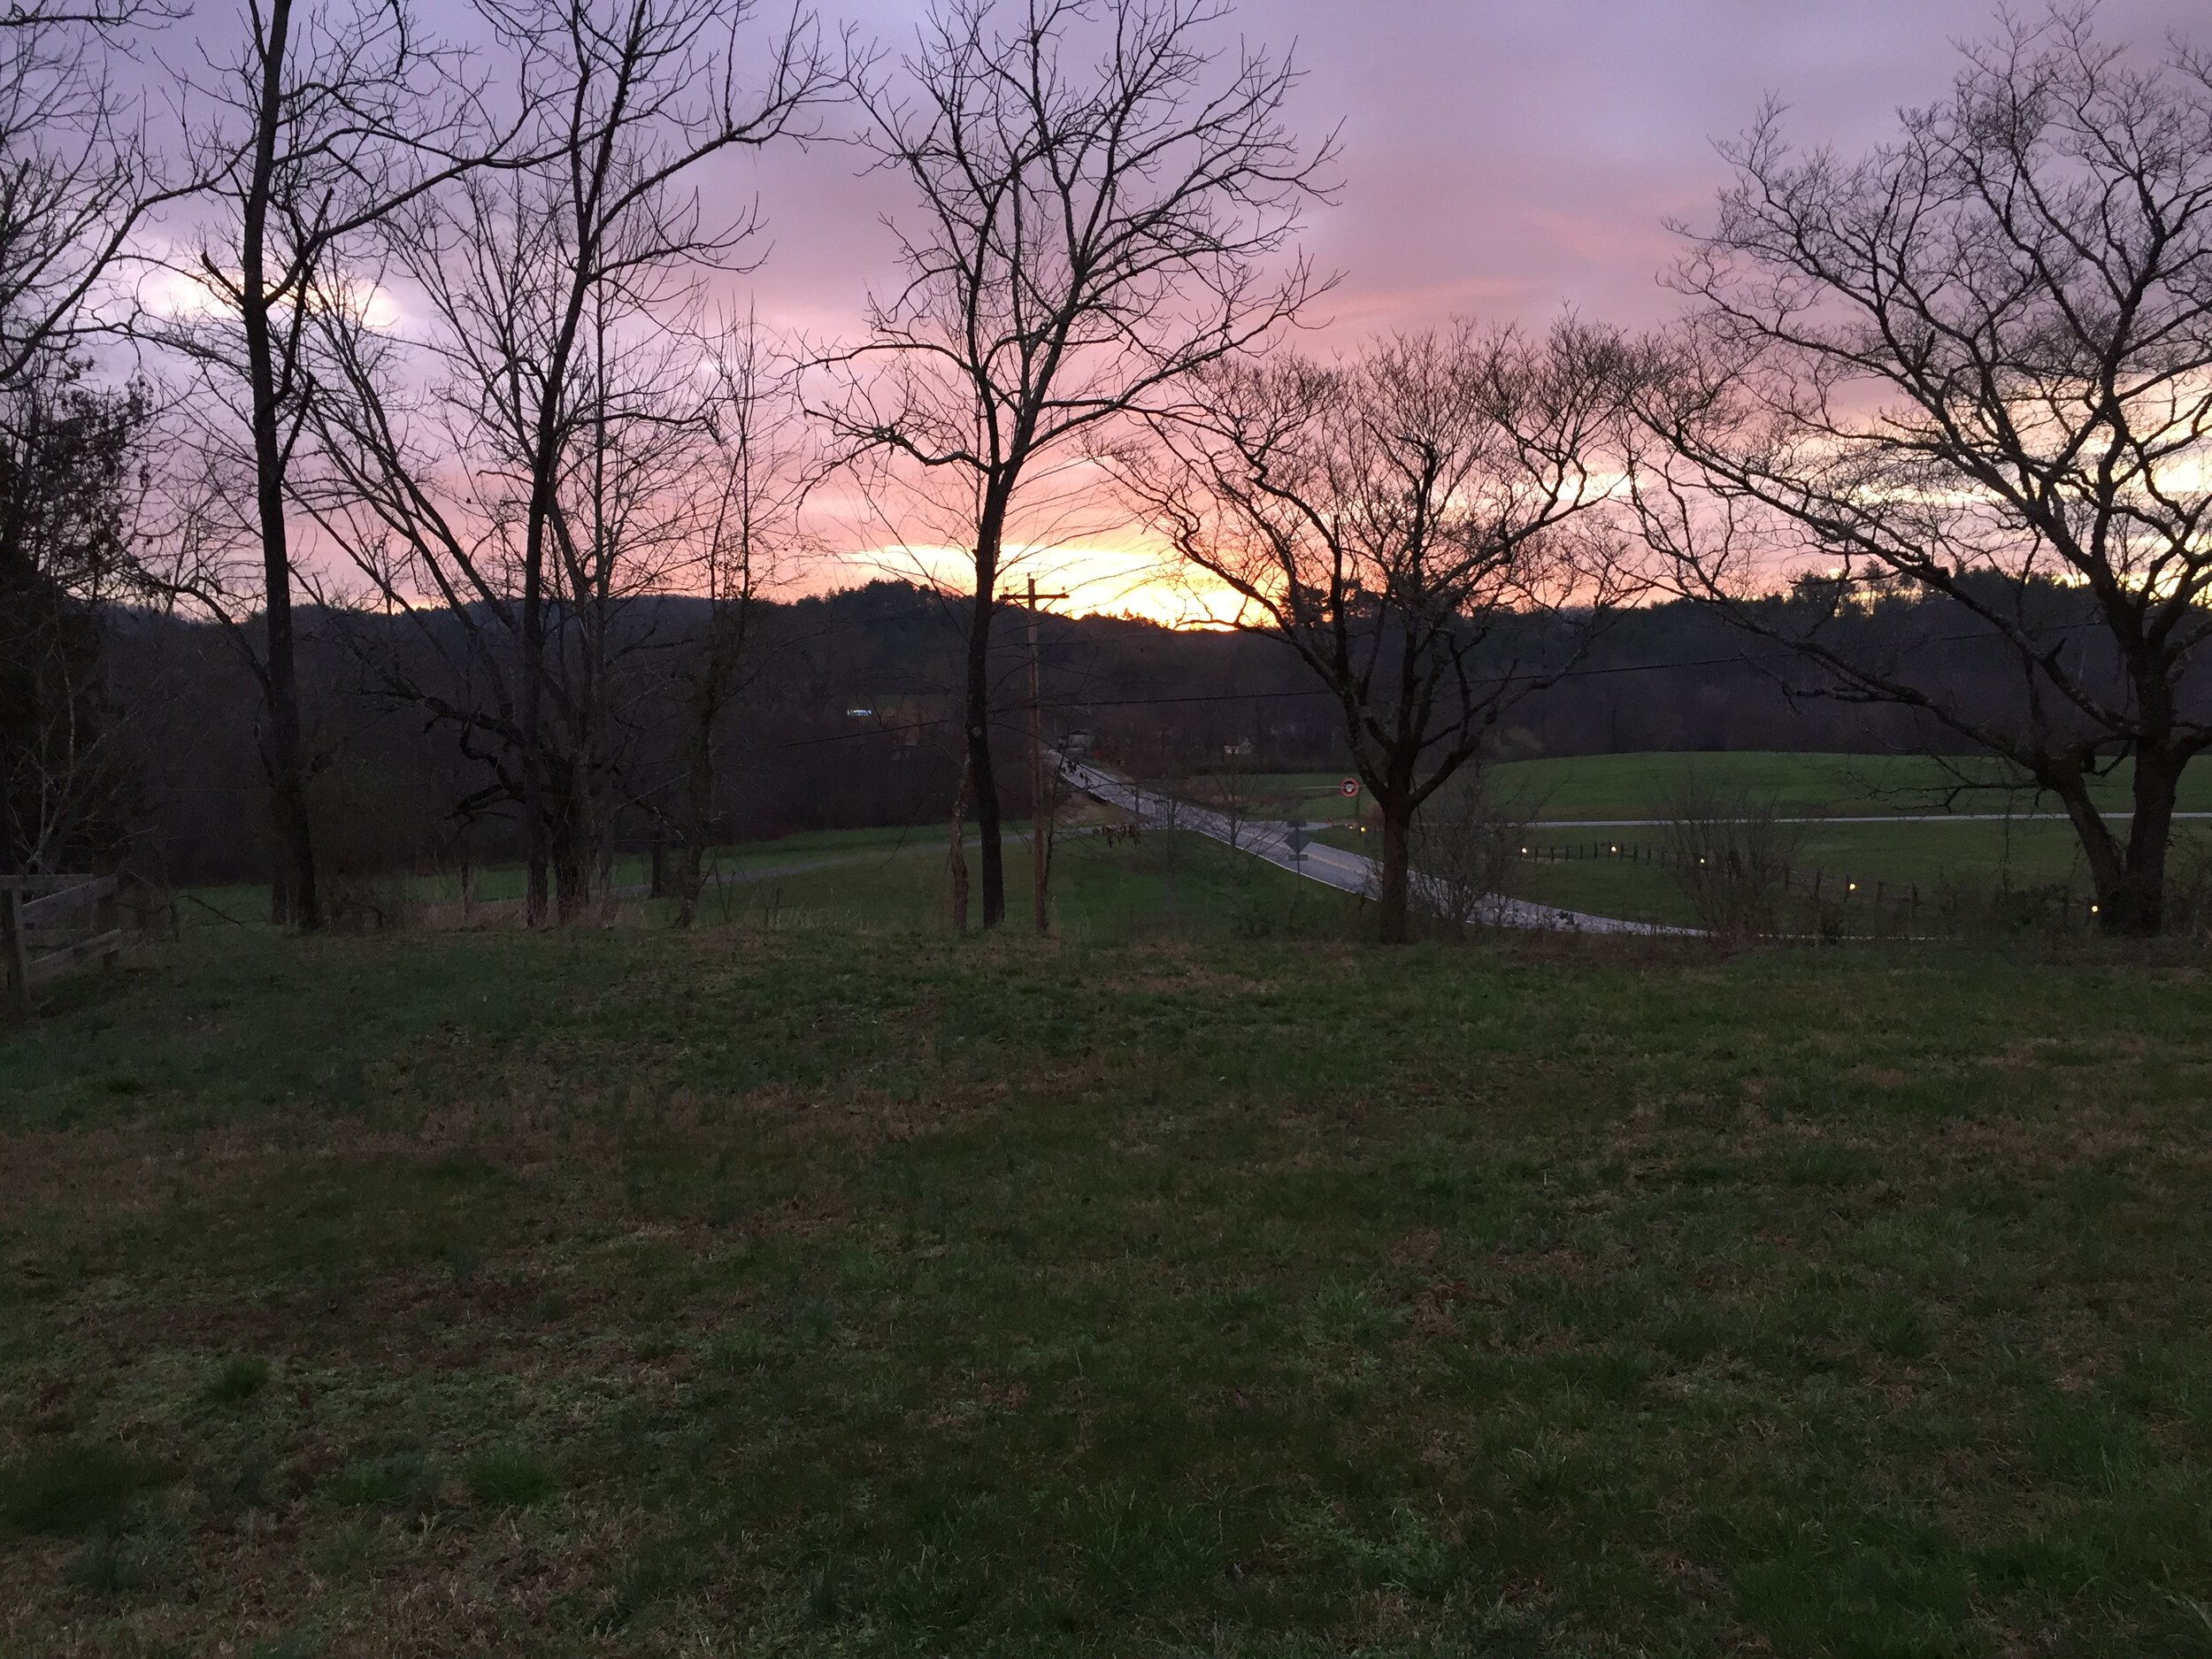
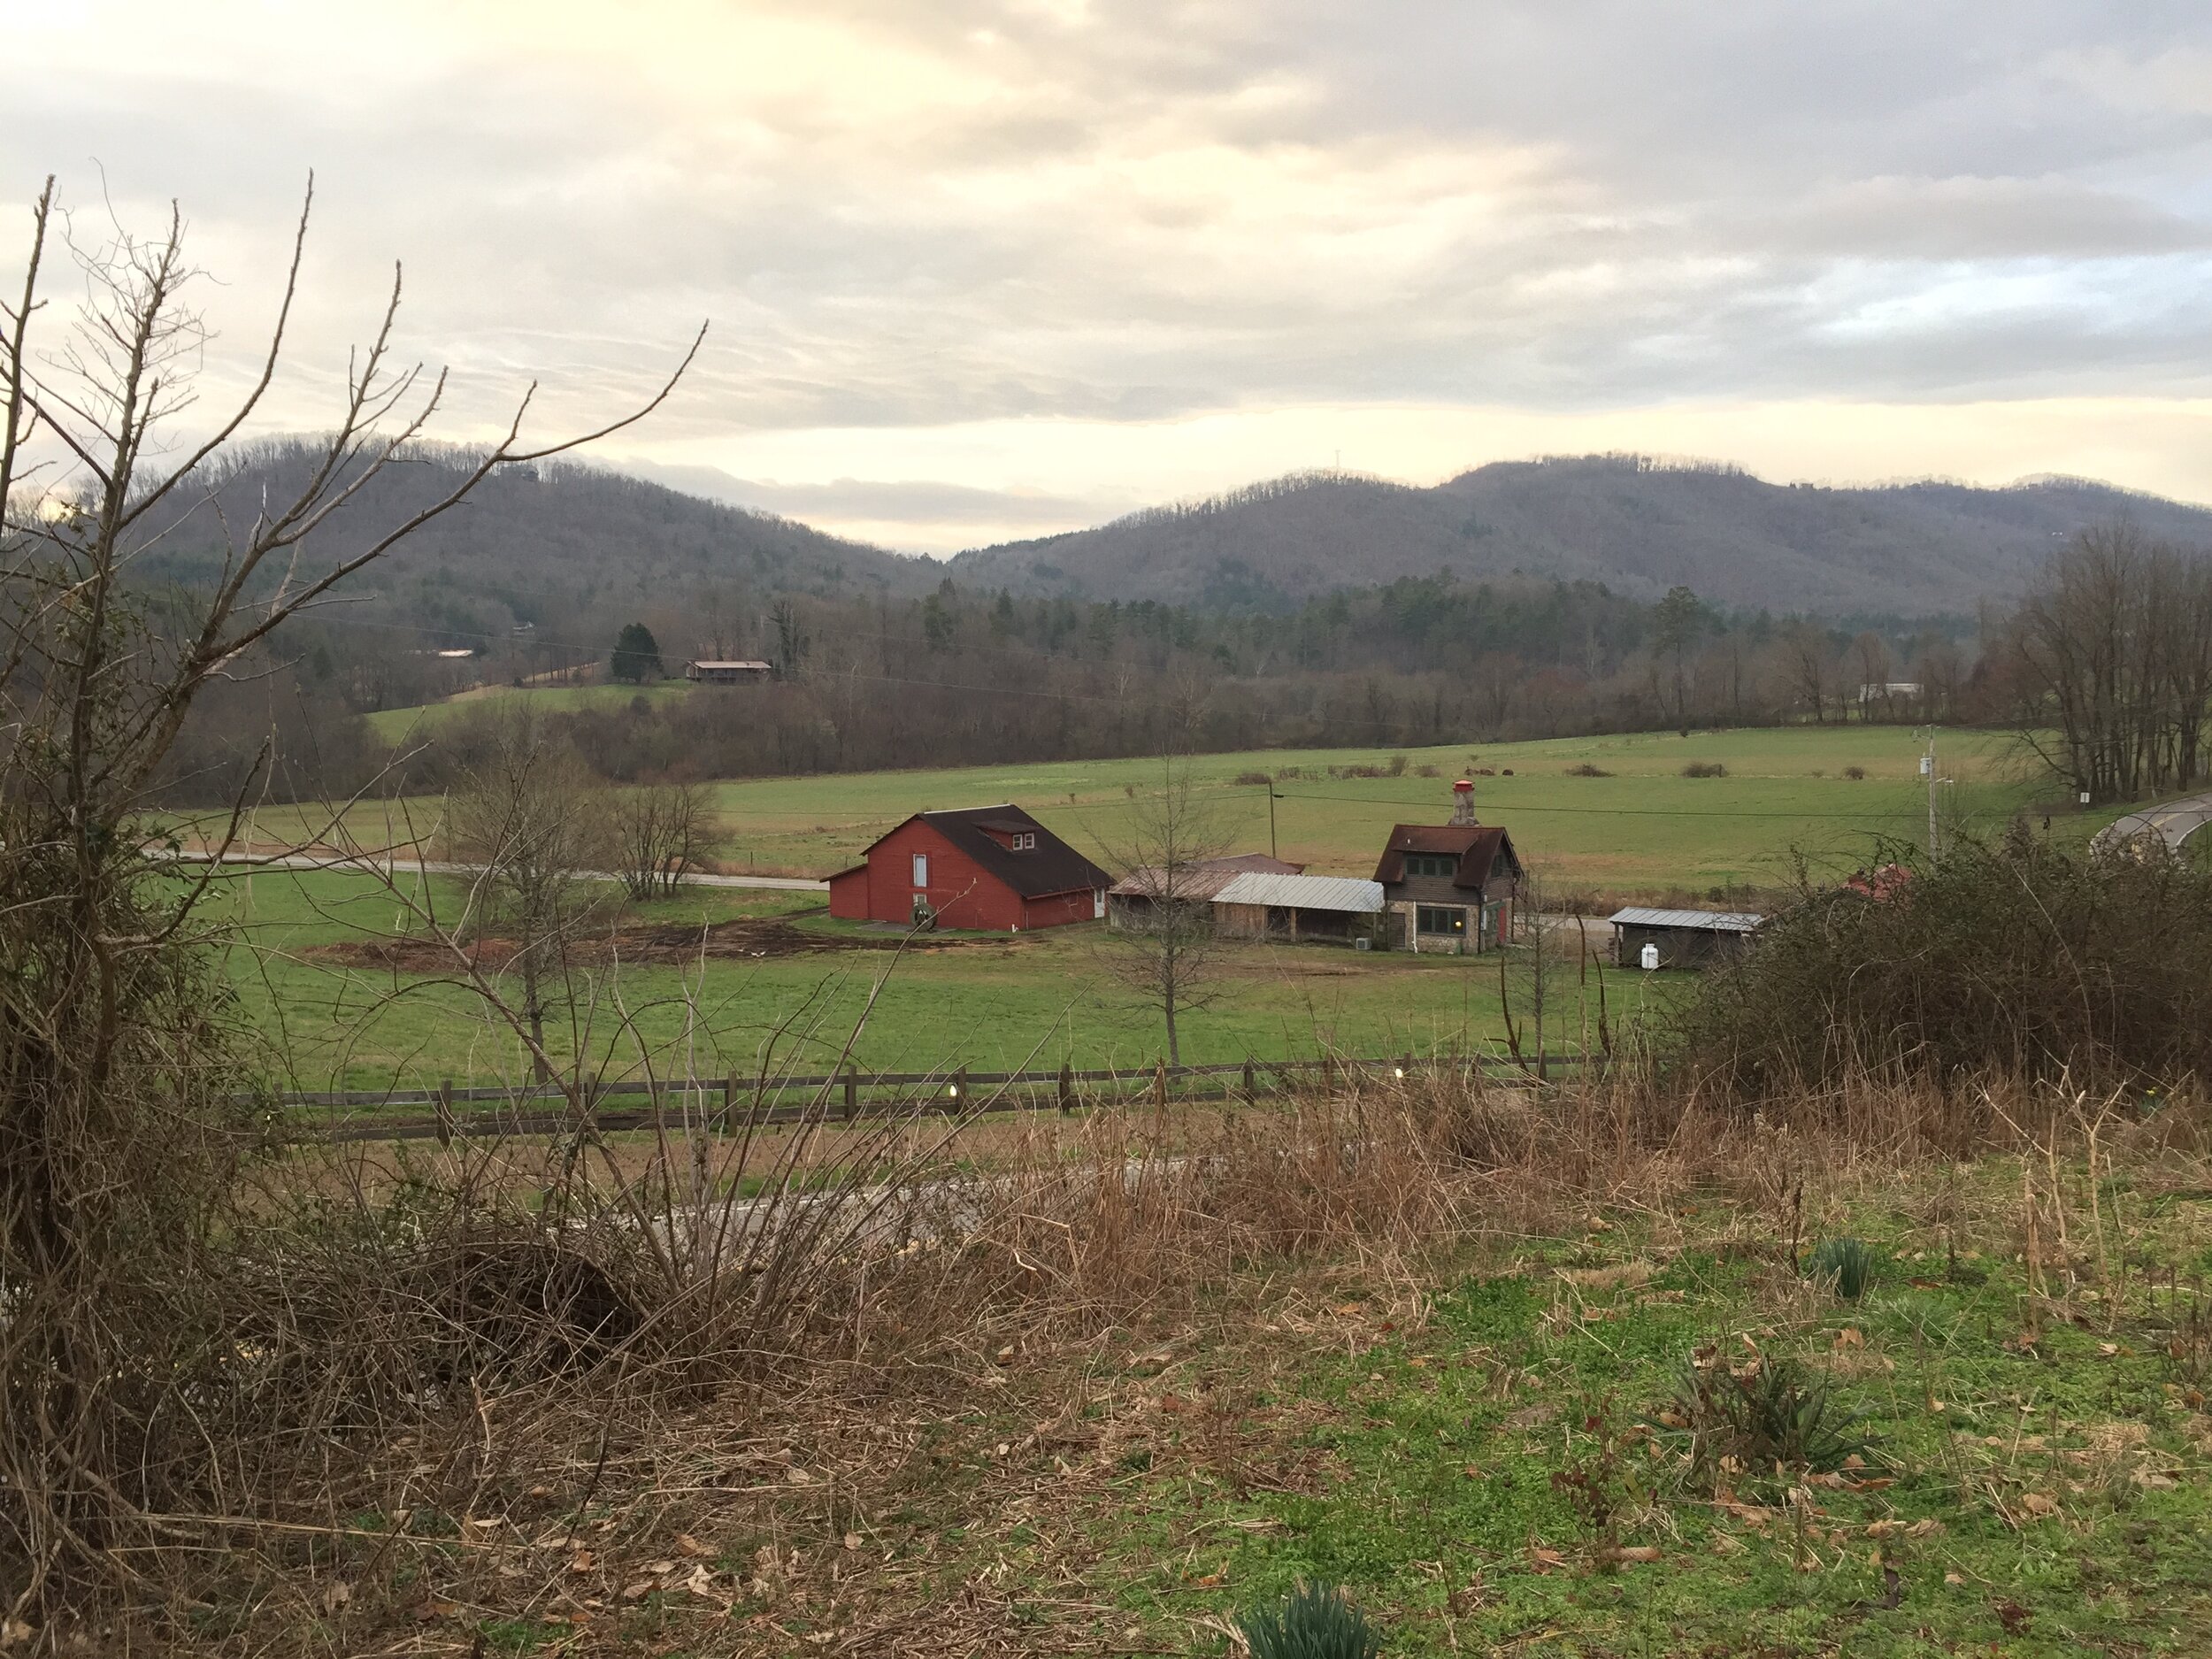
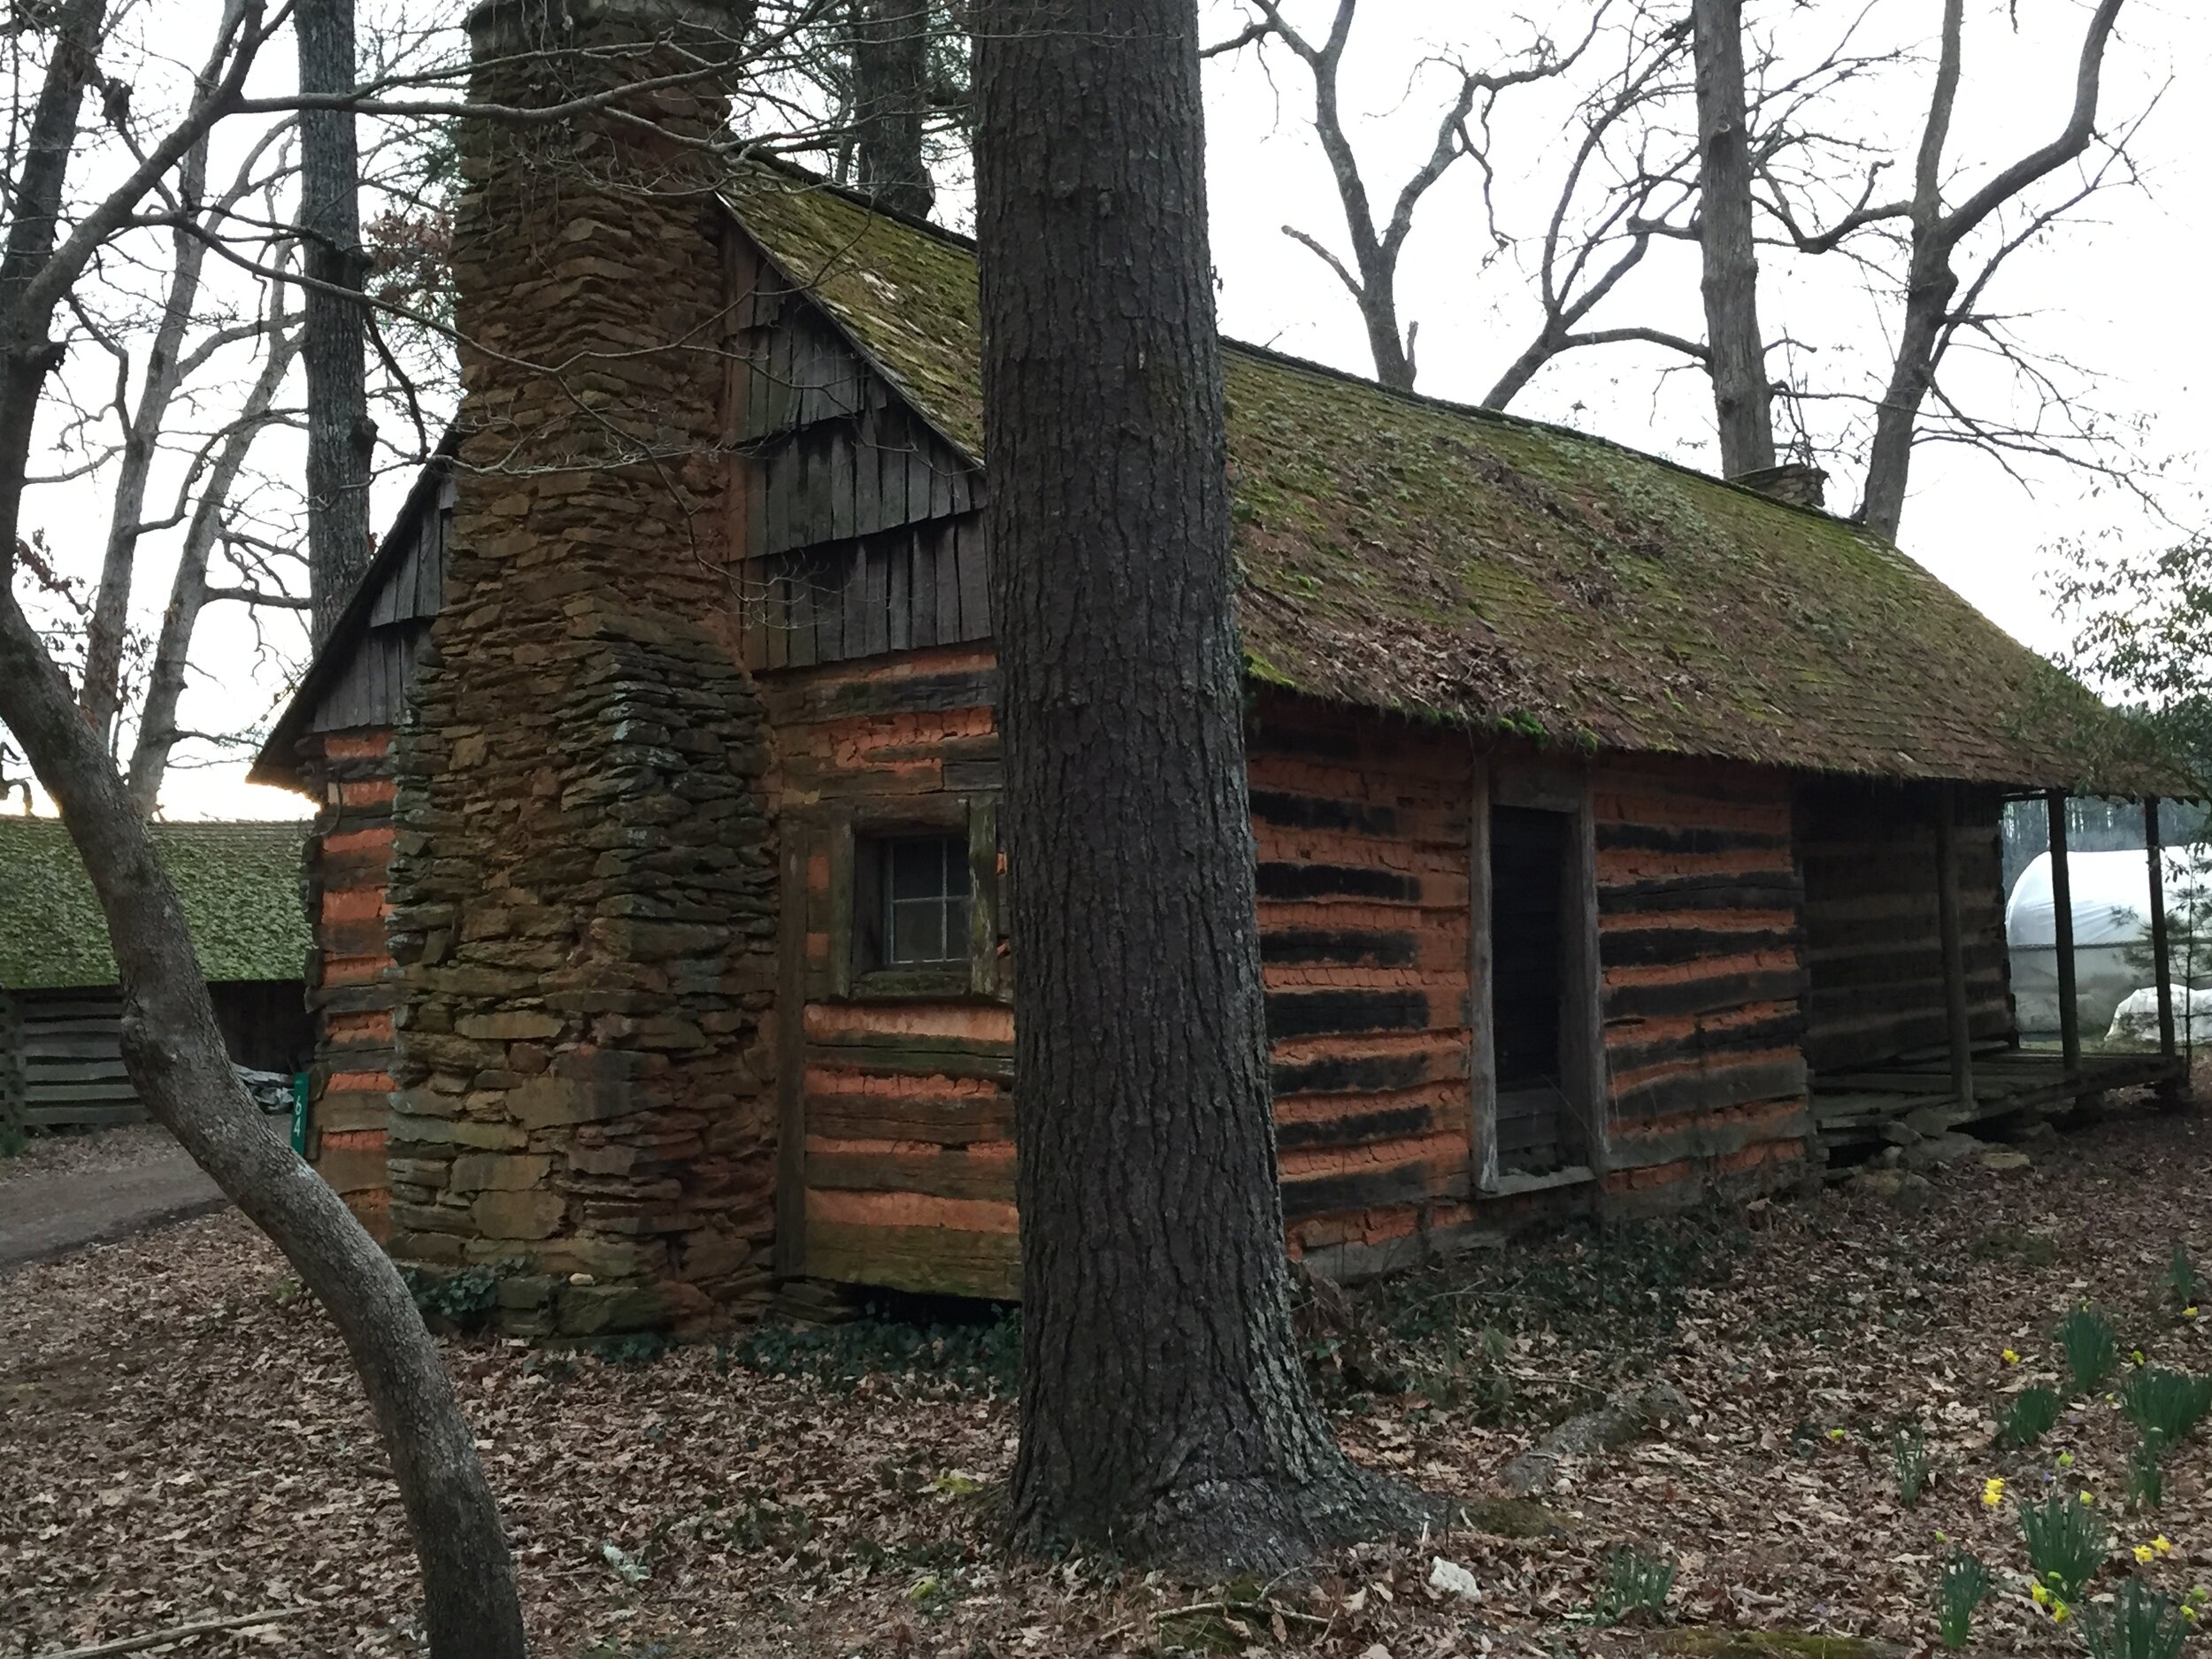
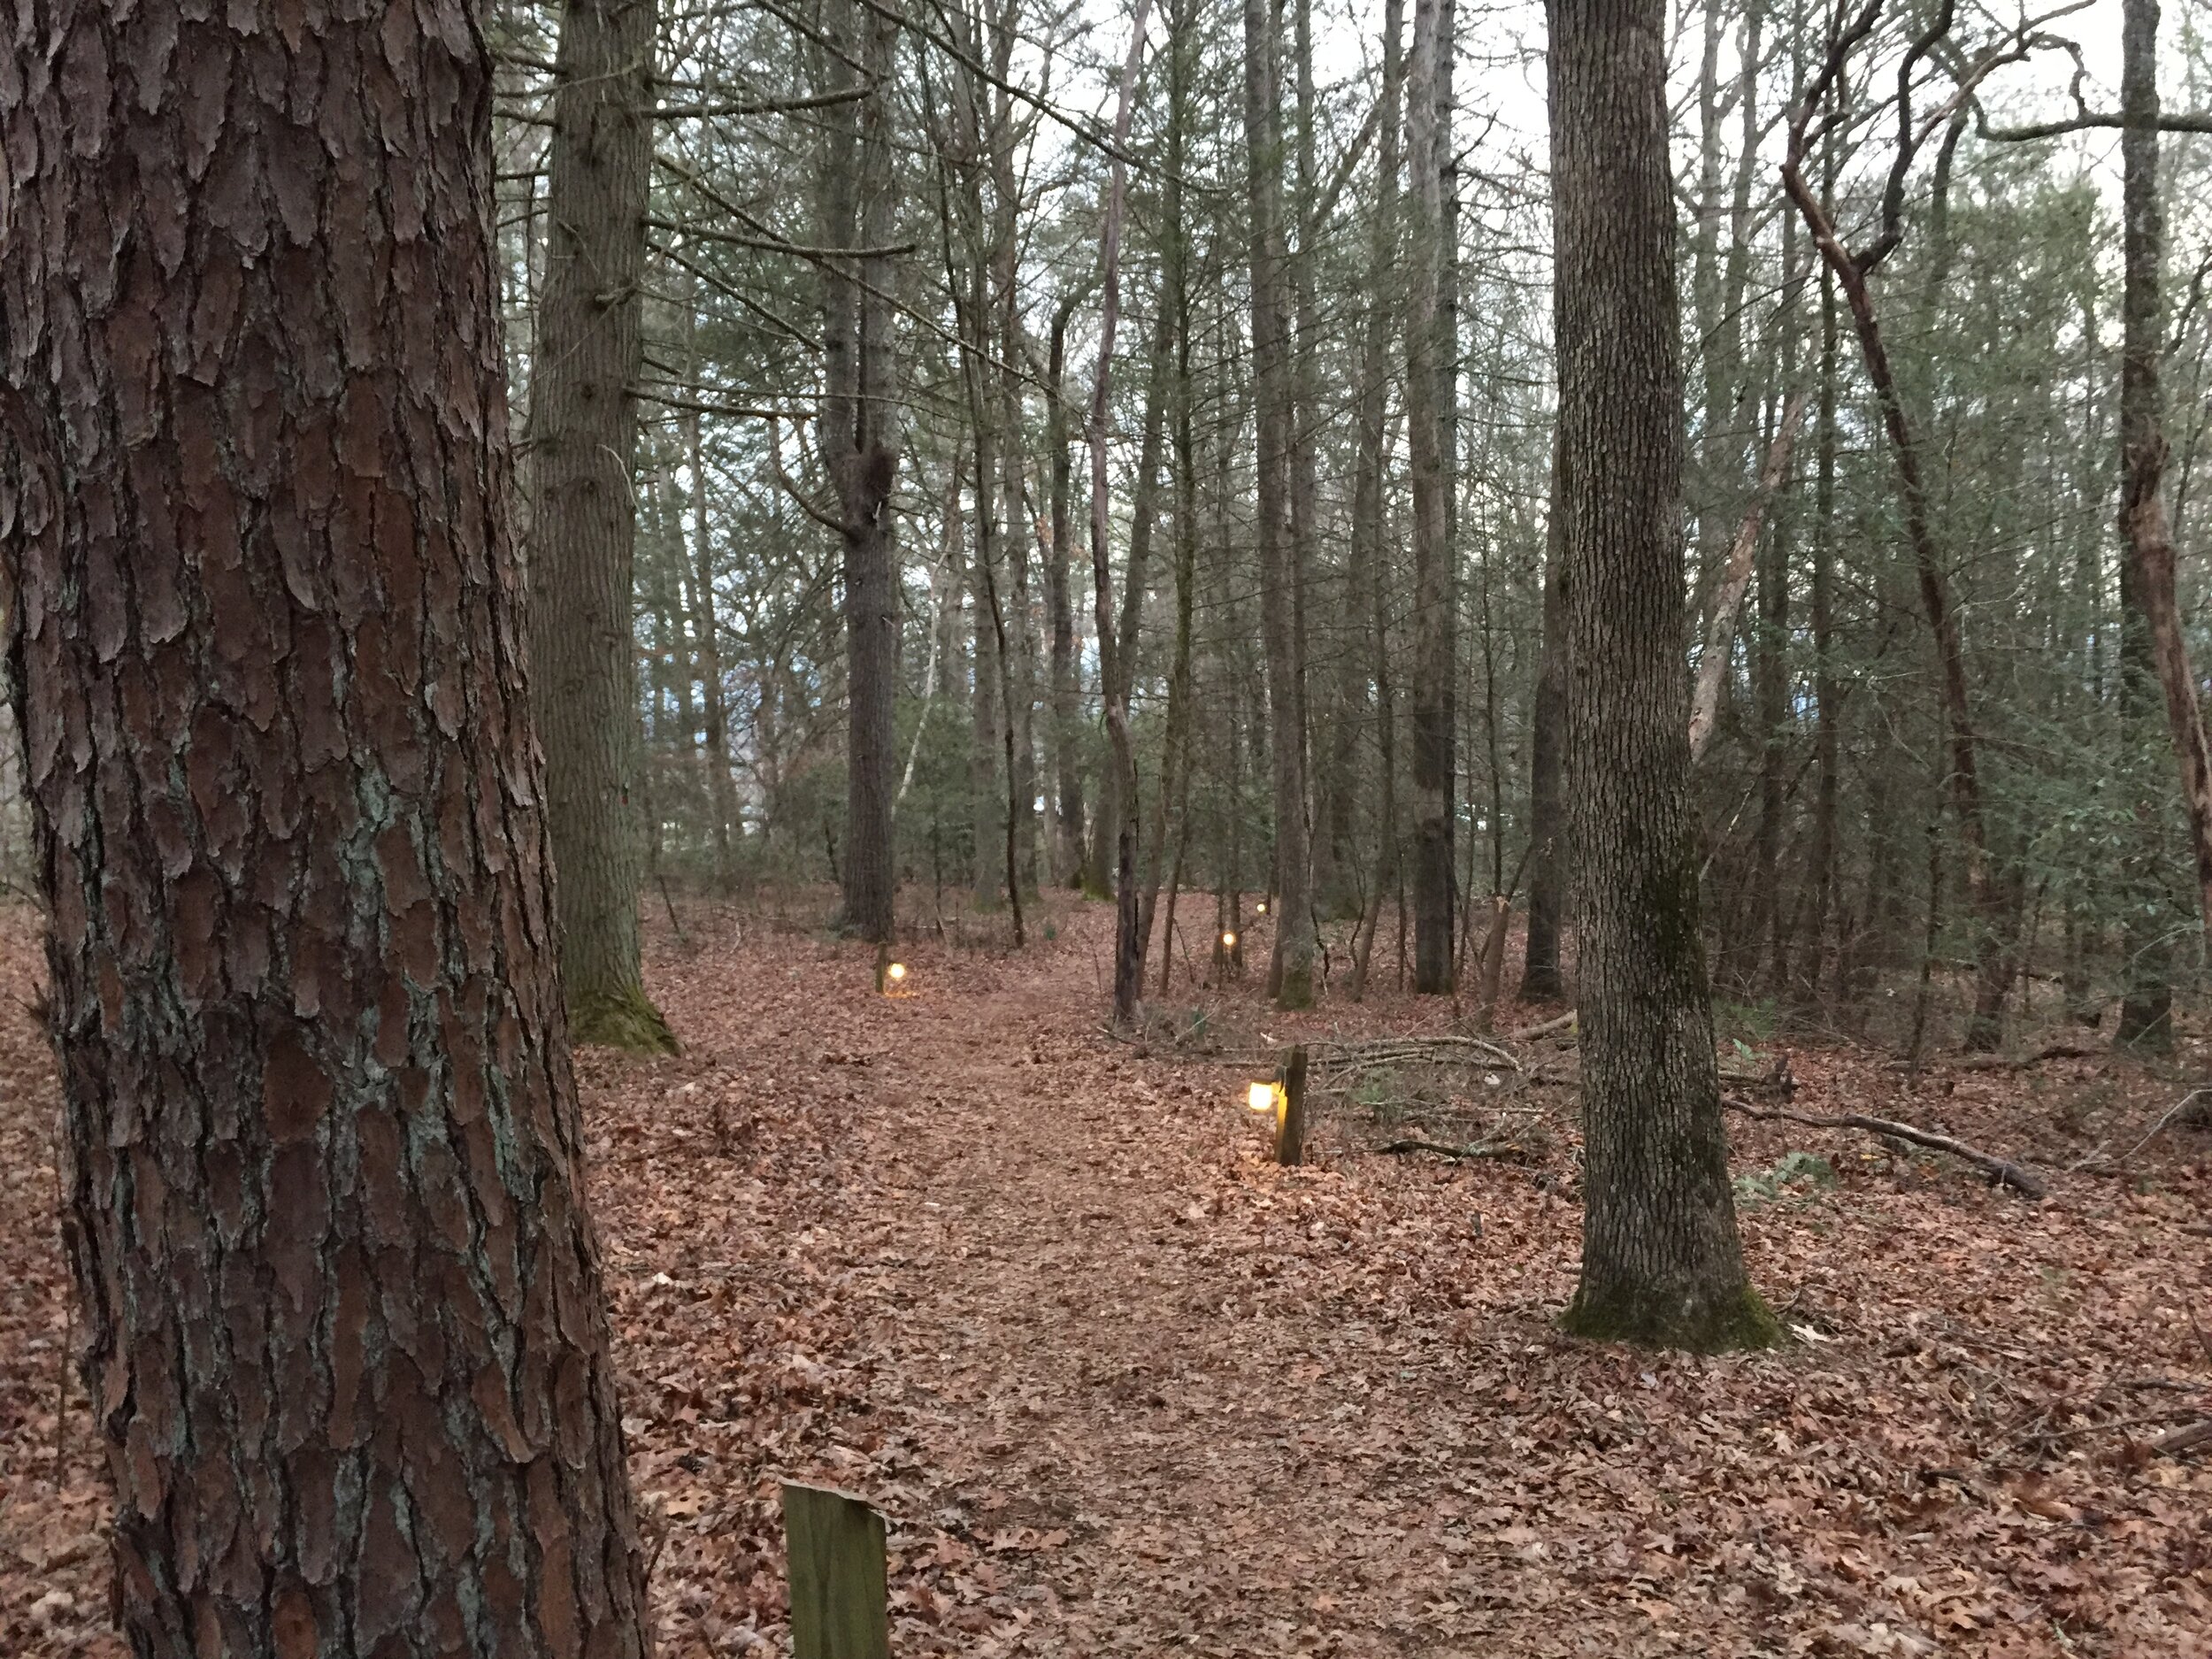
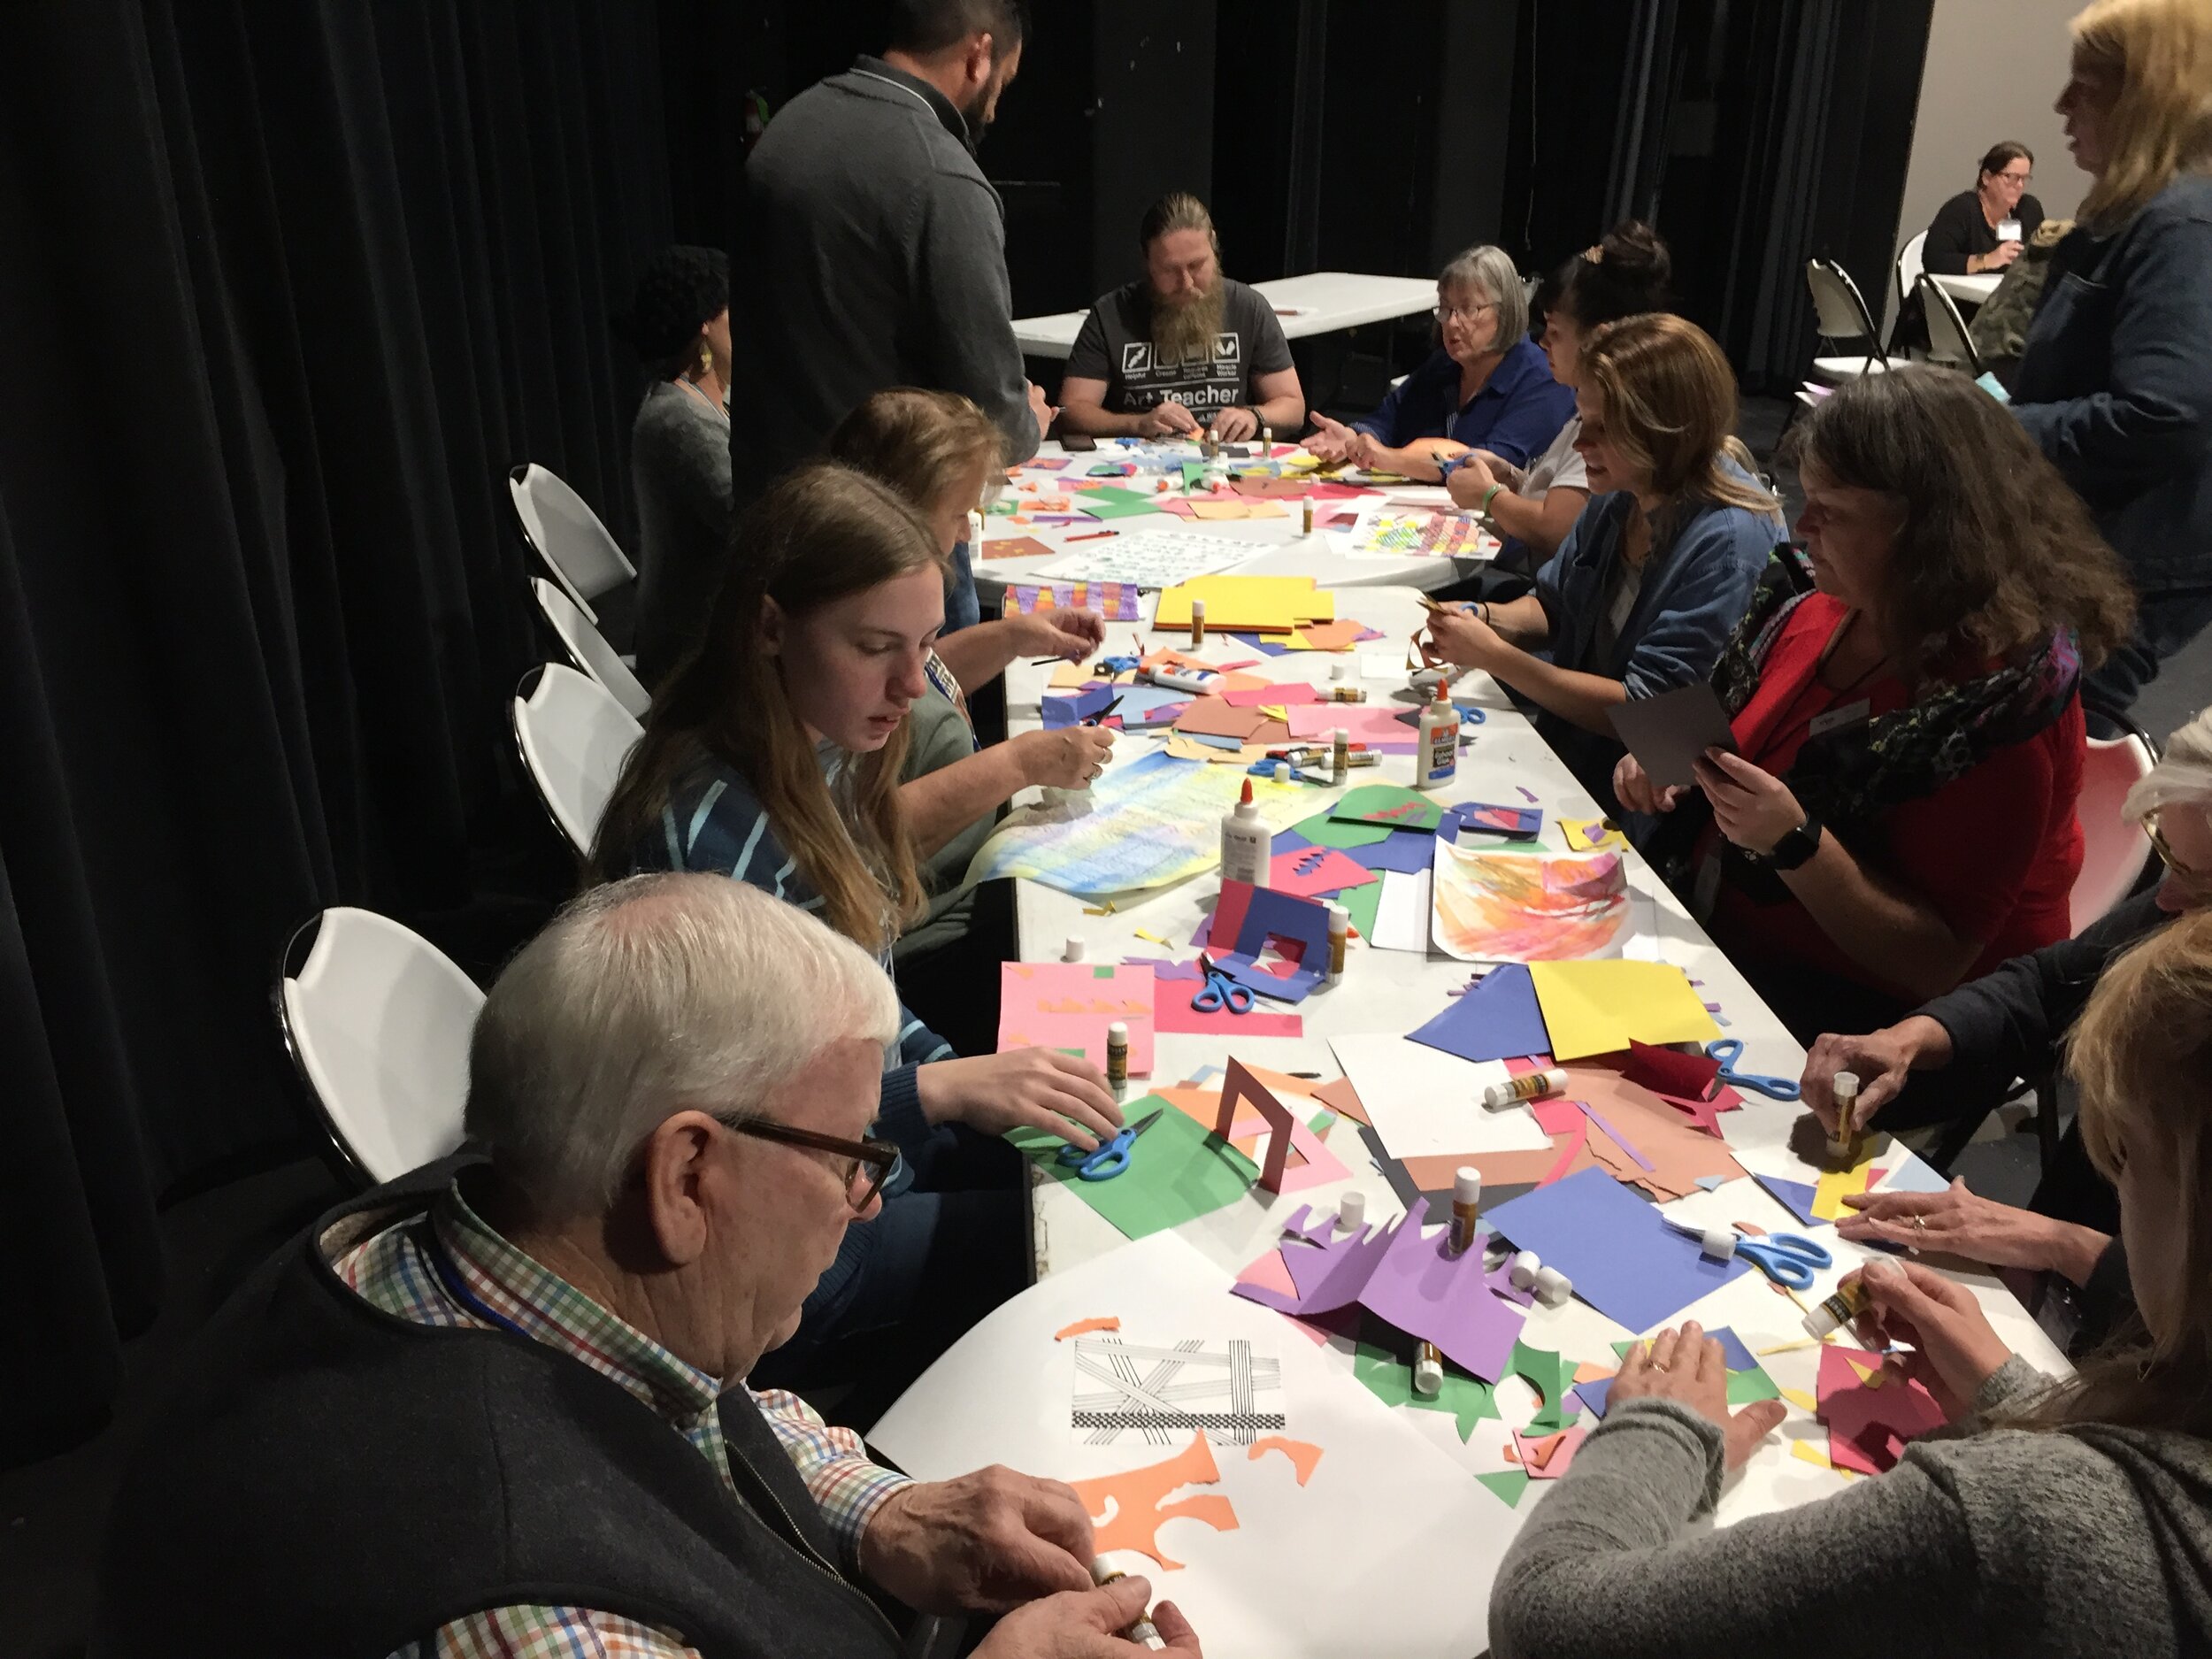
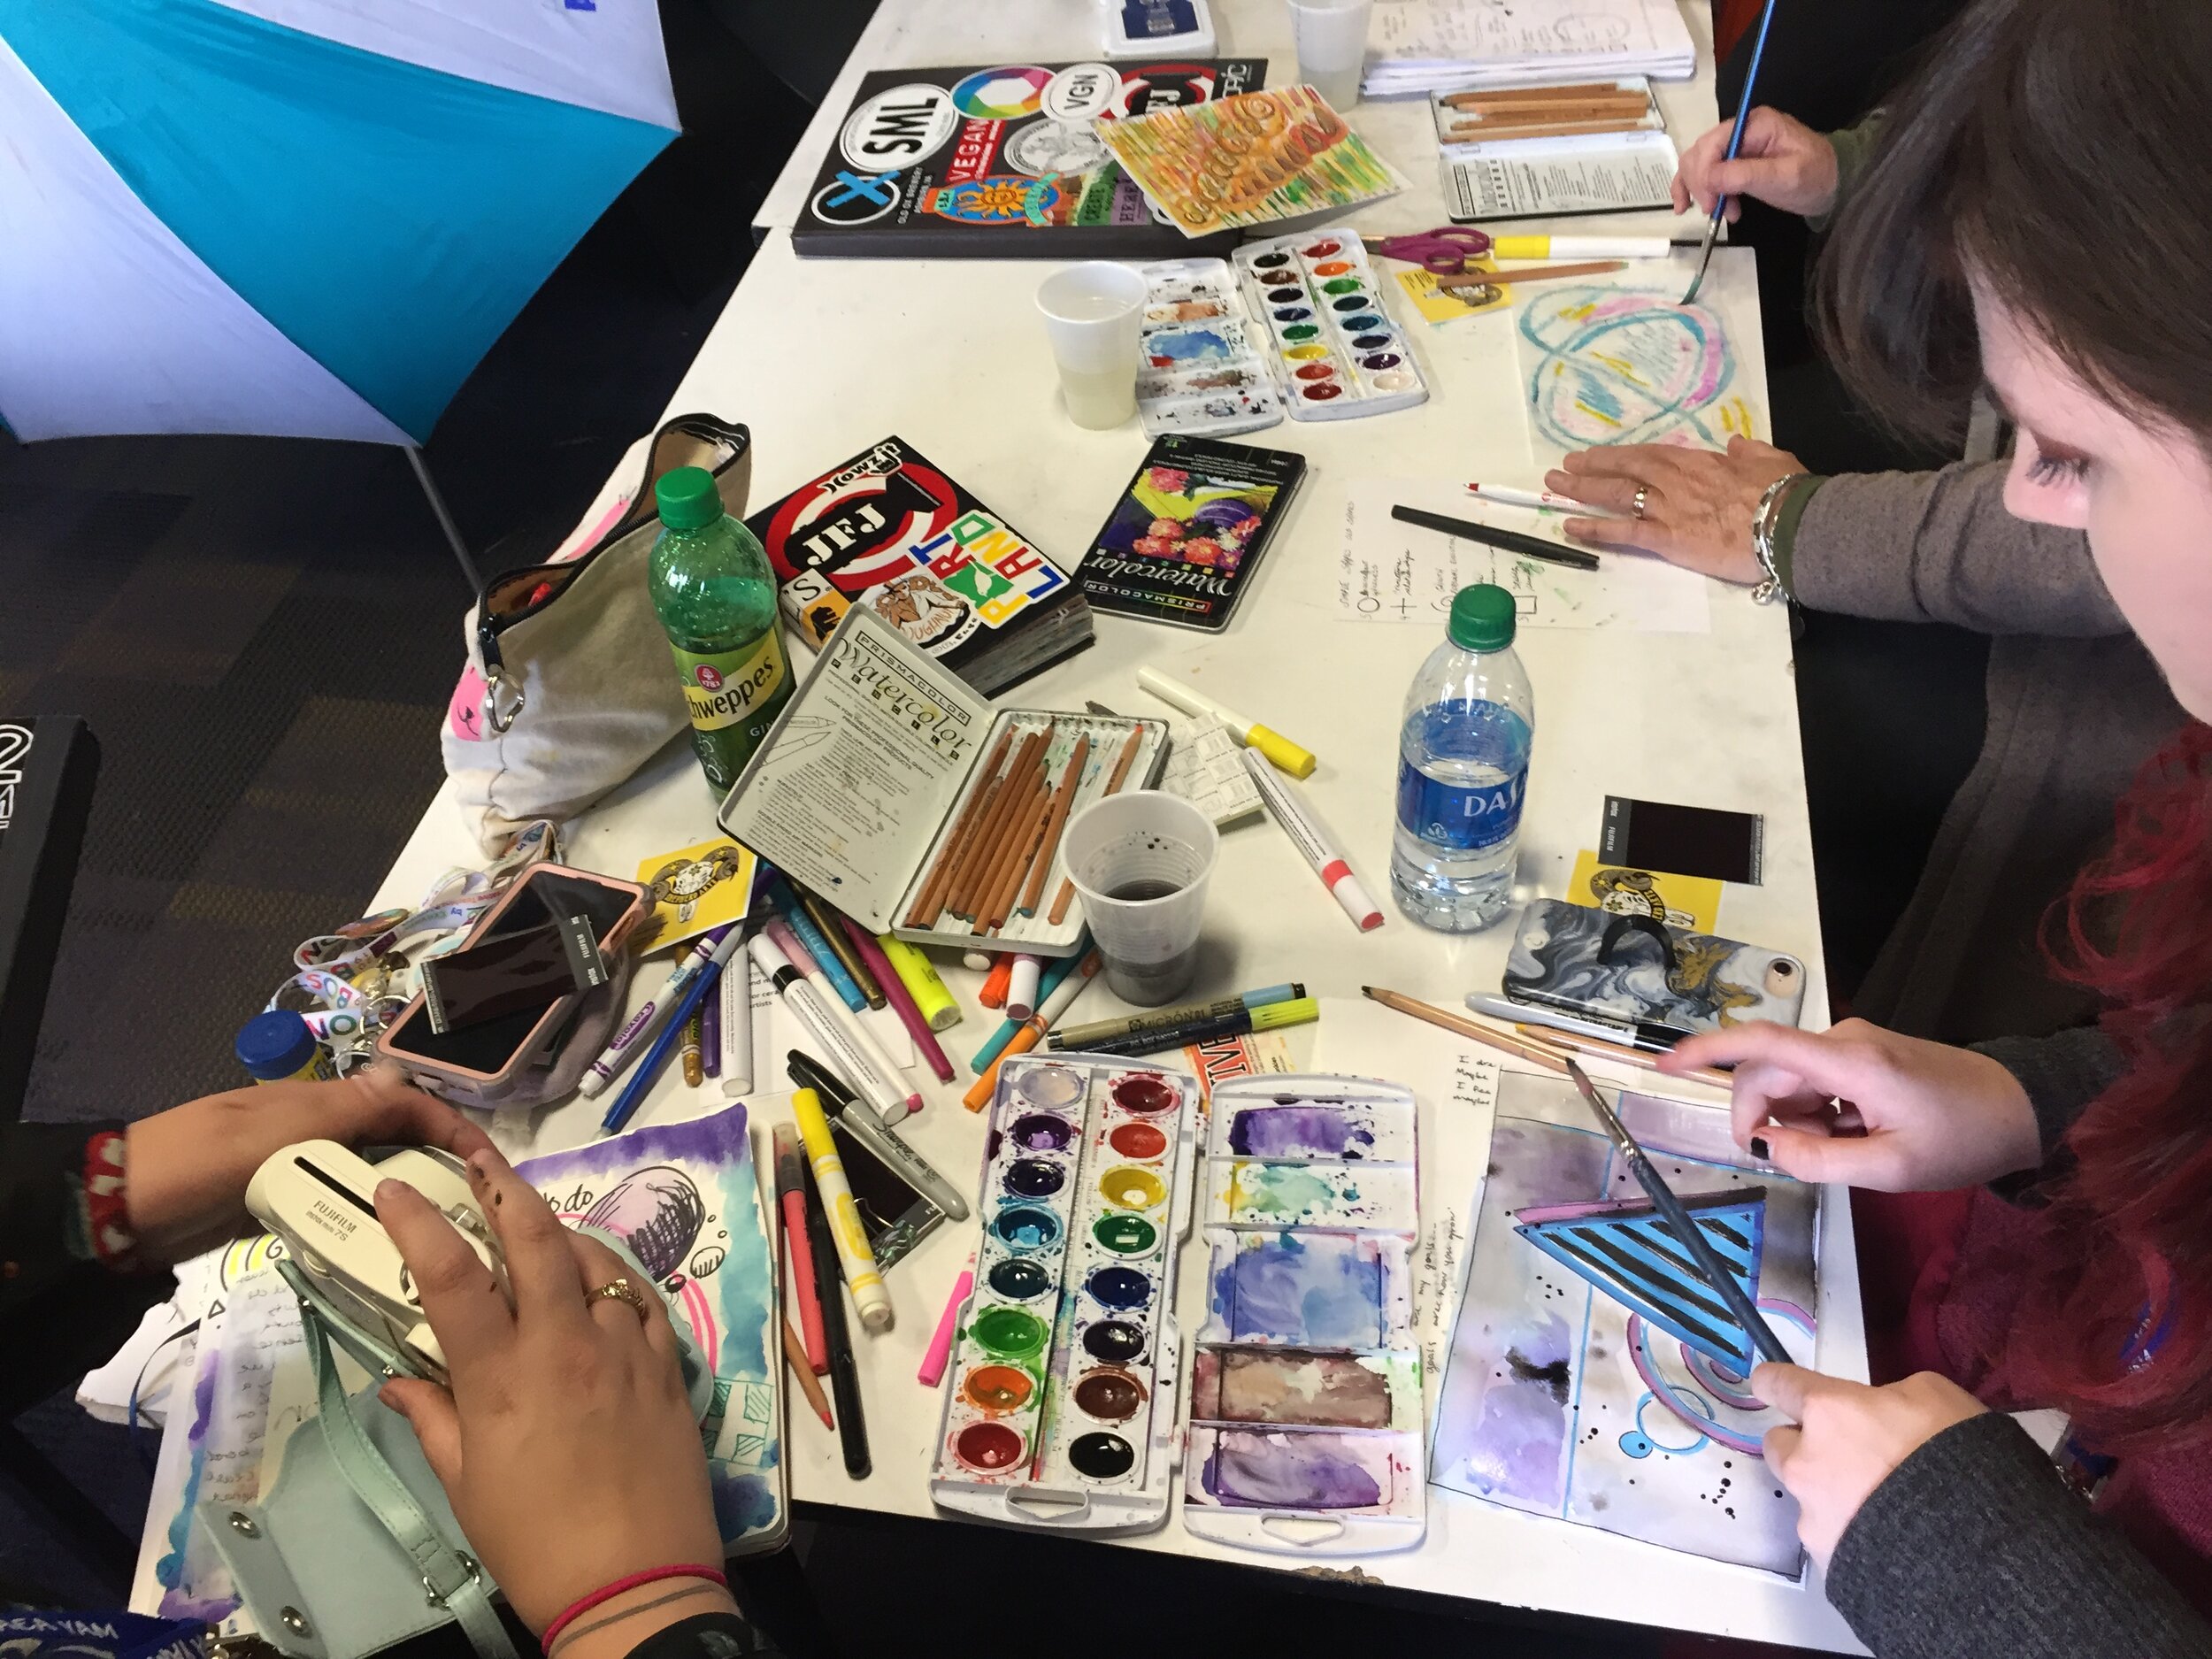
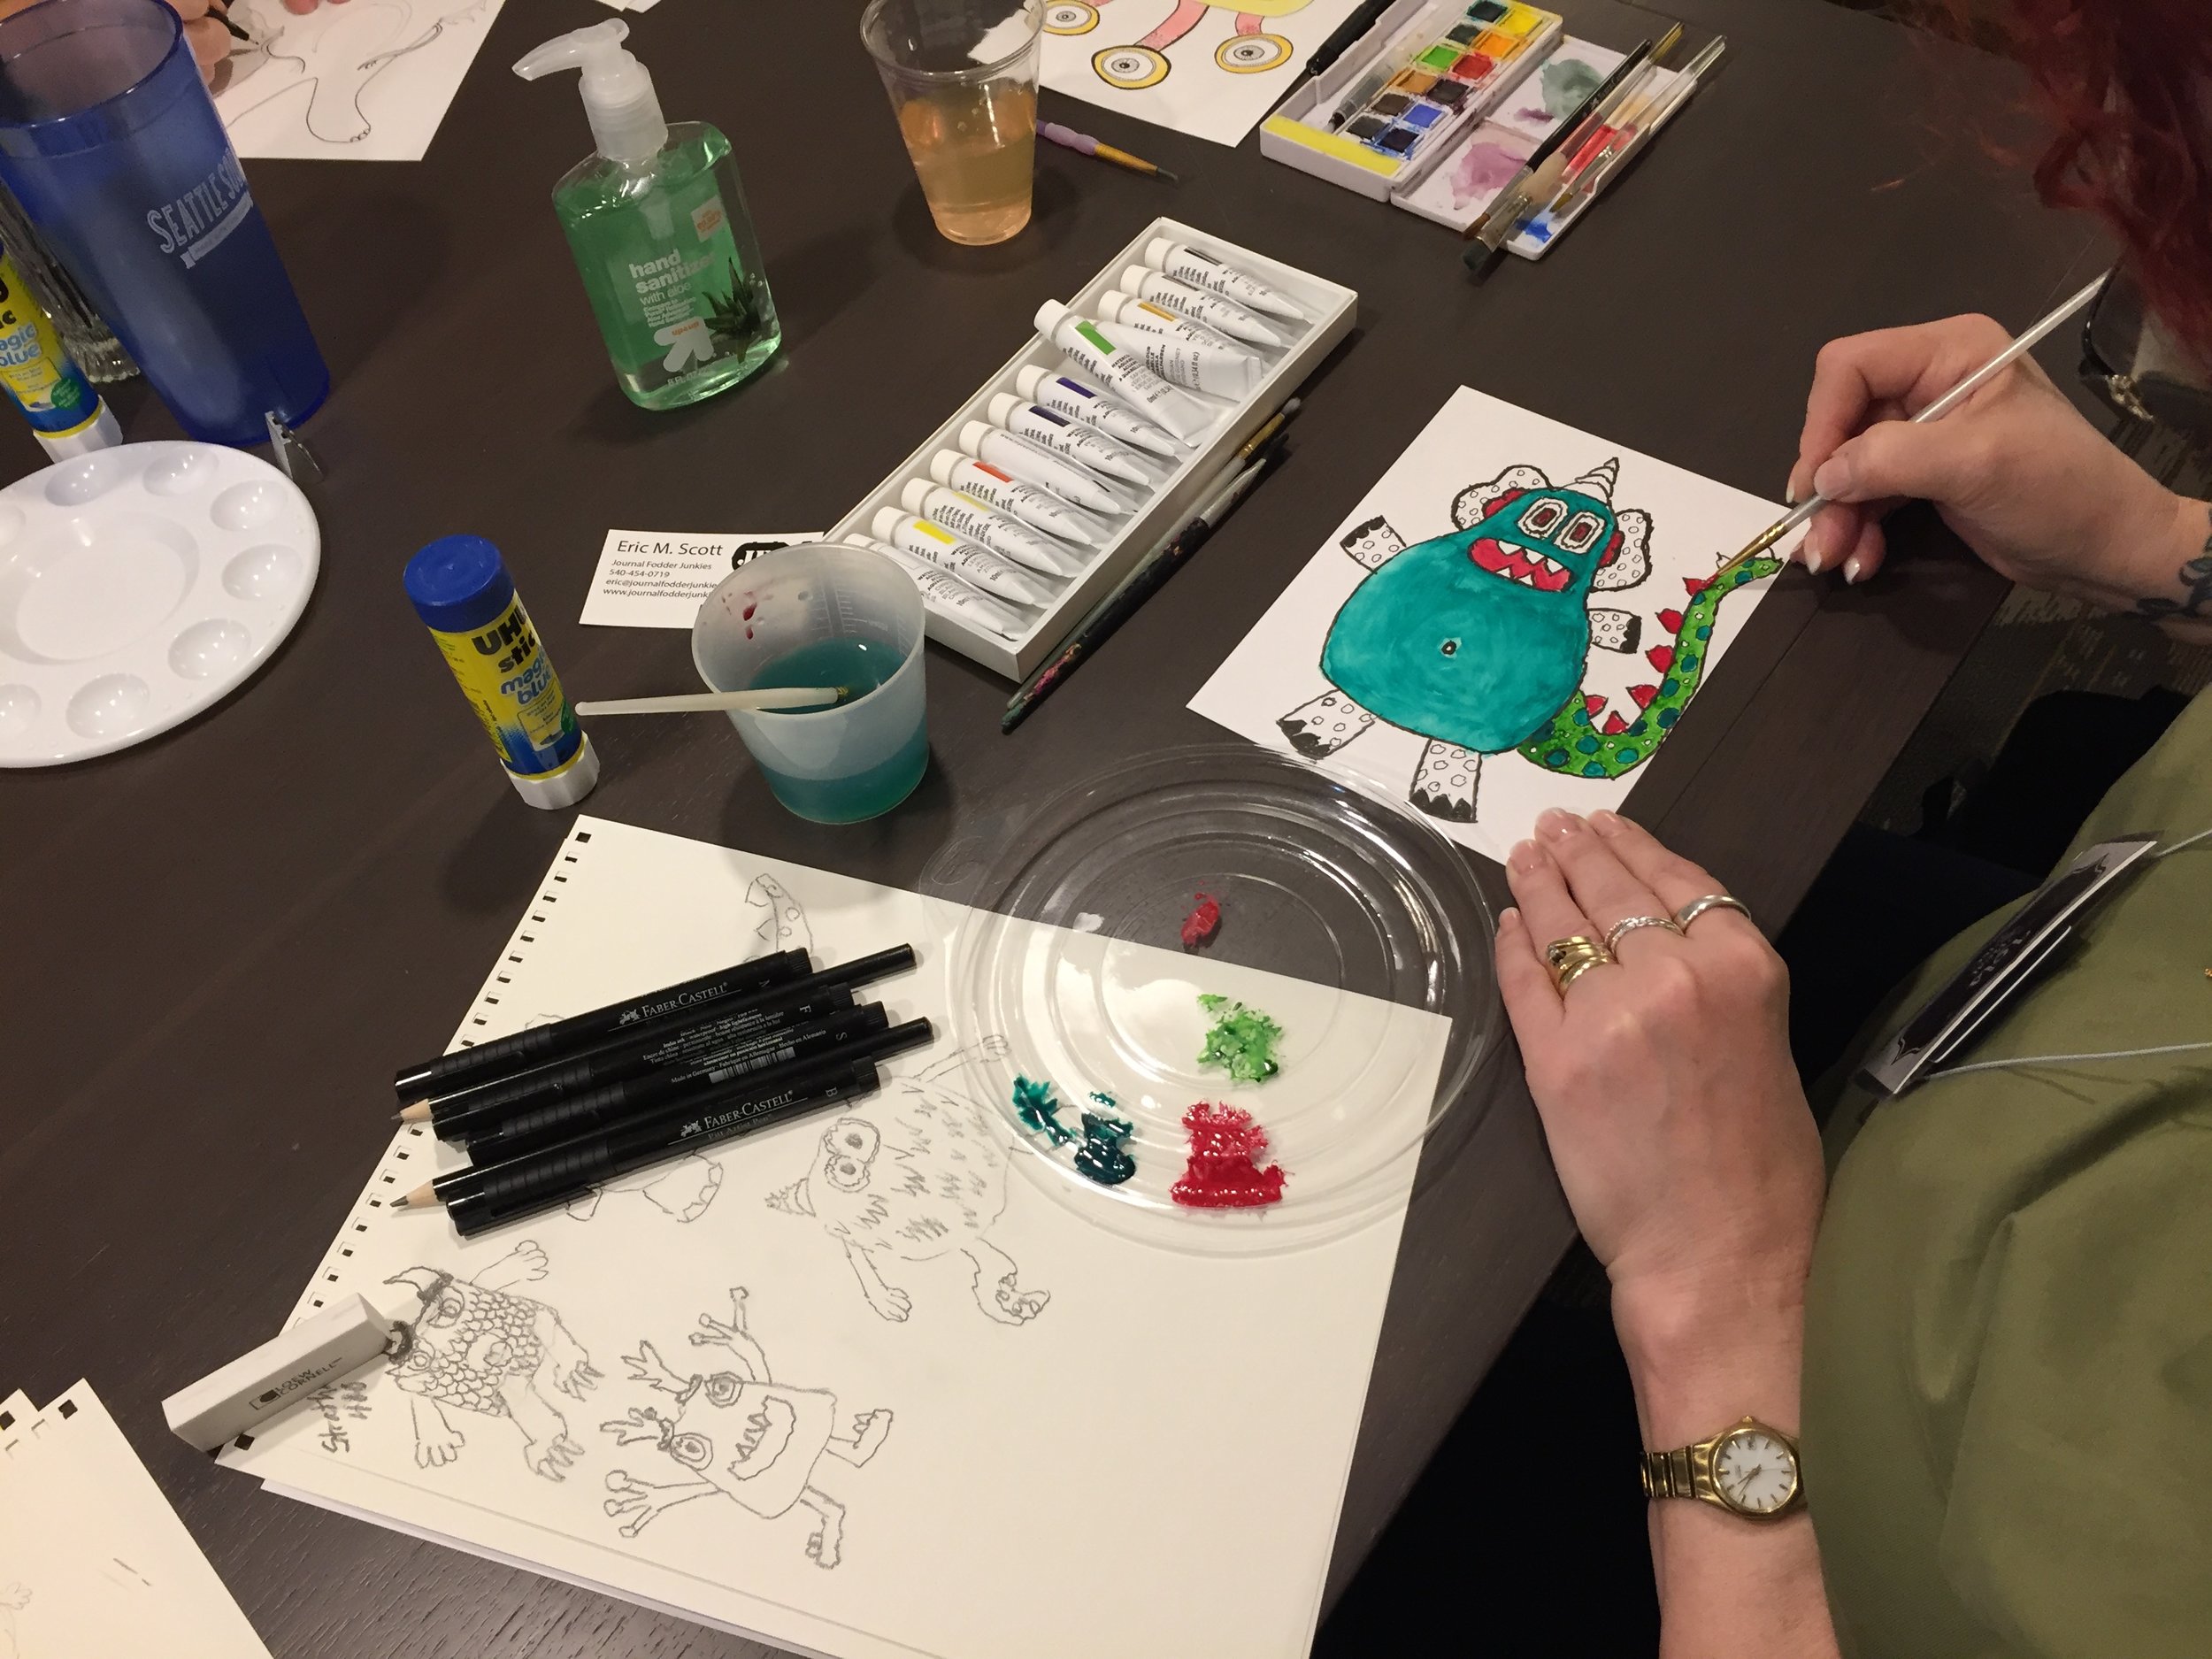
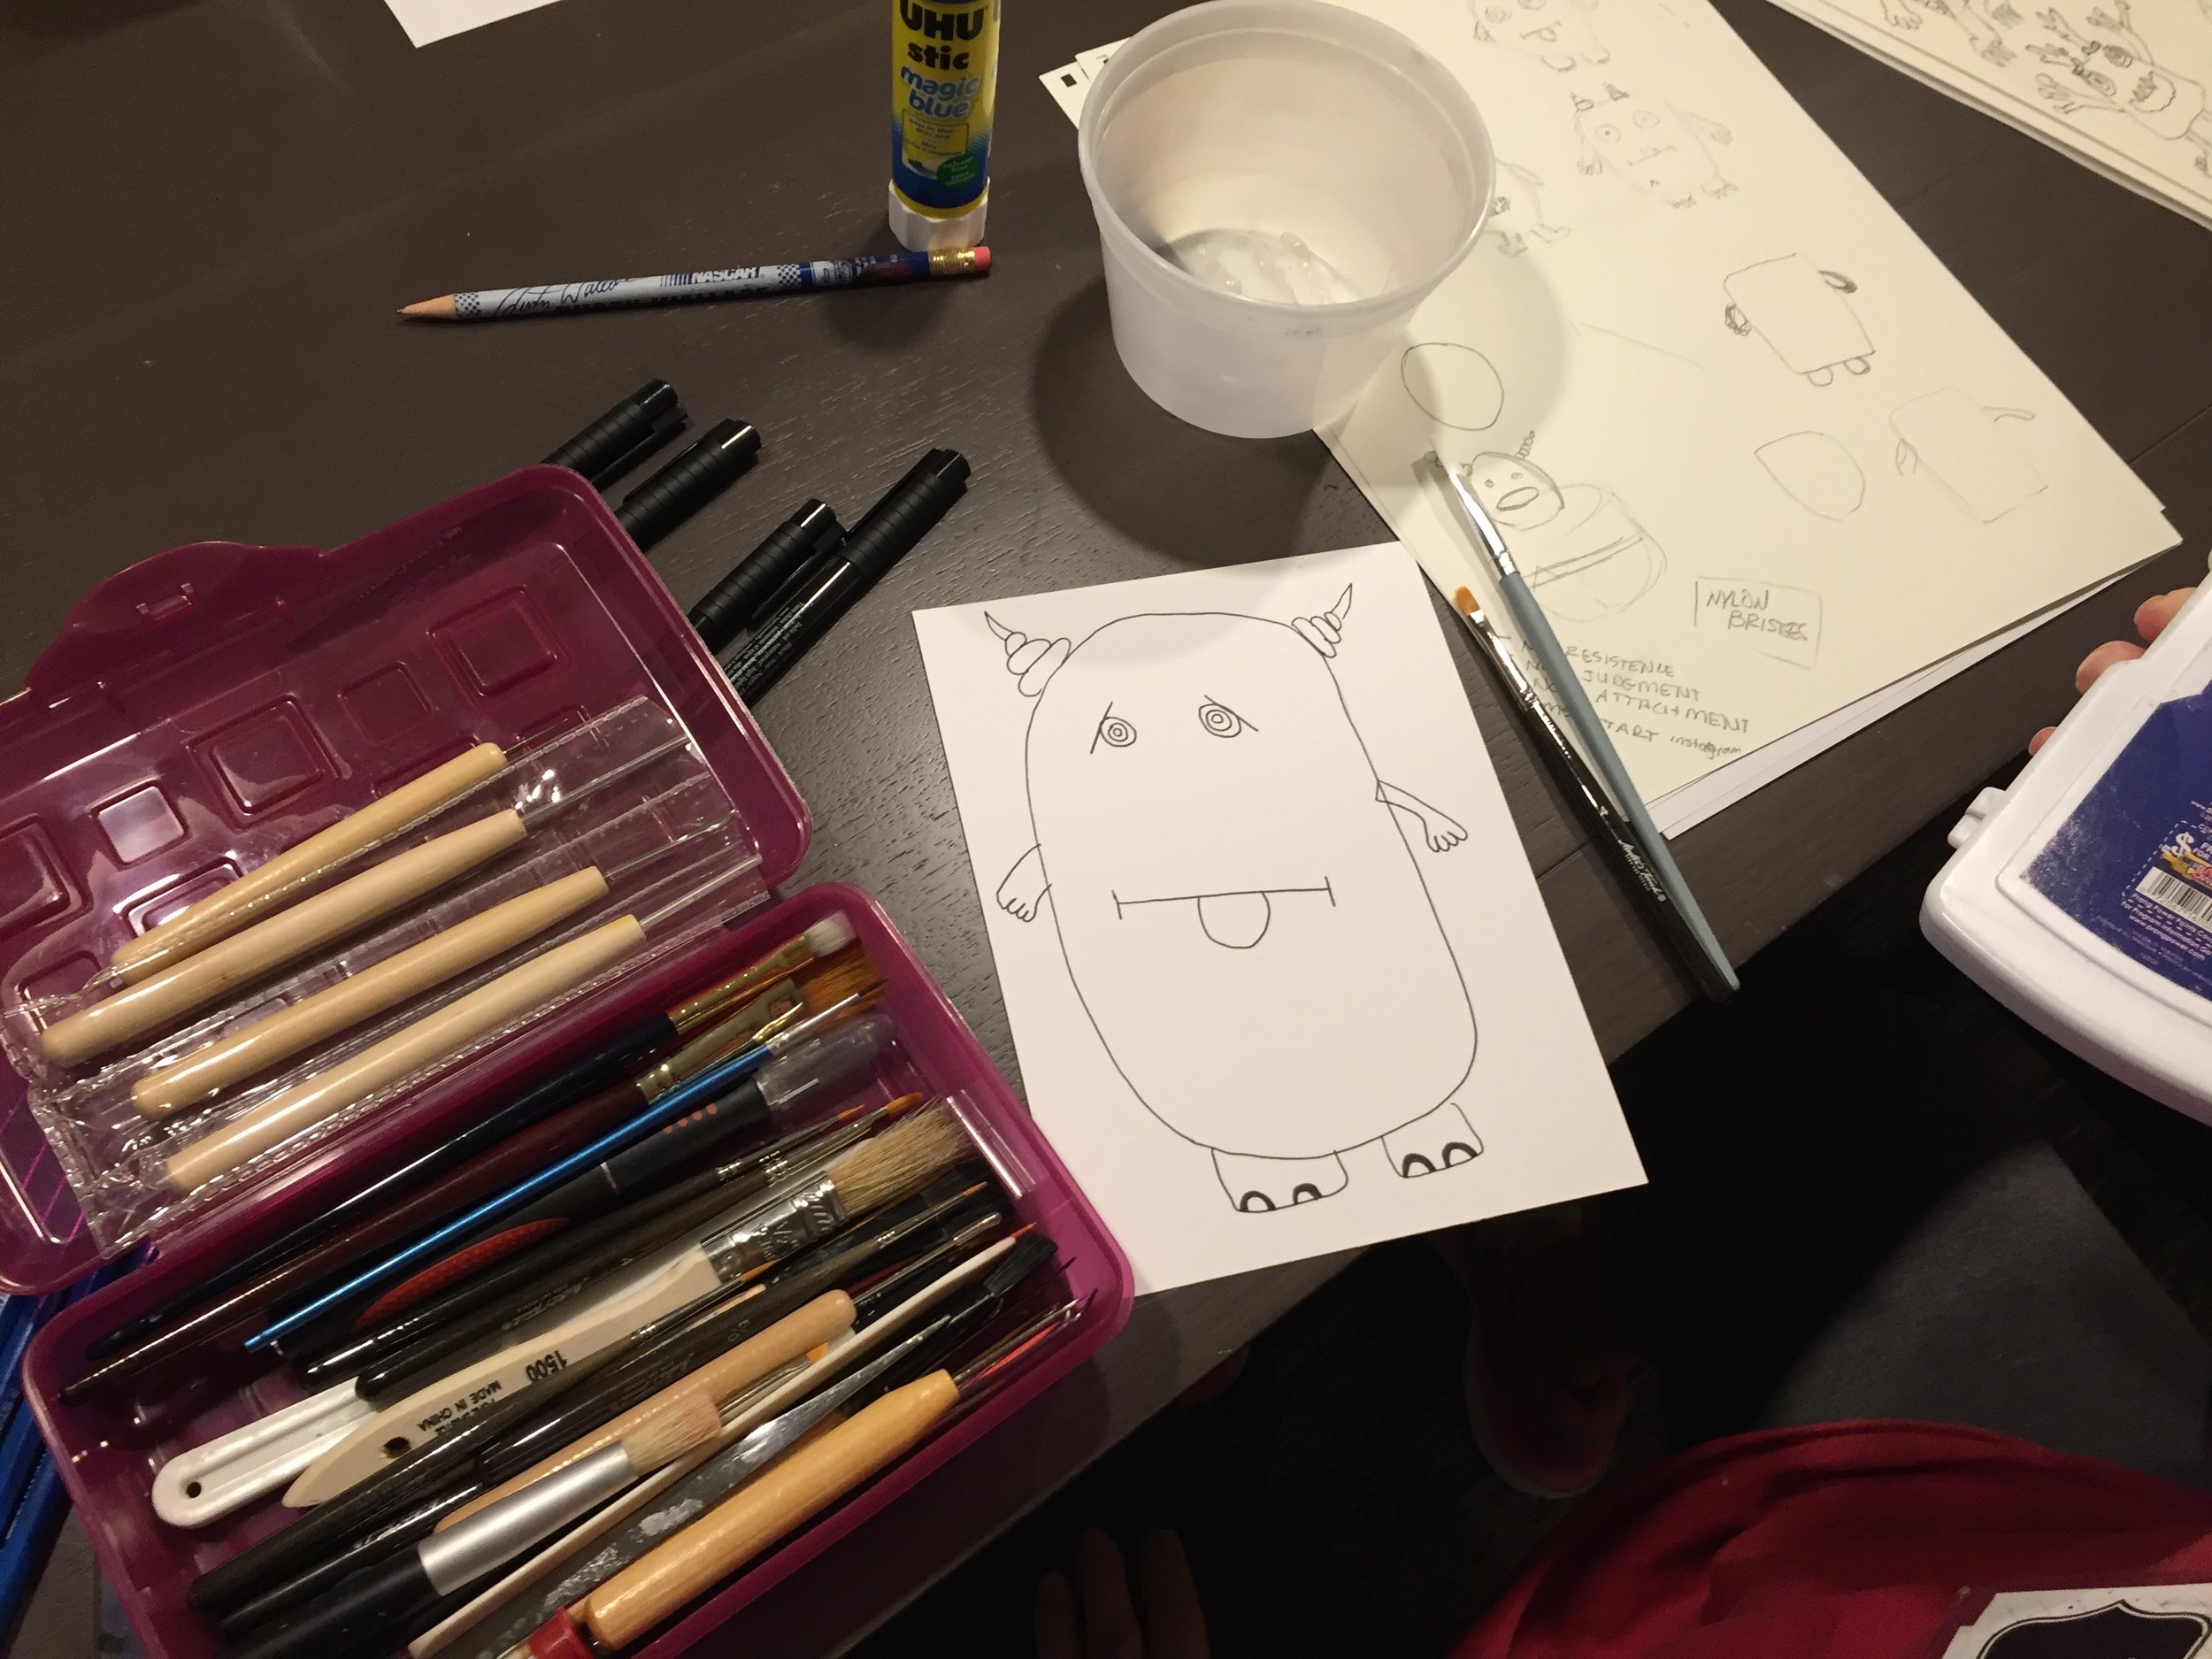
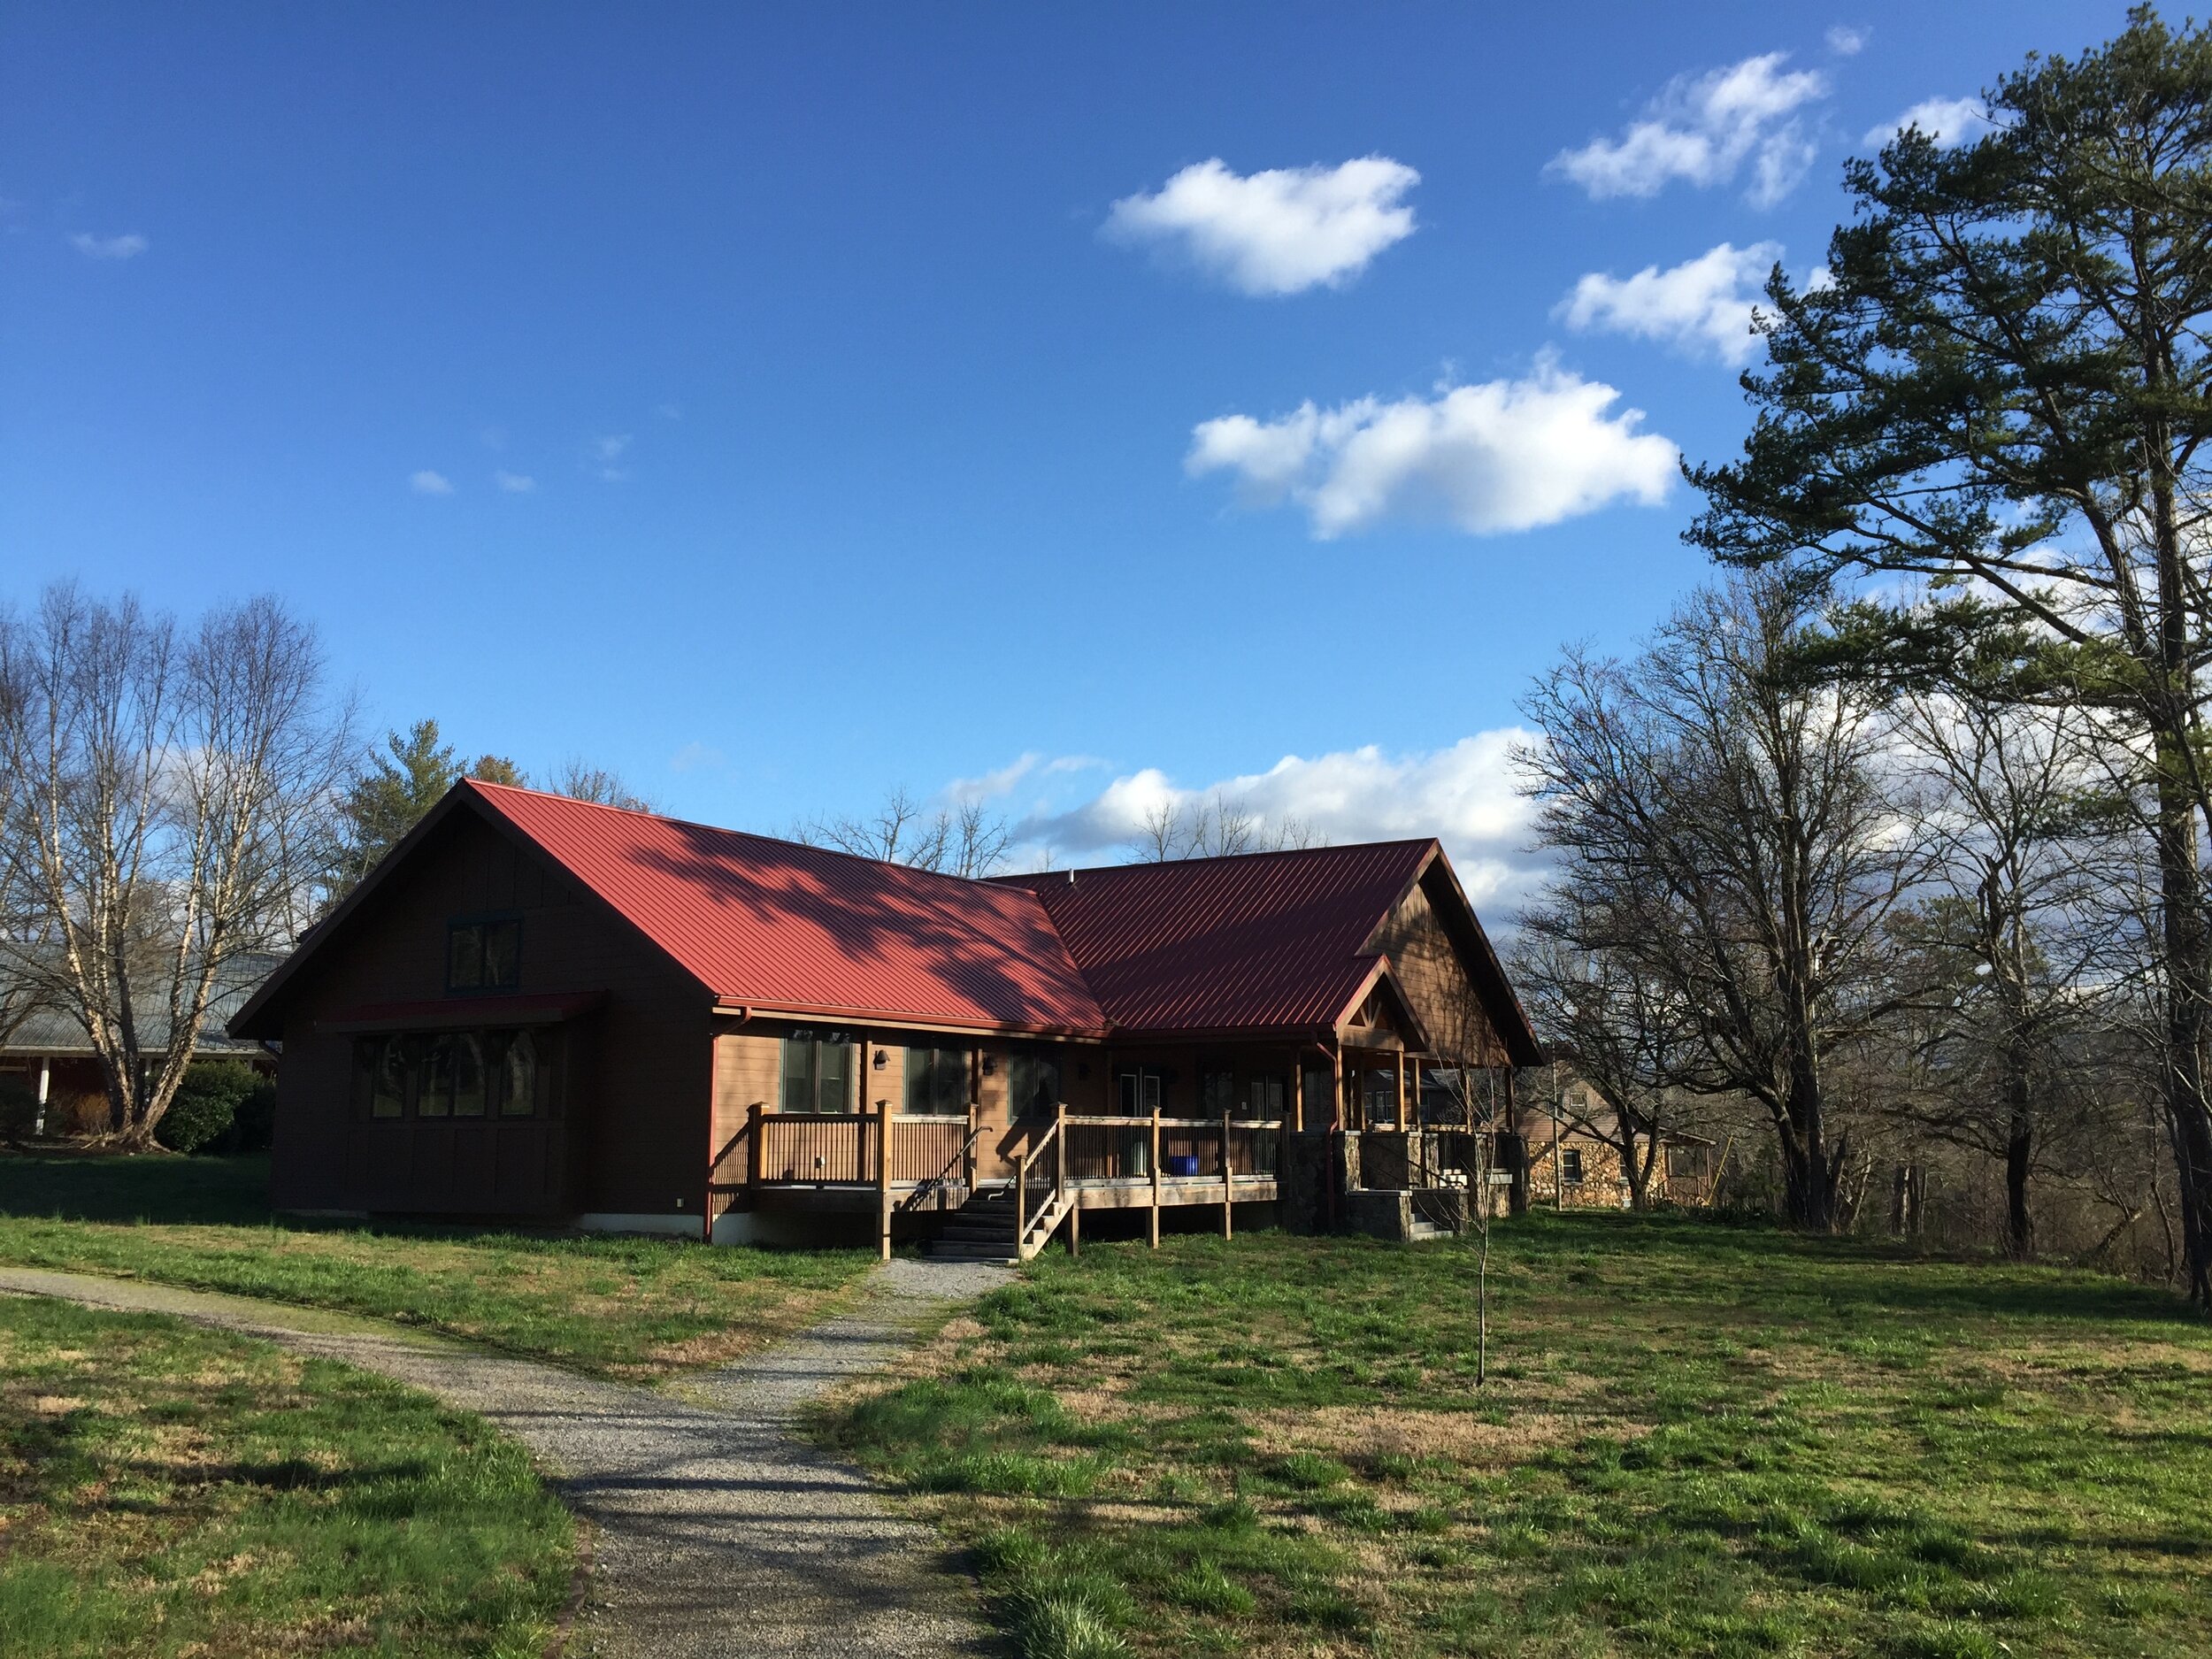
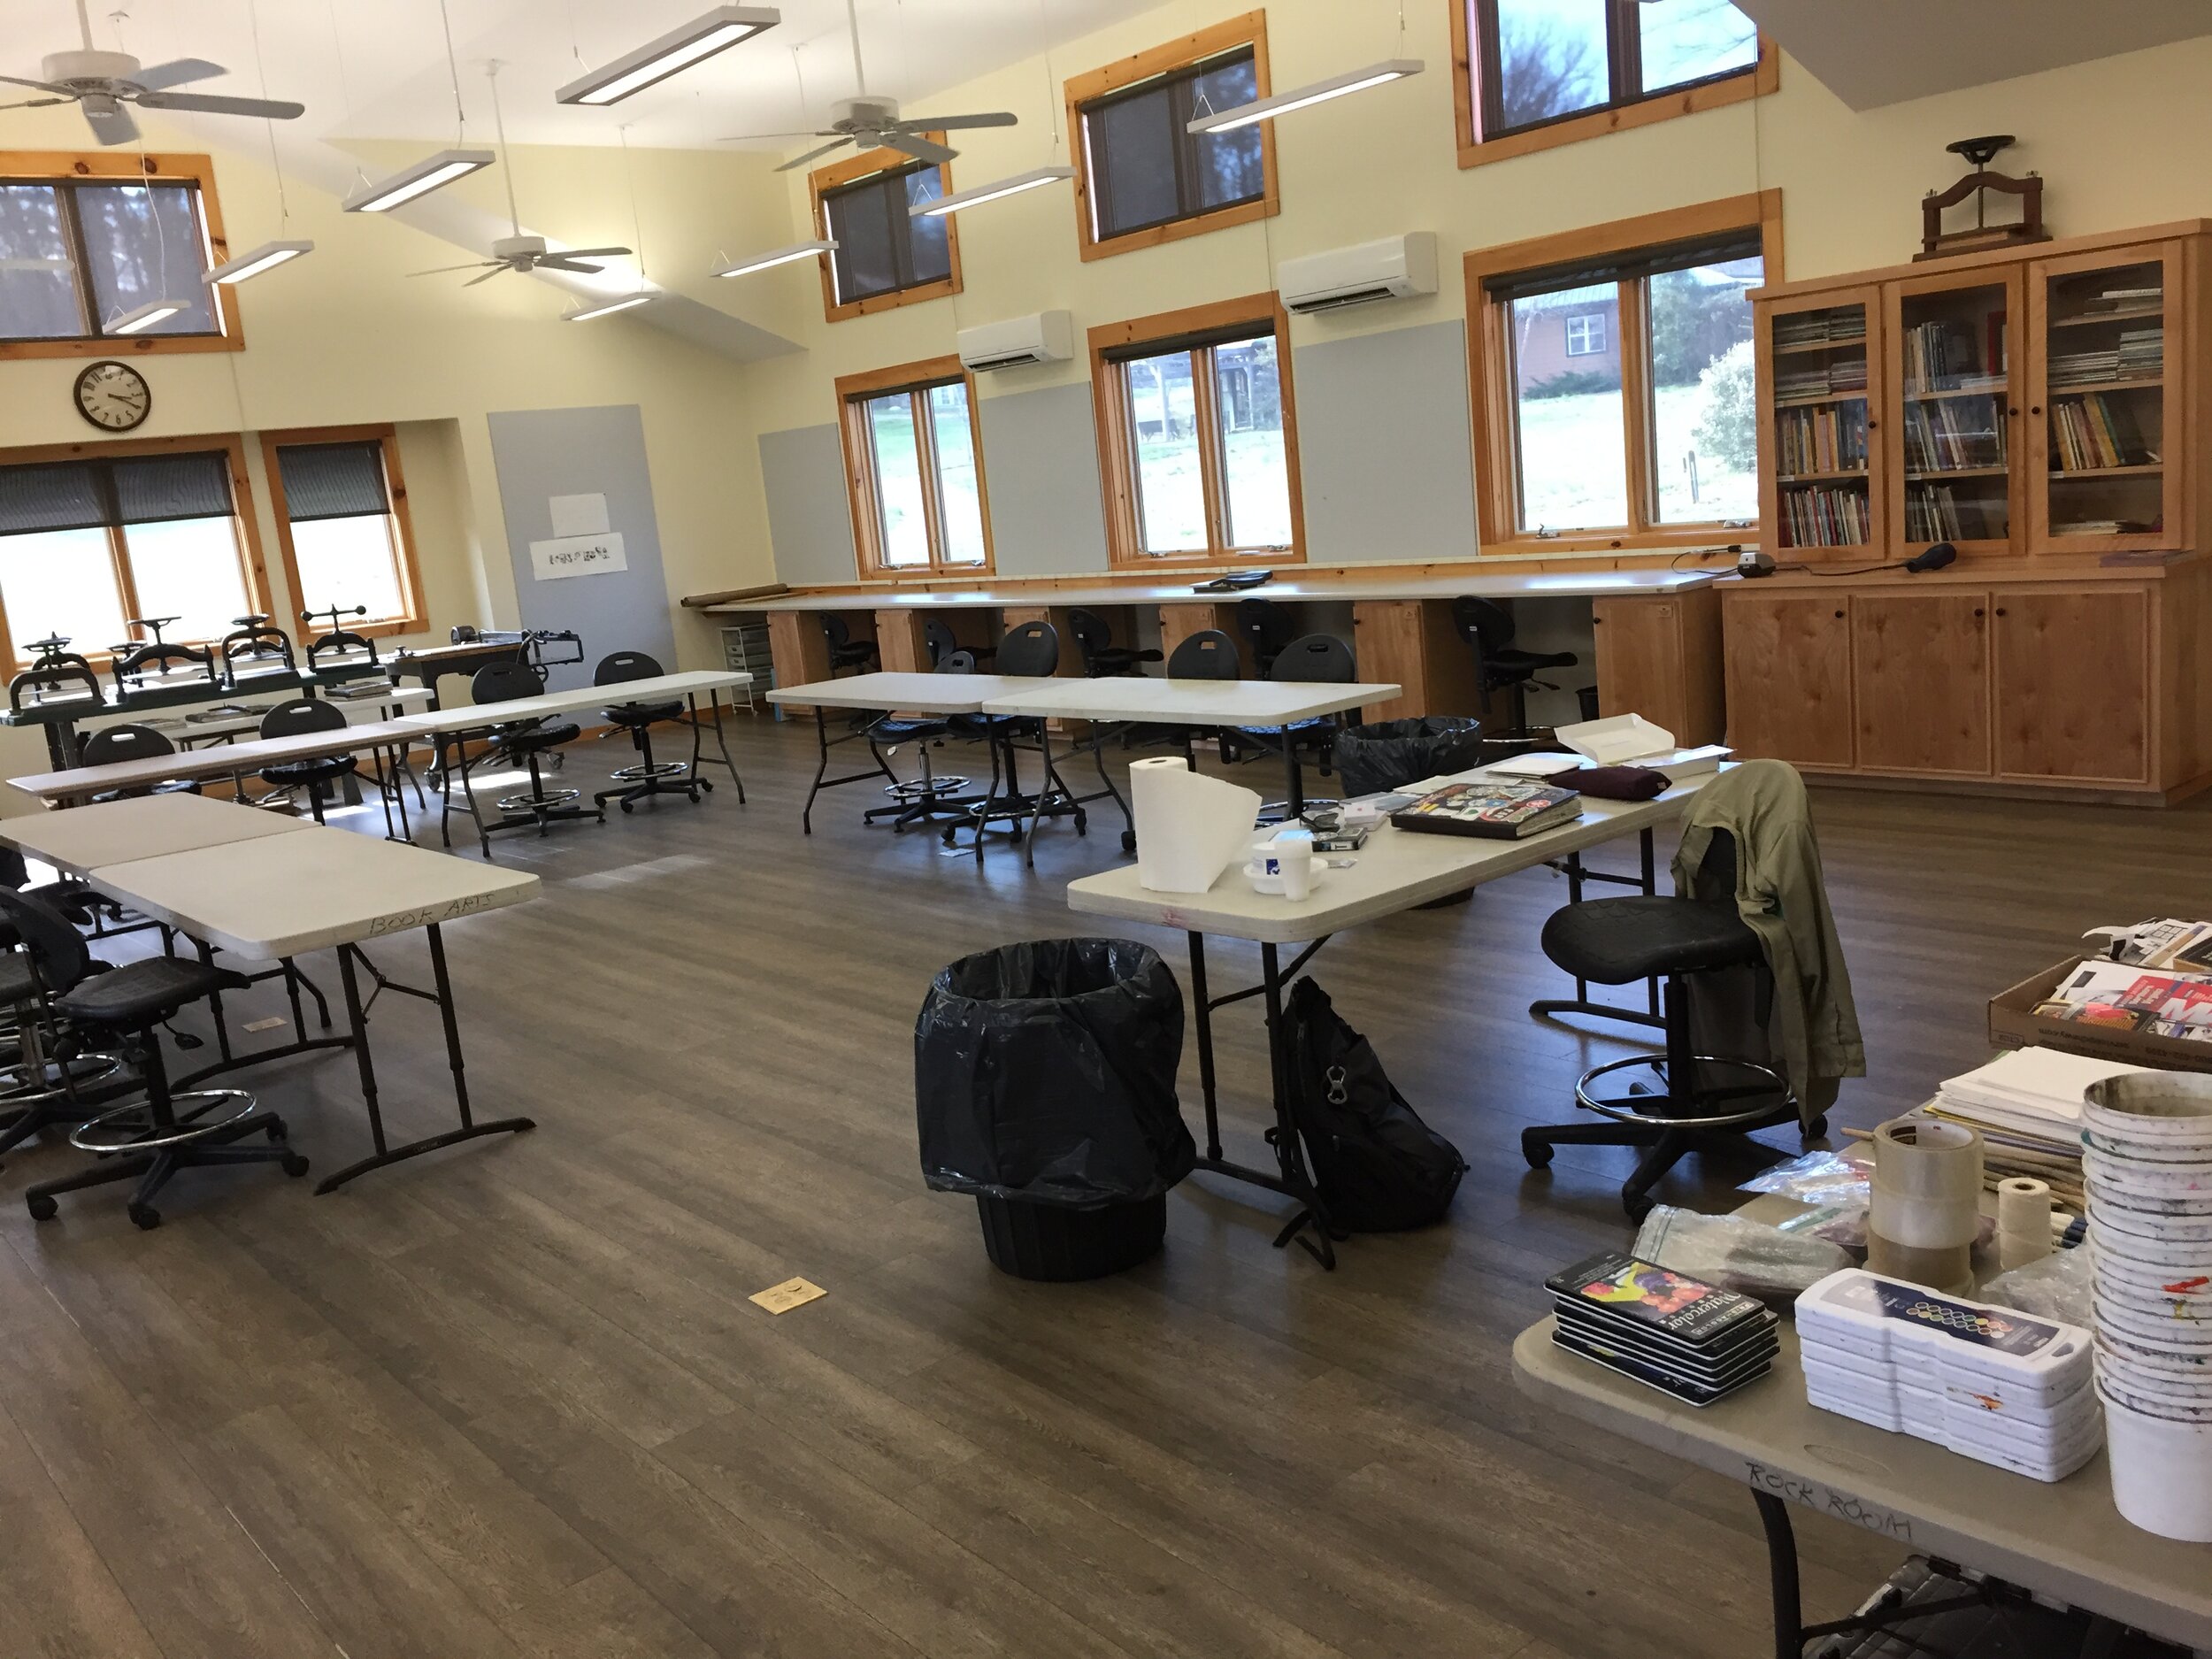
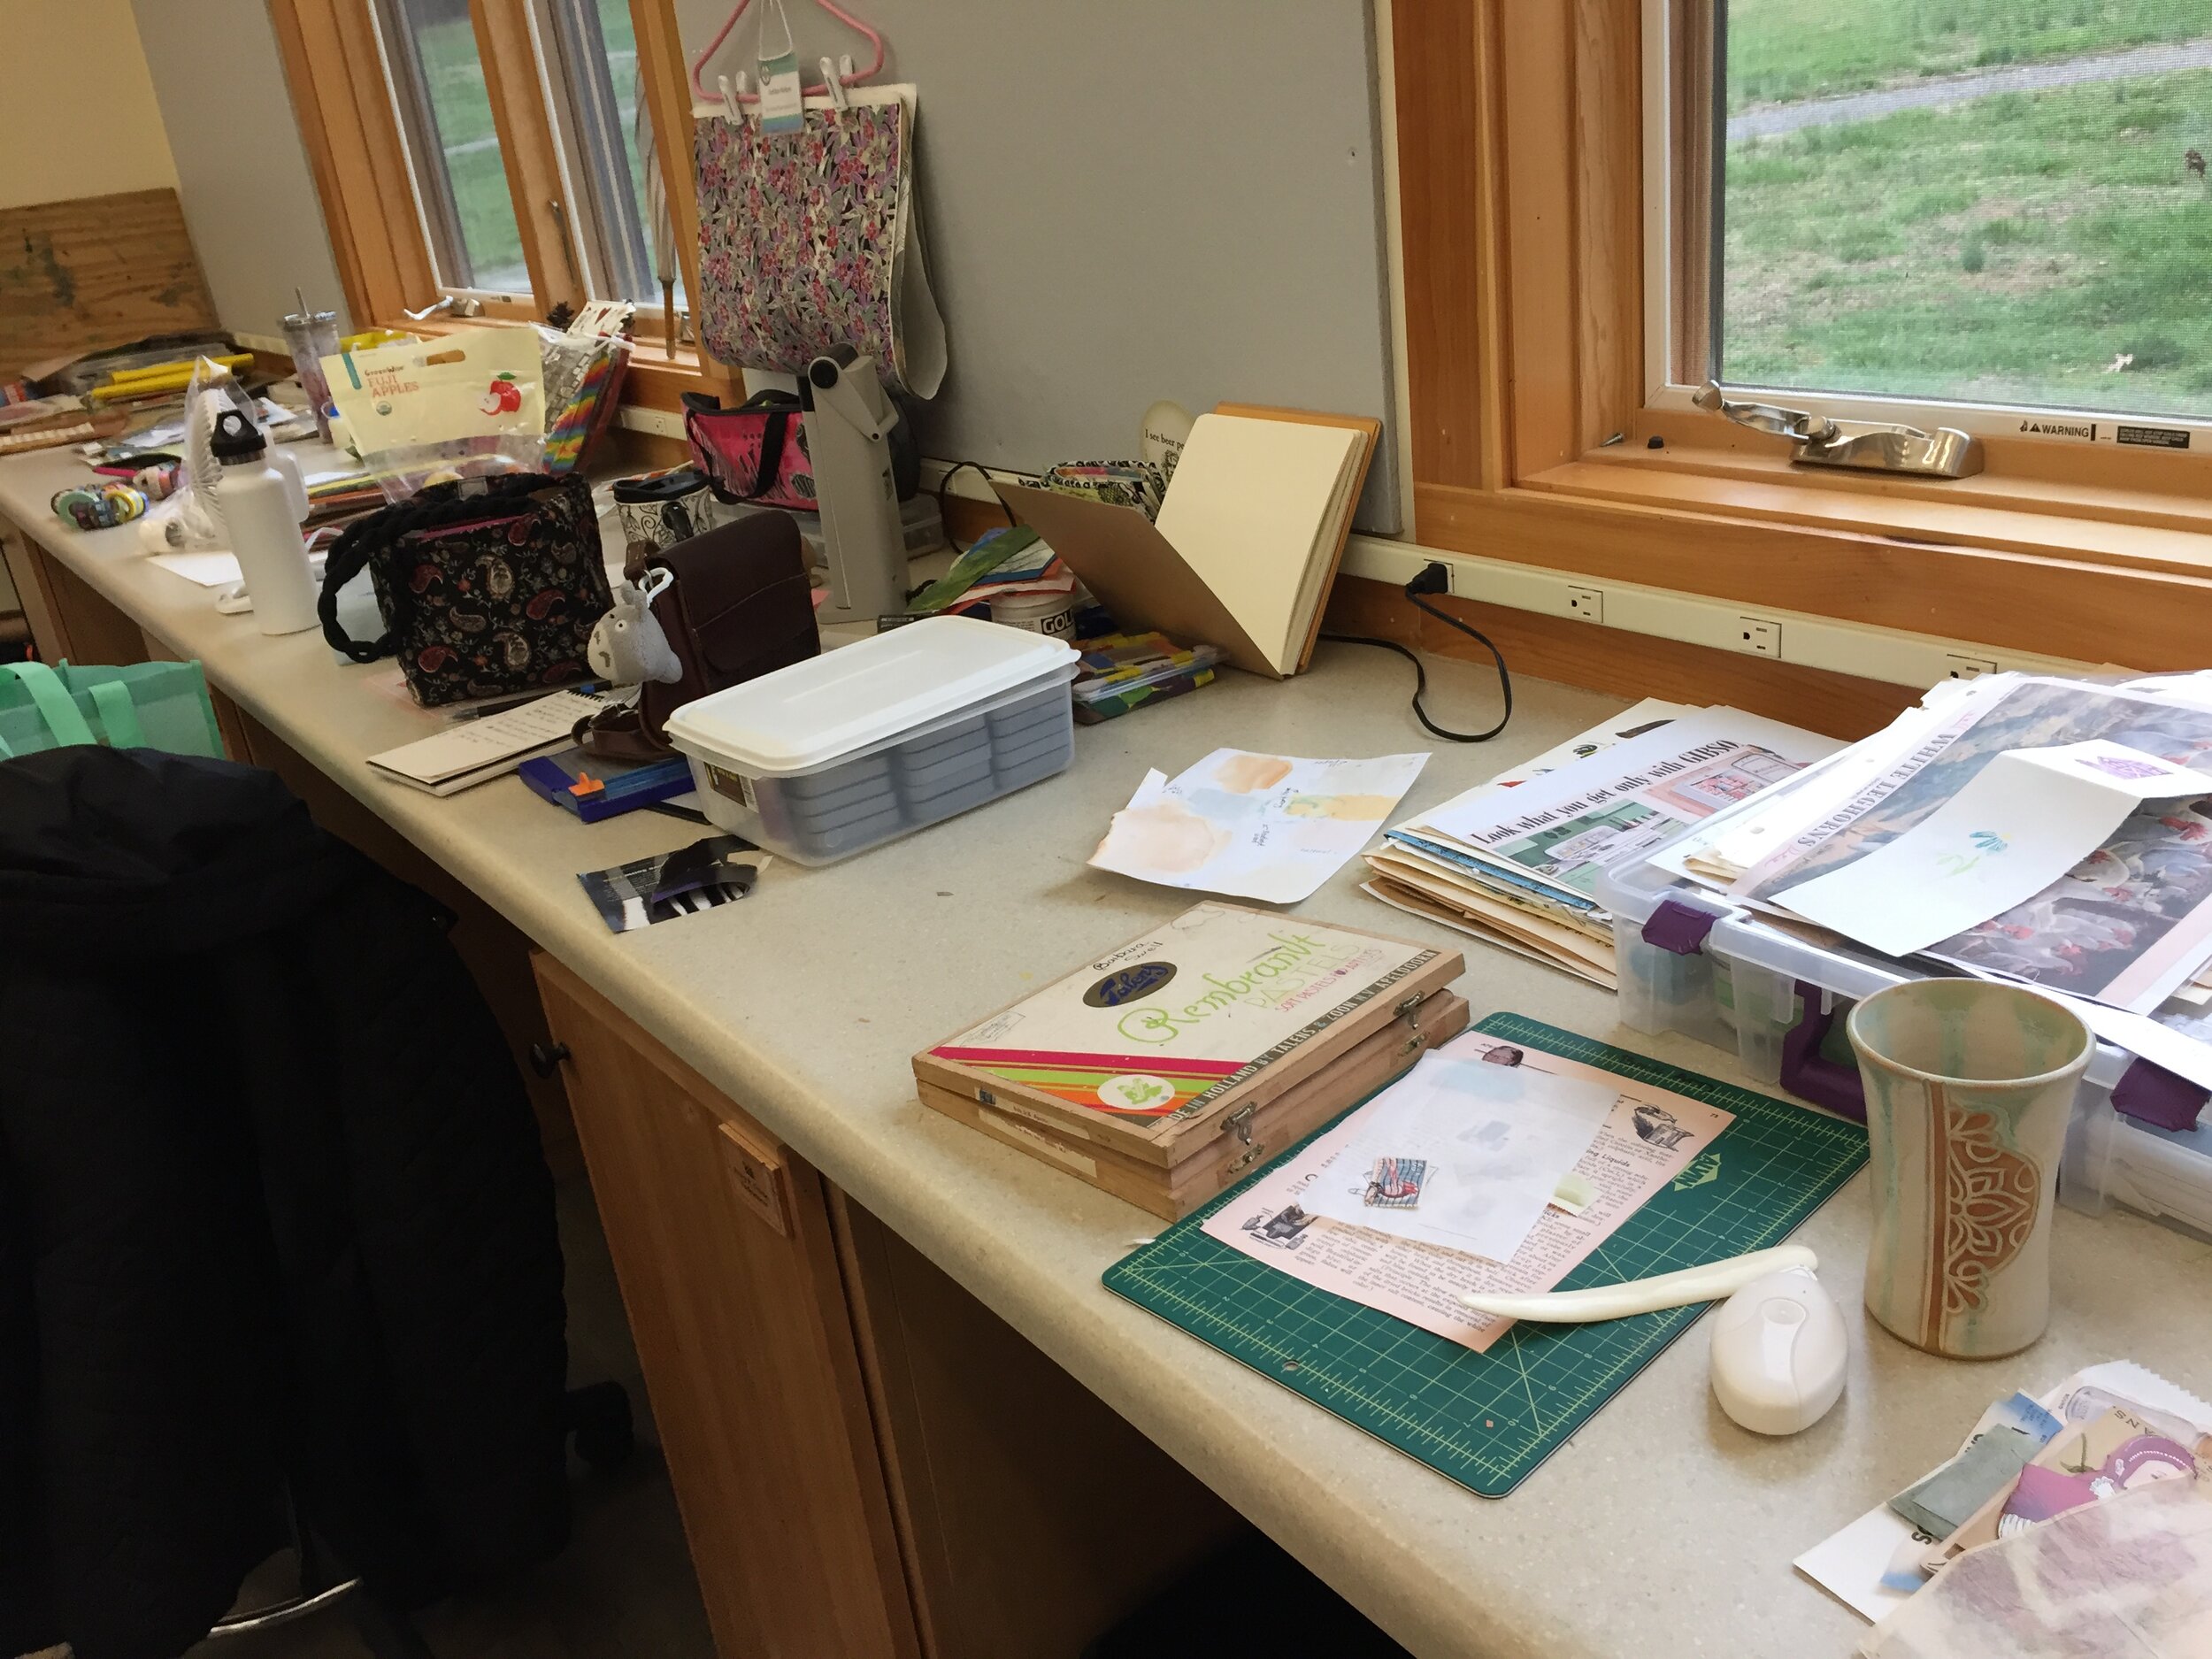
John C. Campbell is a special place. Secluded in western North Carolina, it’s a haven for craft and art enthusiasts, and it has a studio for nearly every discipline. At any given time throughout the year, a hundred or more students and instructors are working in blacksmithing, wood turning, quilting, jewelry making, and much, much more. I was fortunate to spend my week in the Paper and Book Arts studio and work with nine wonderful students.

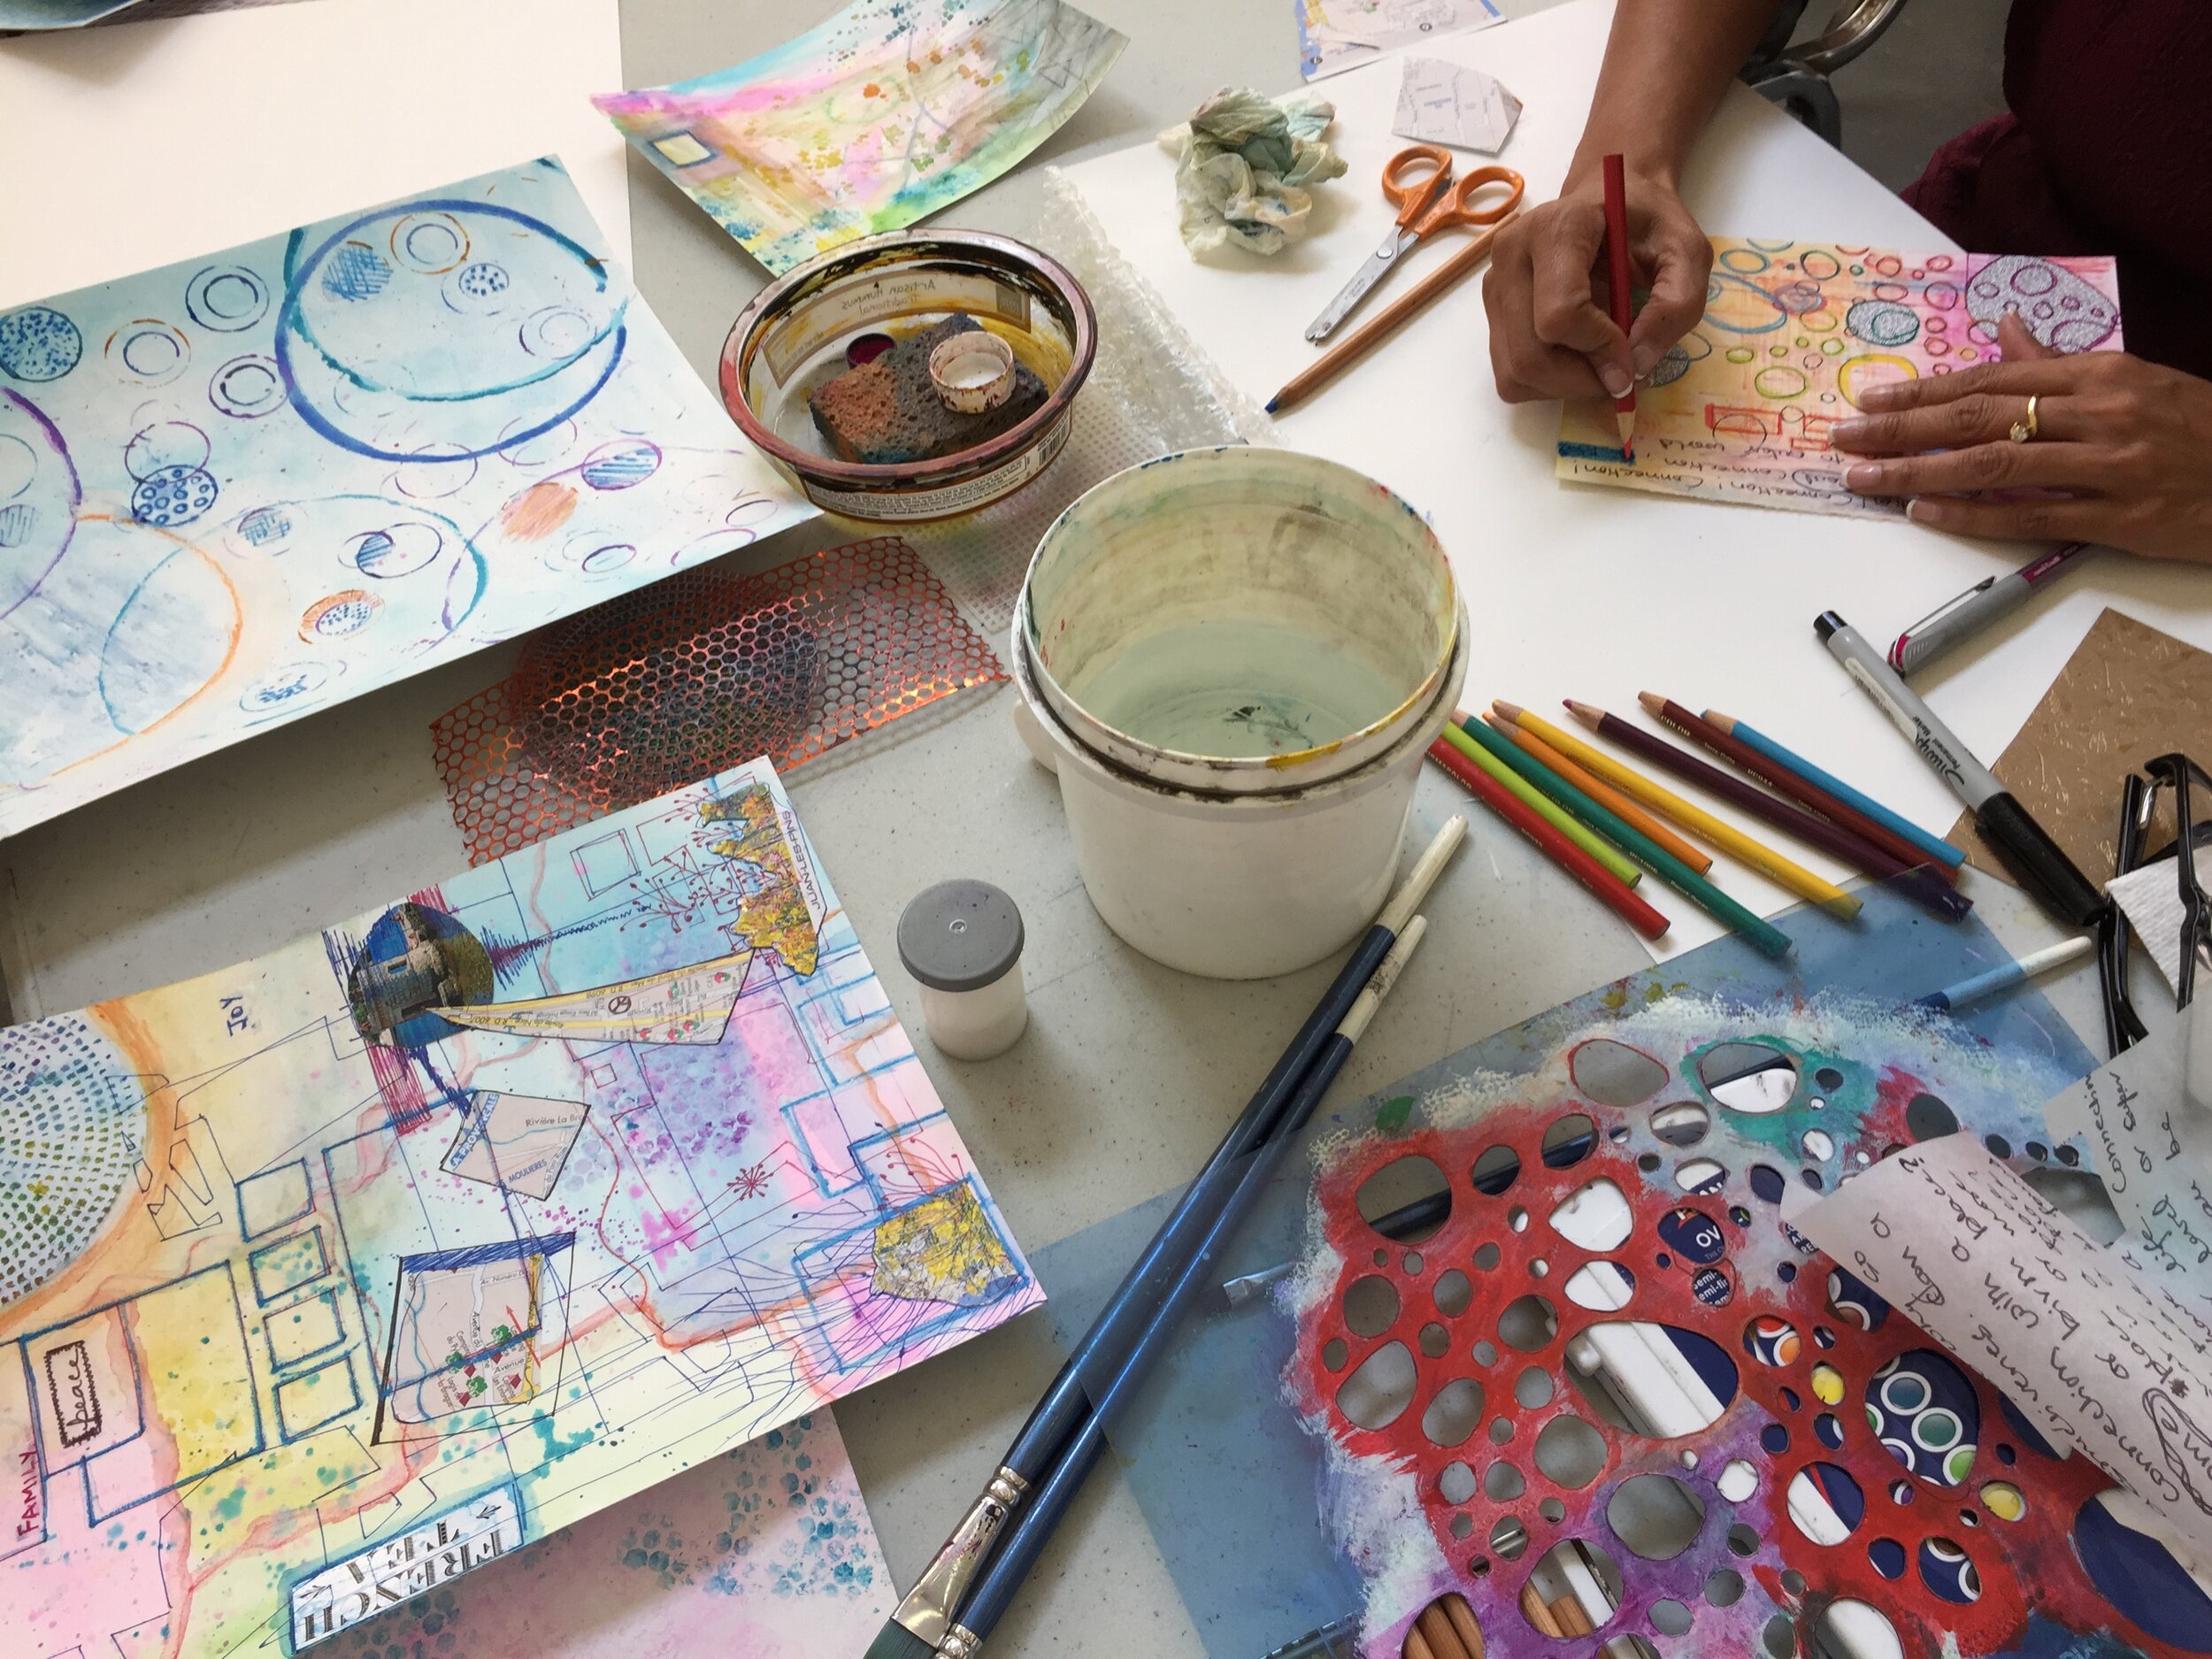
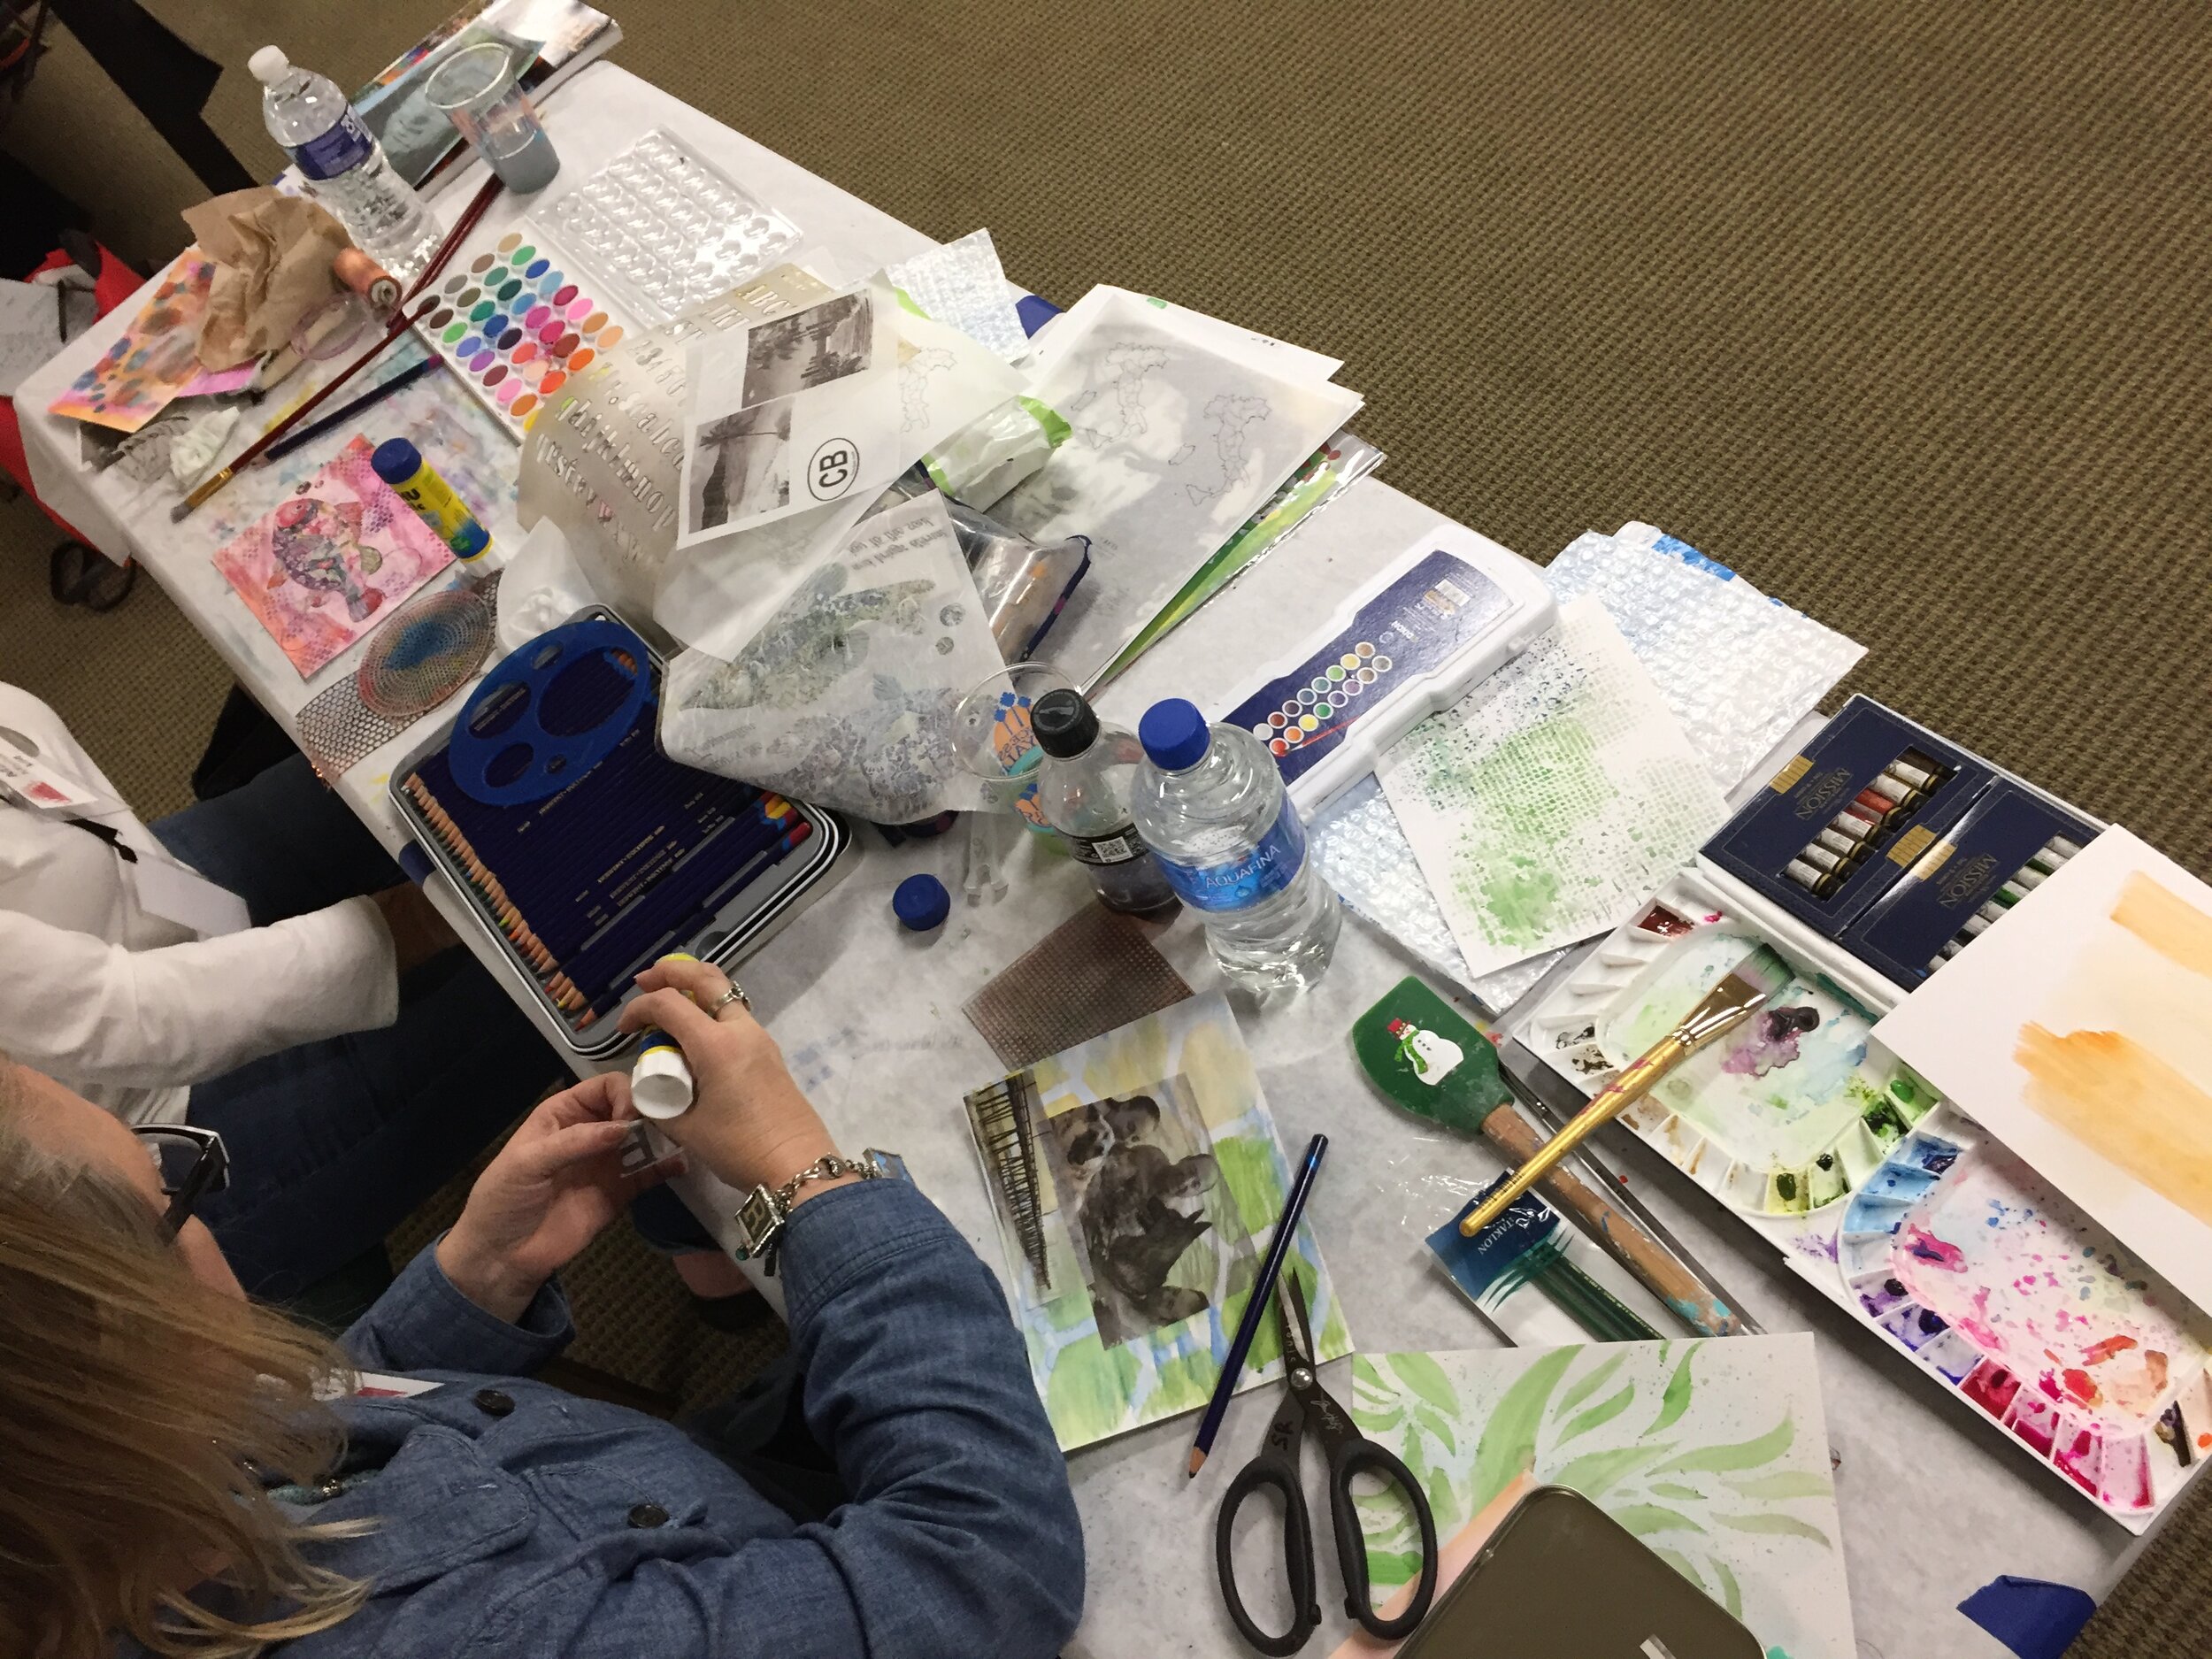
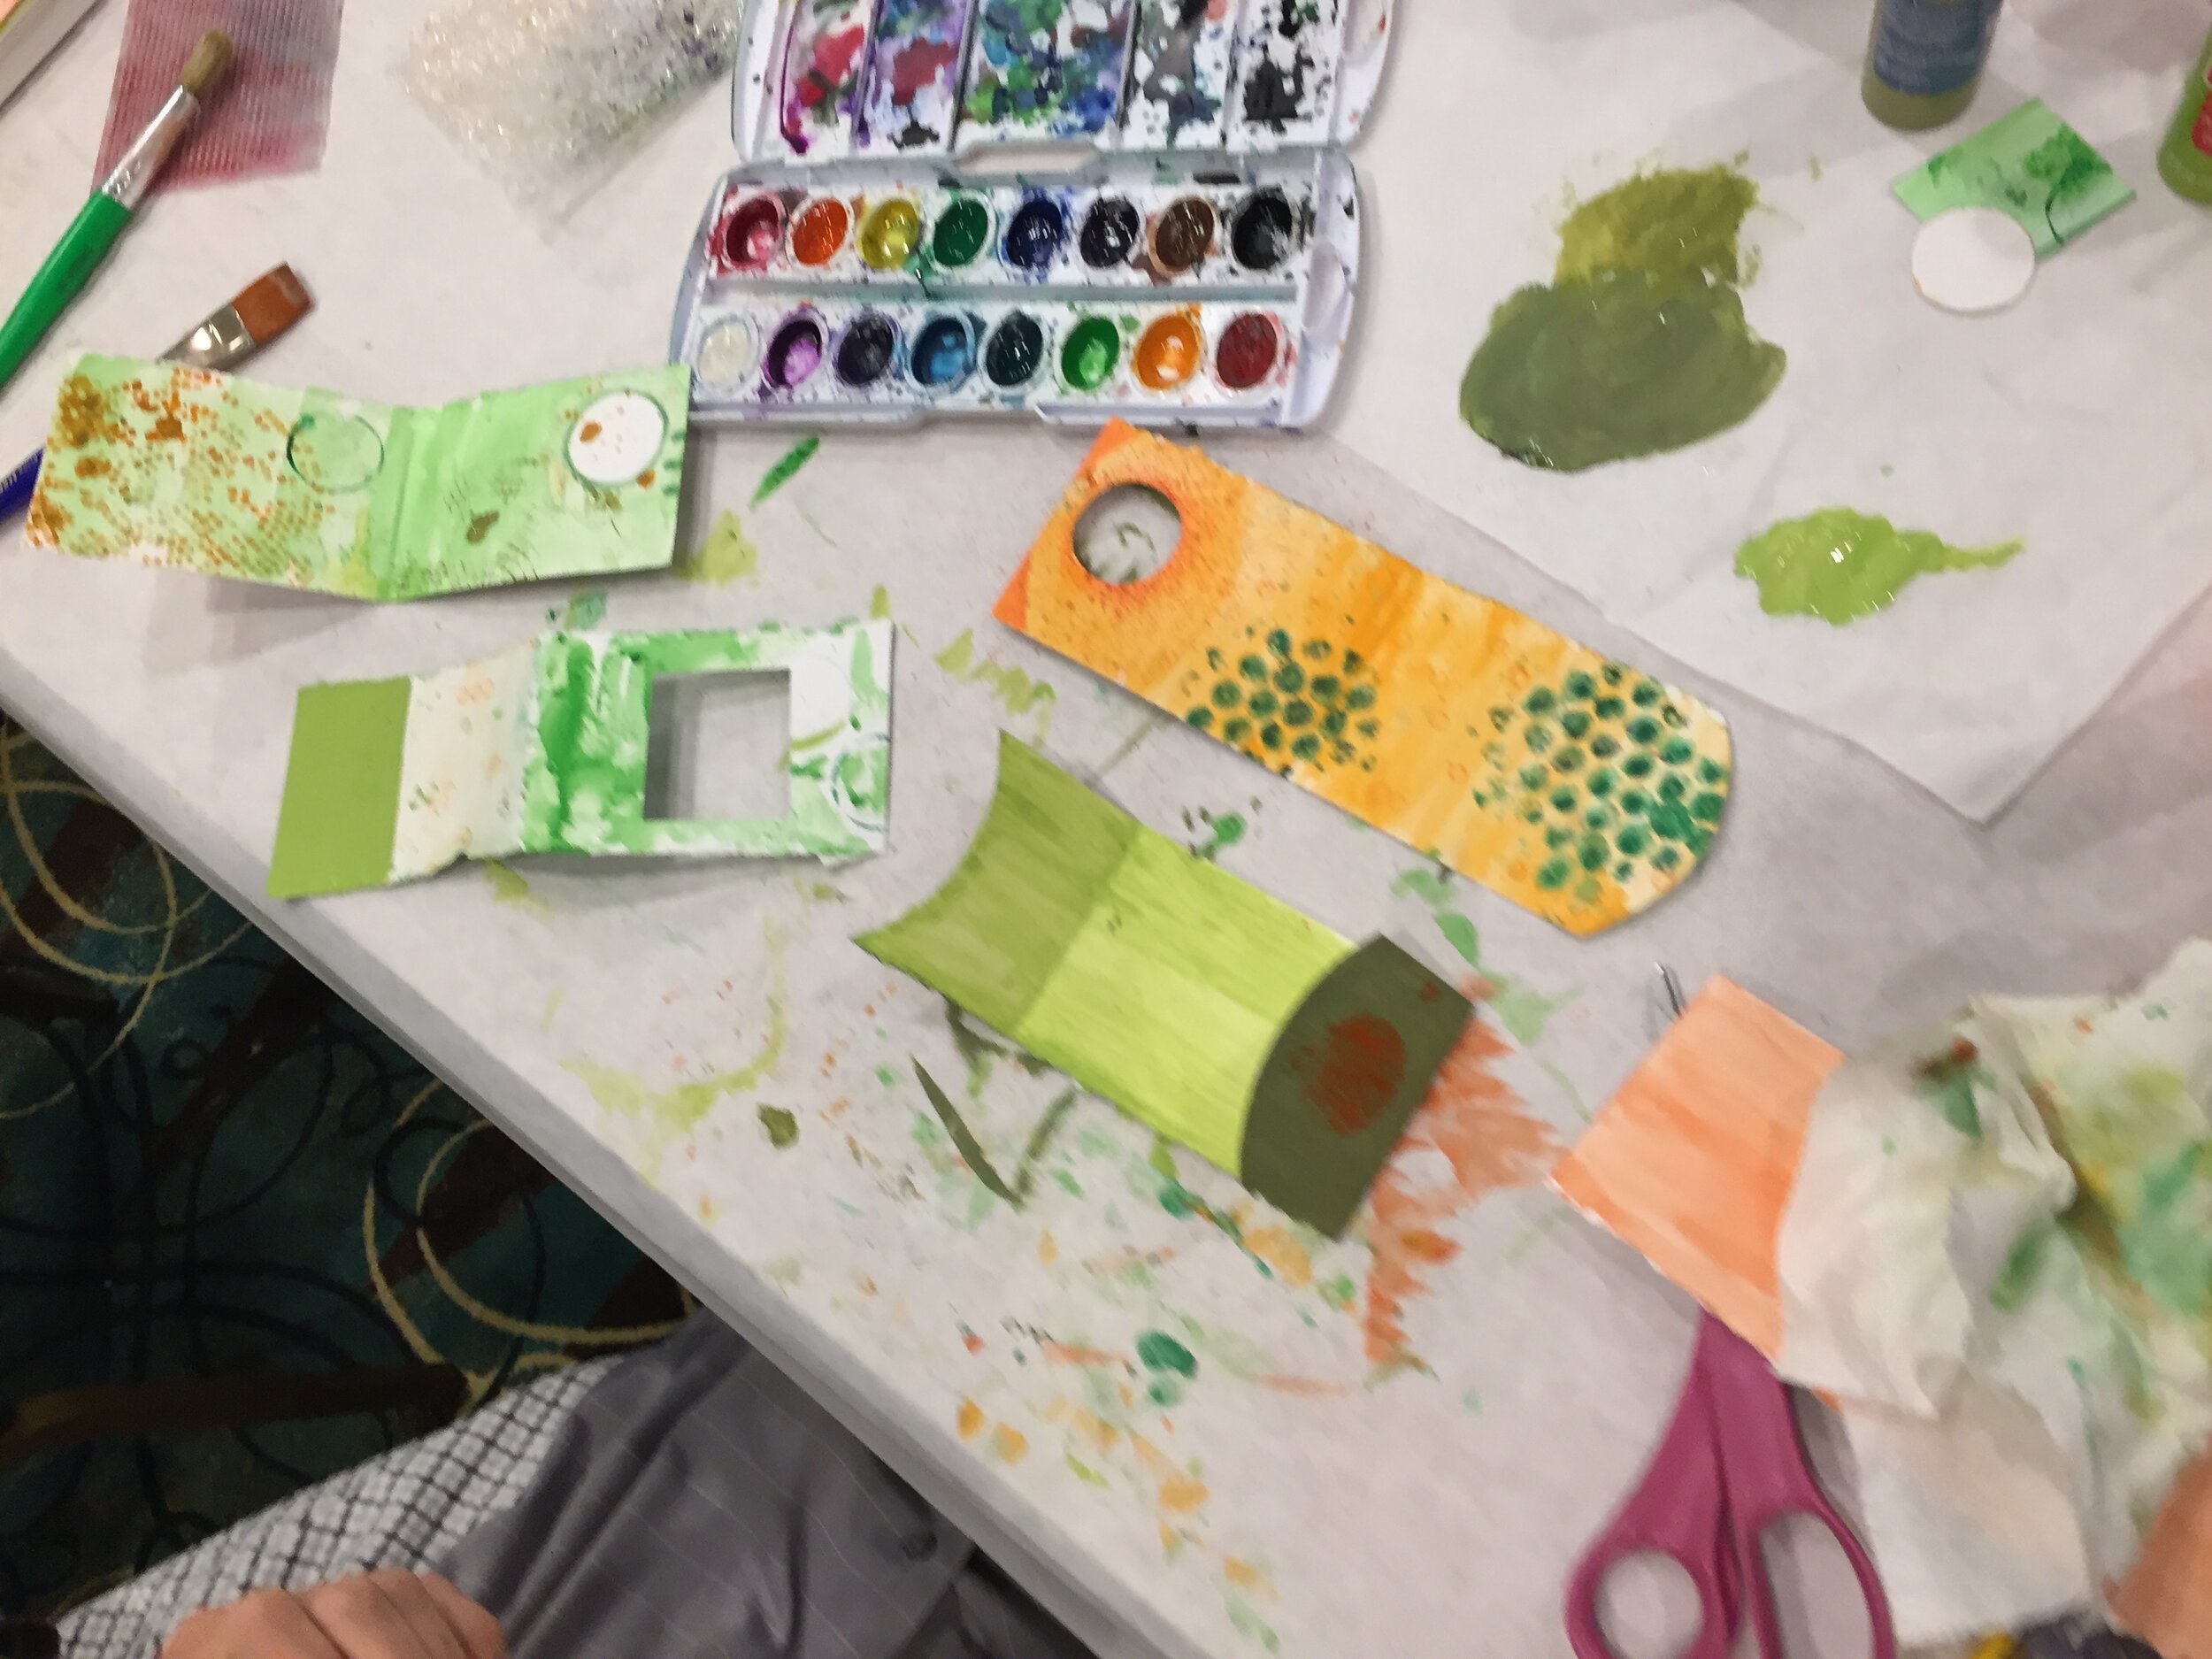
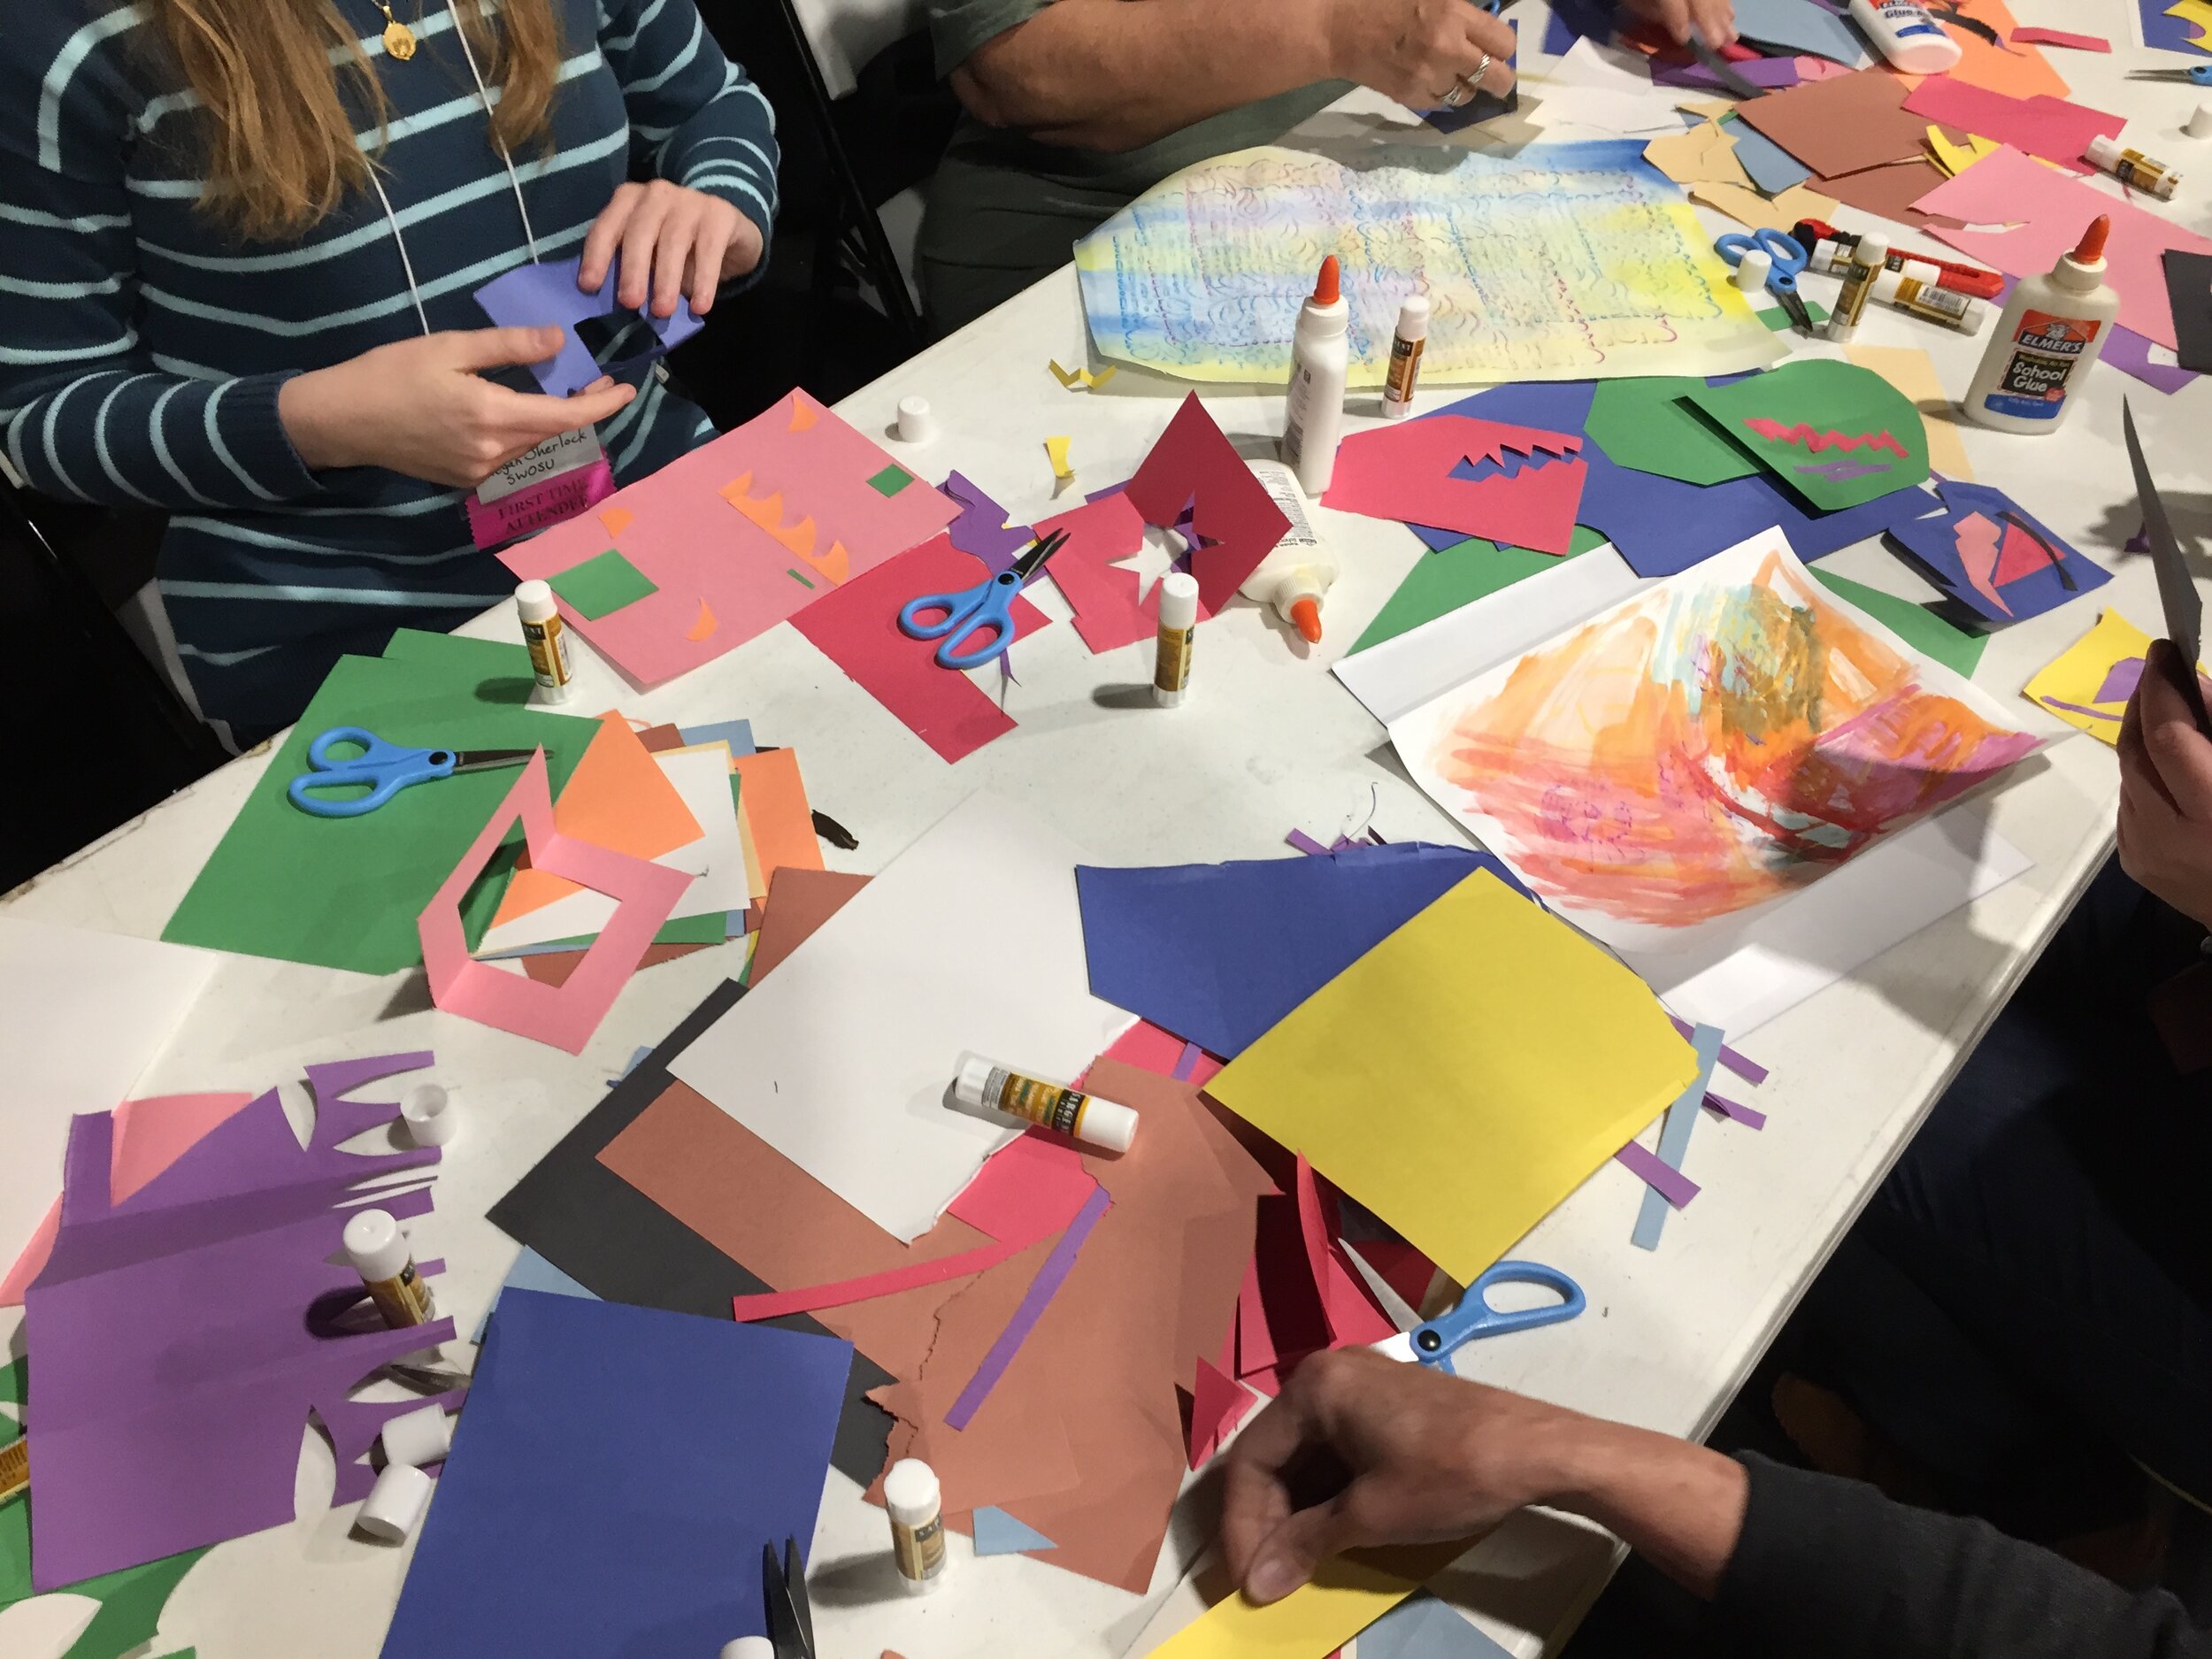
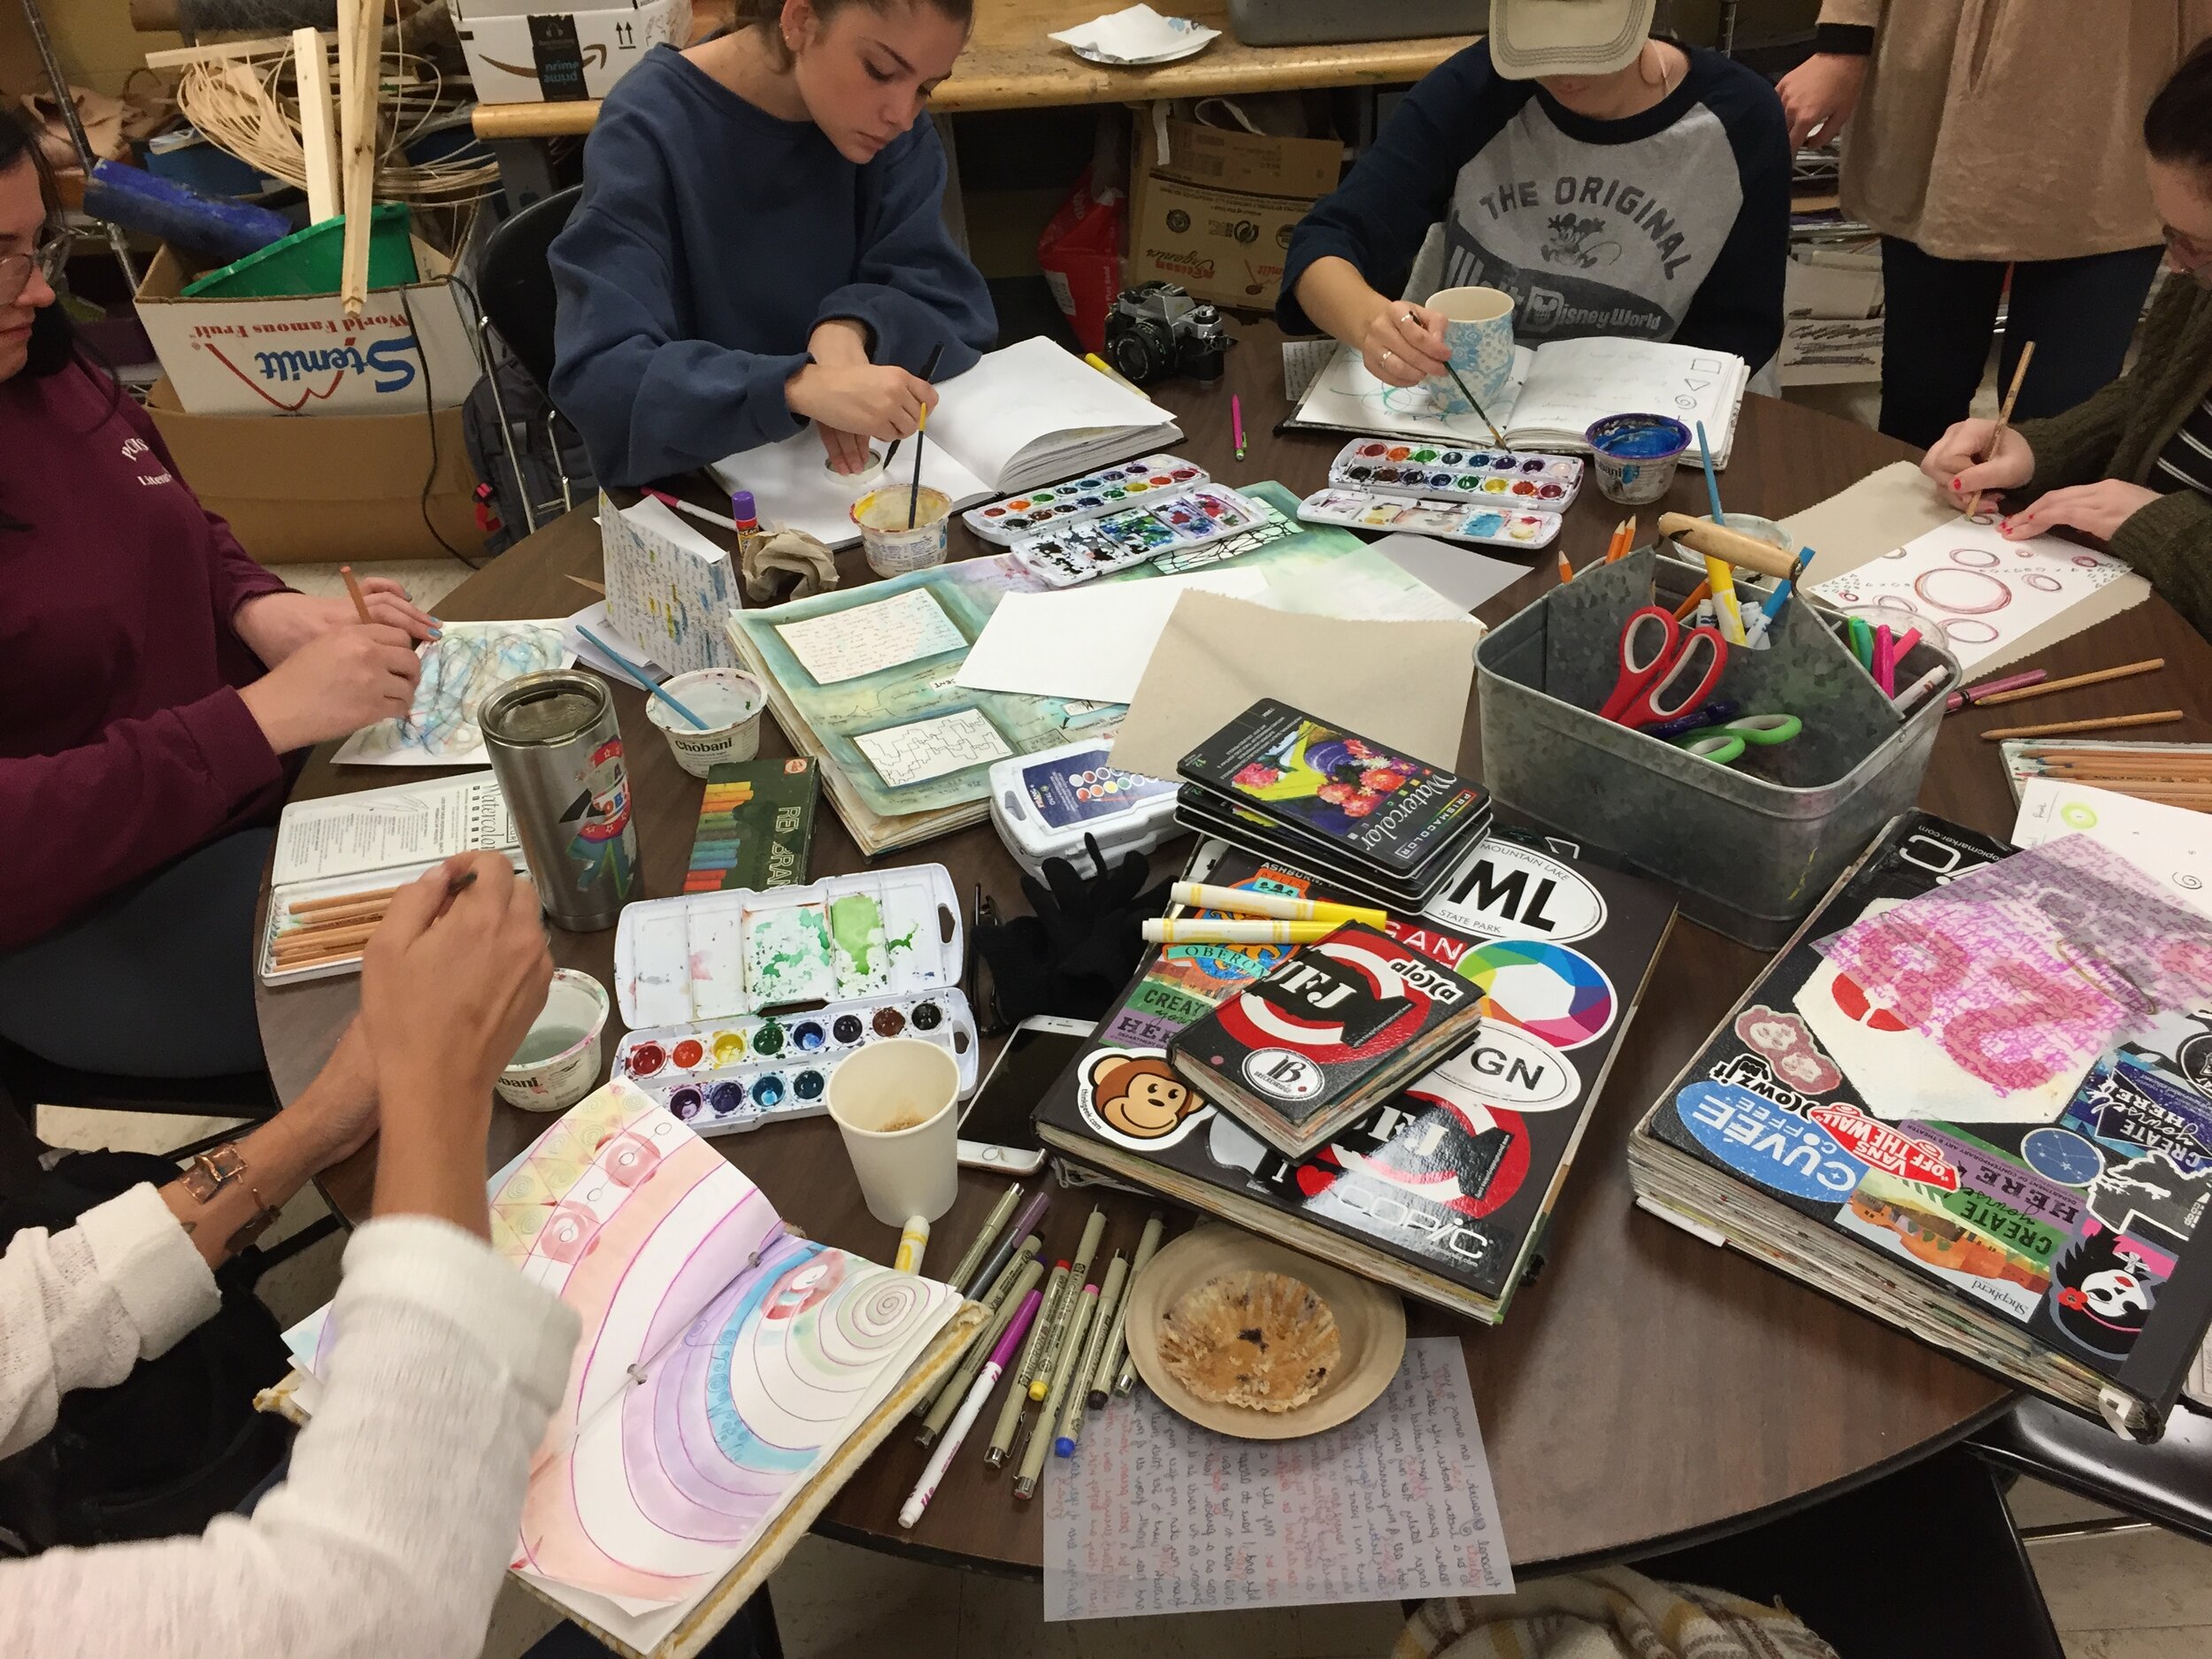
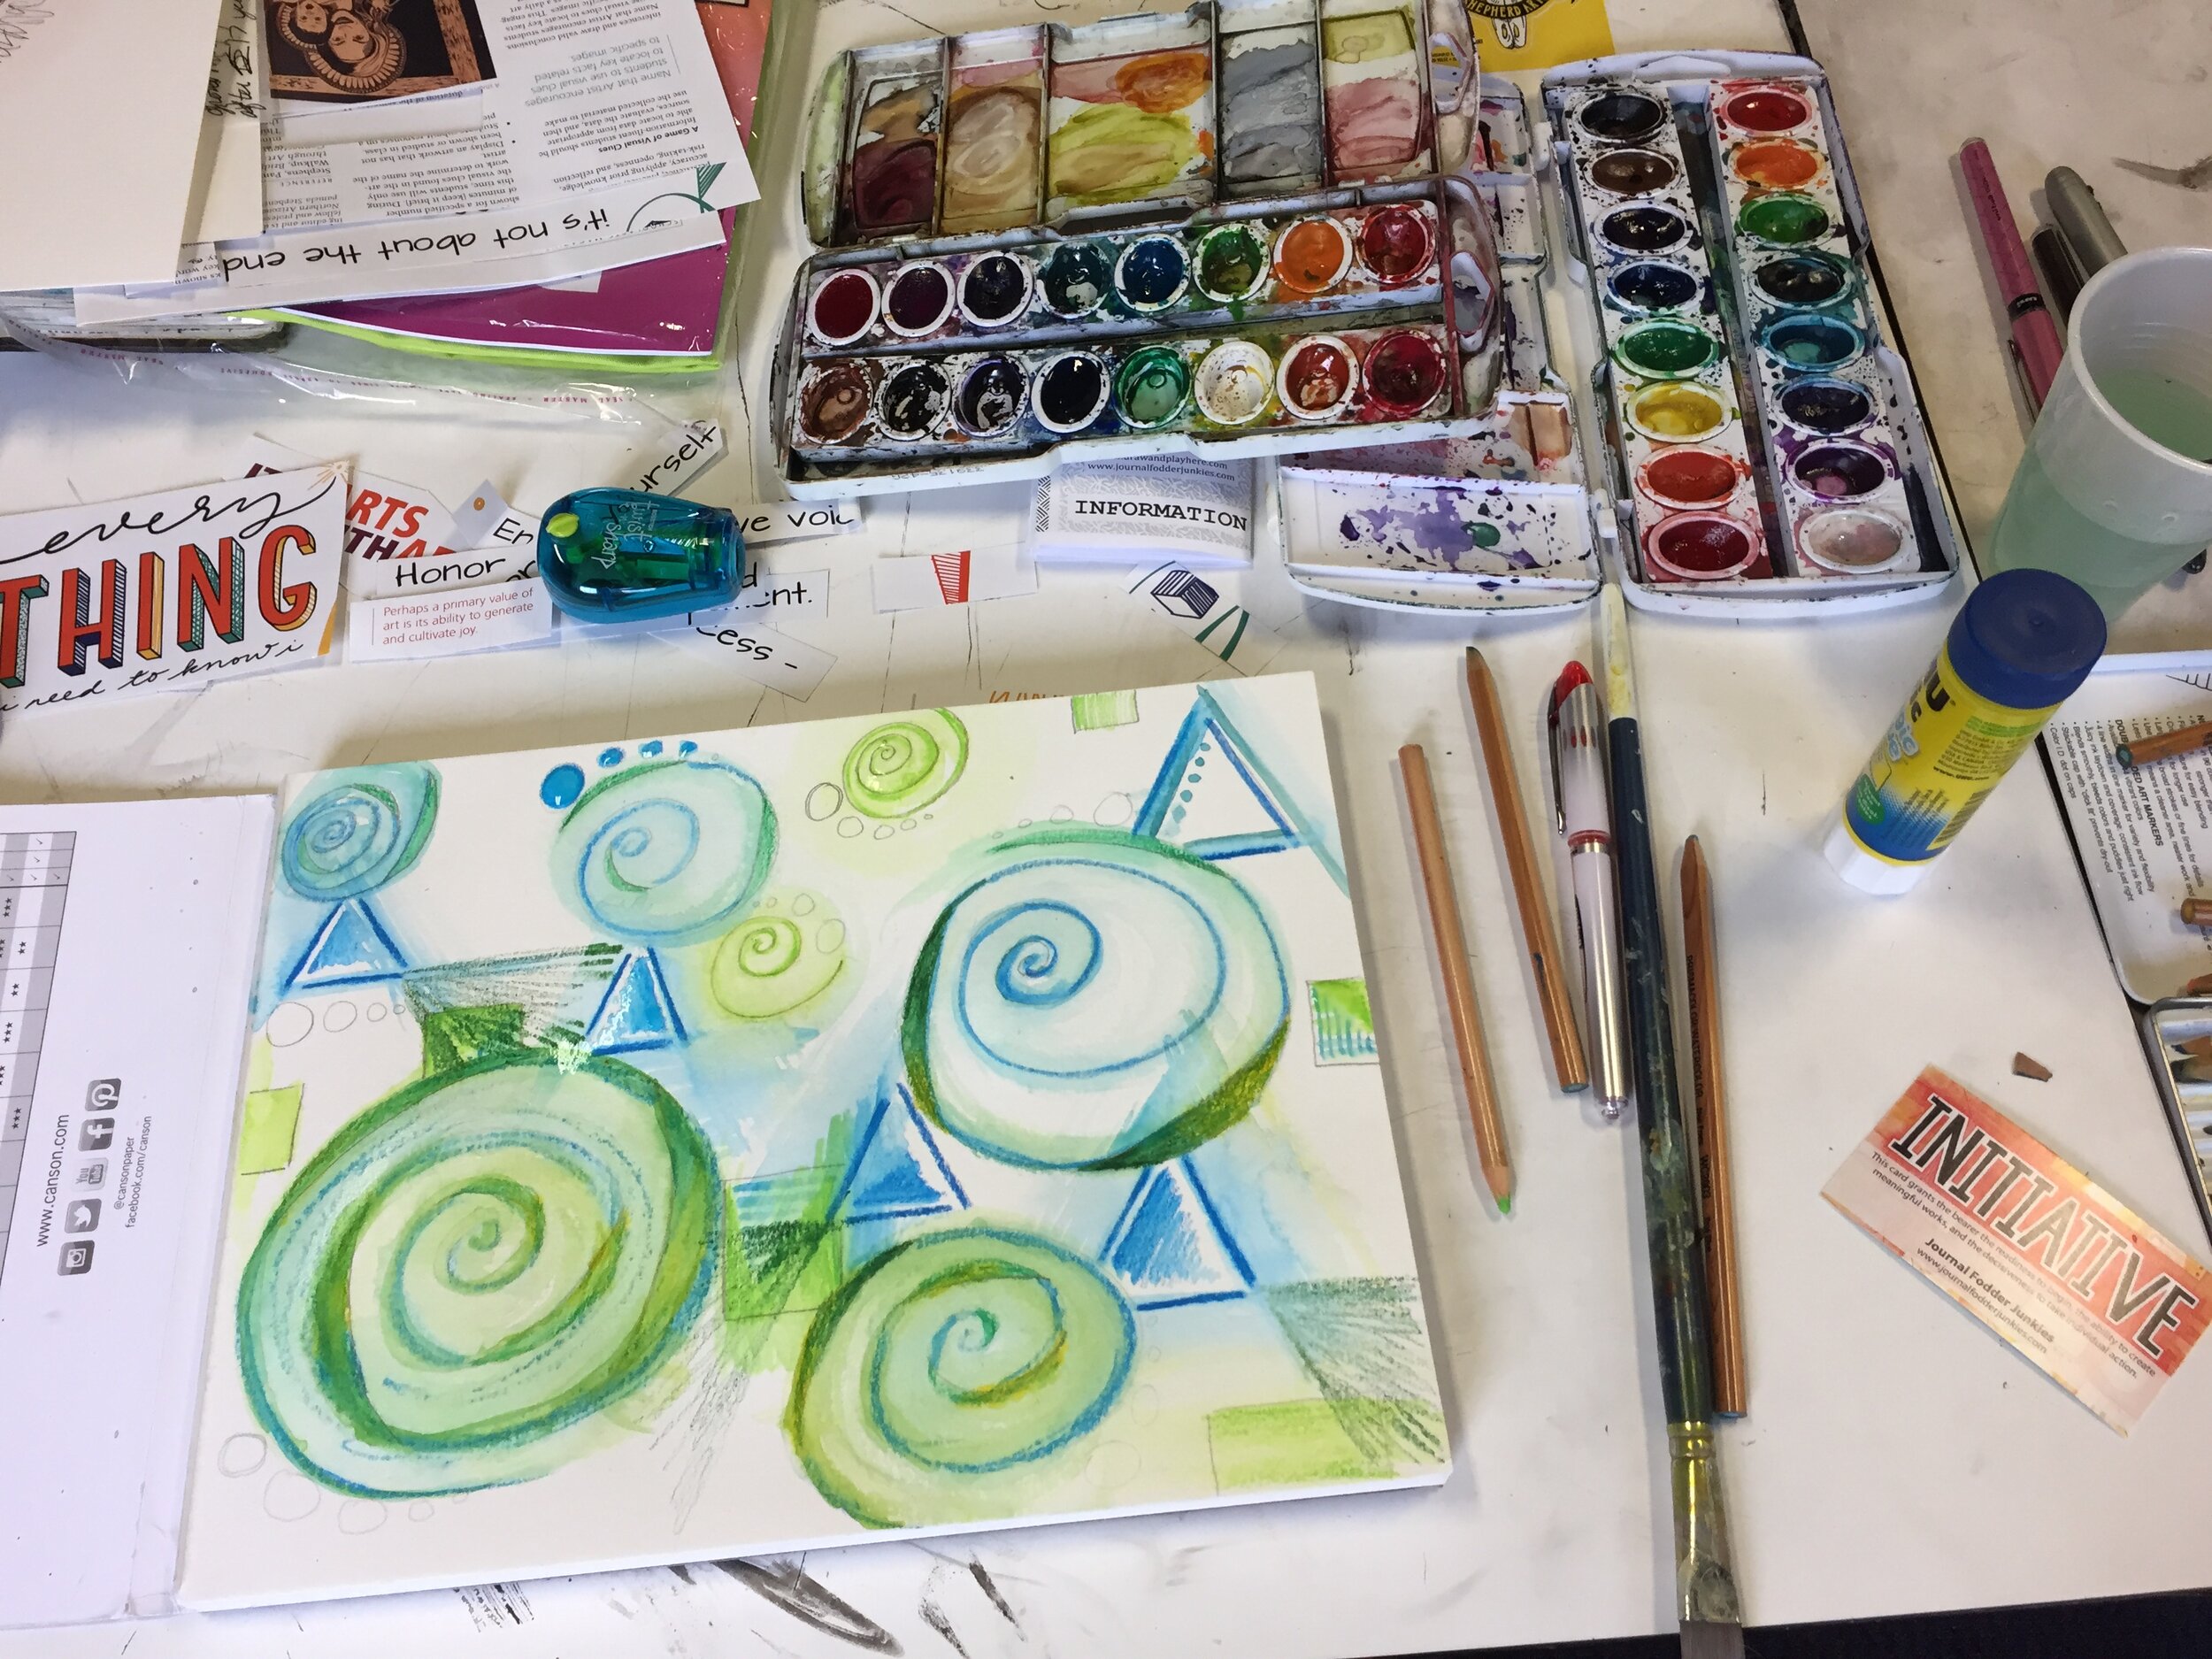
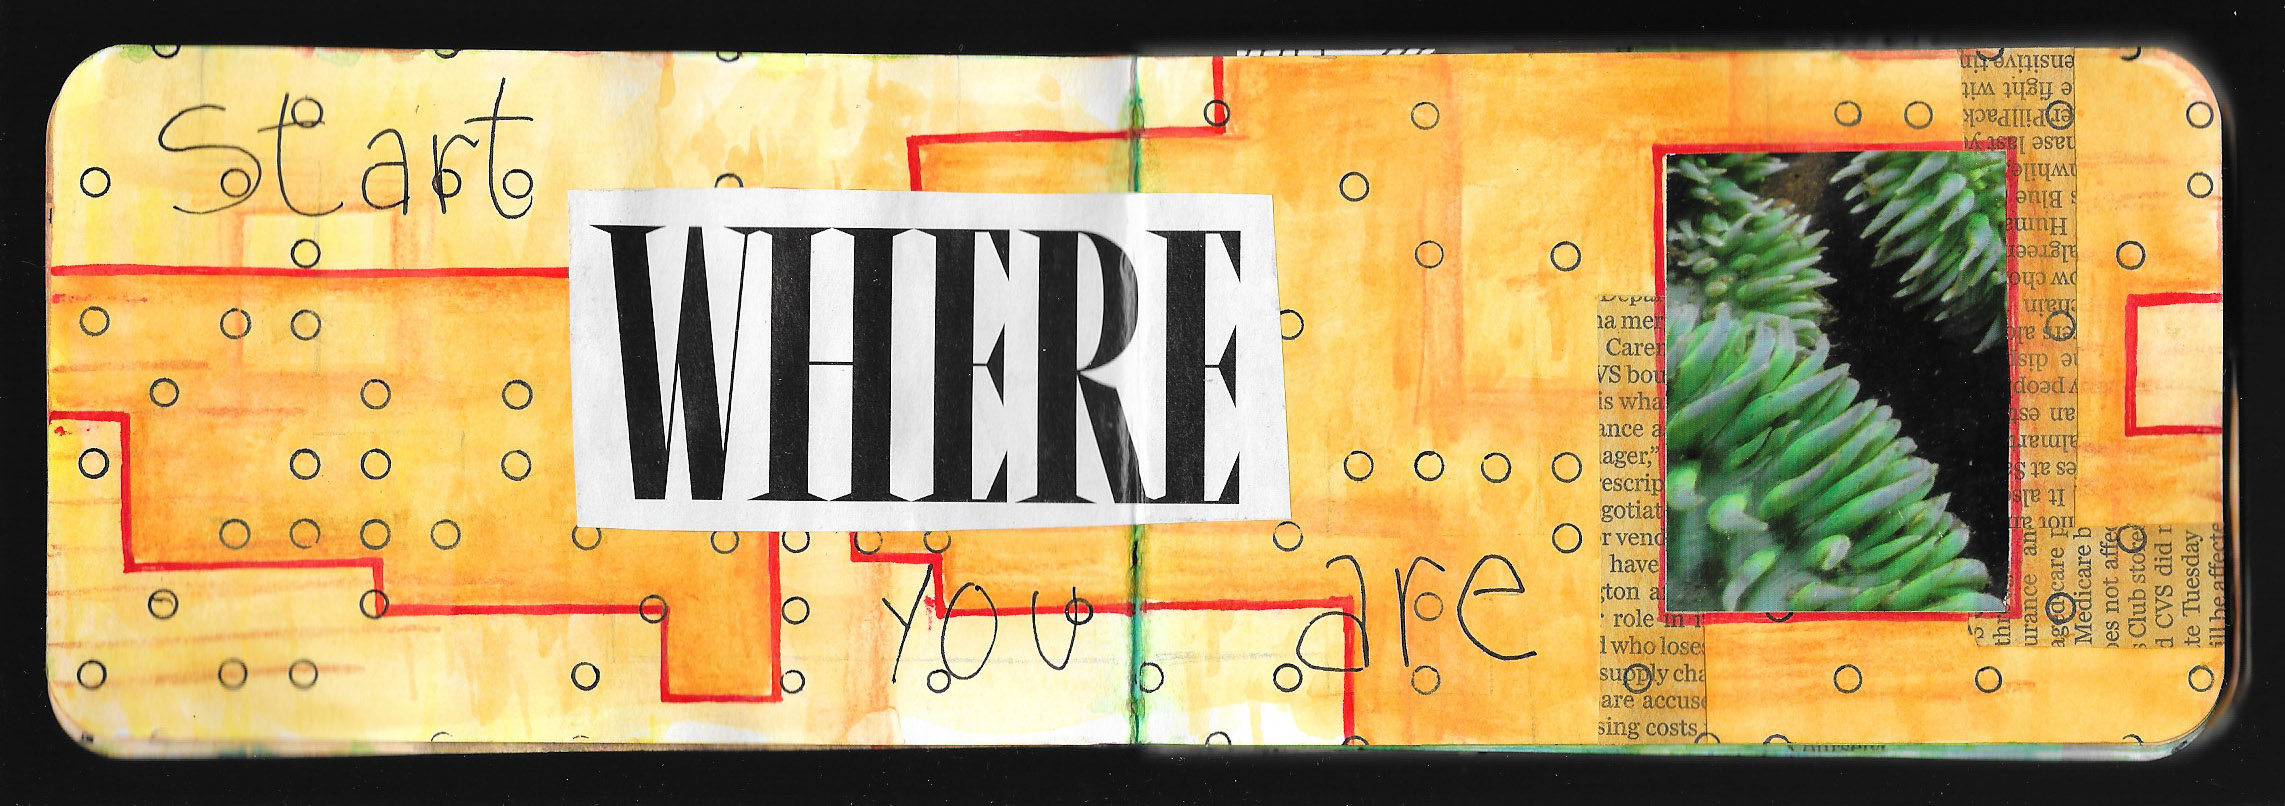
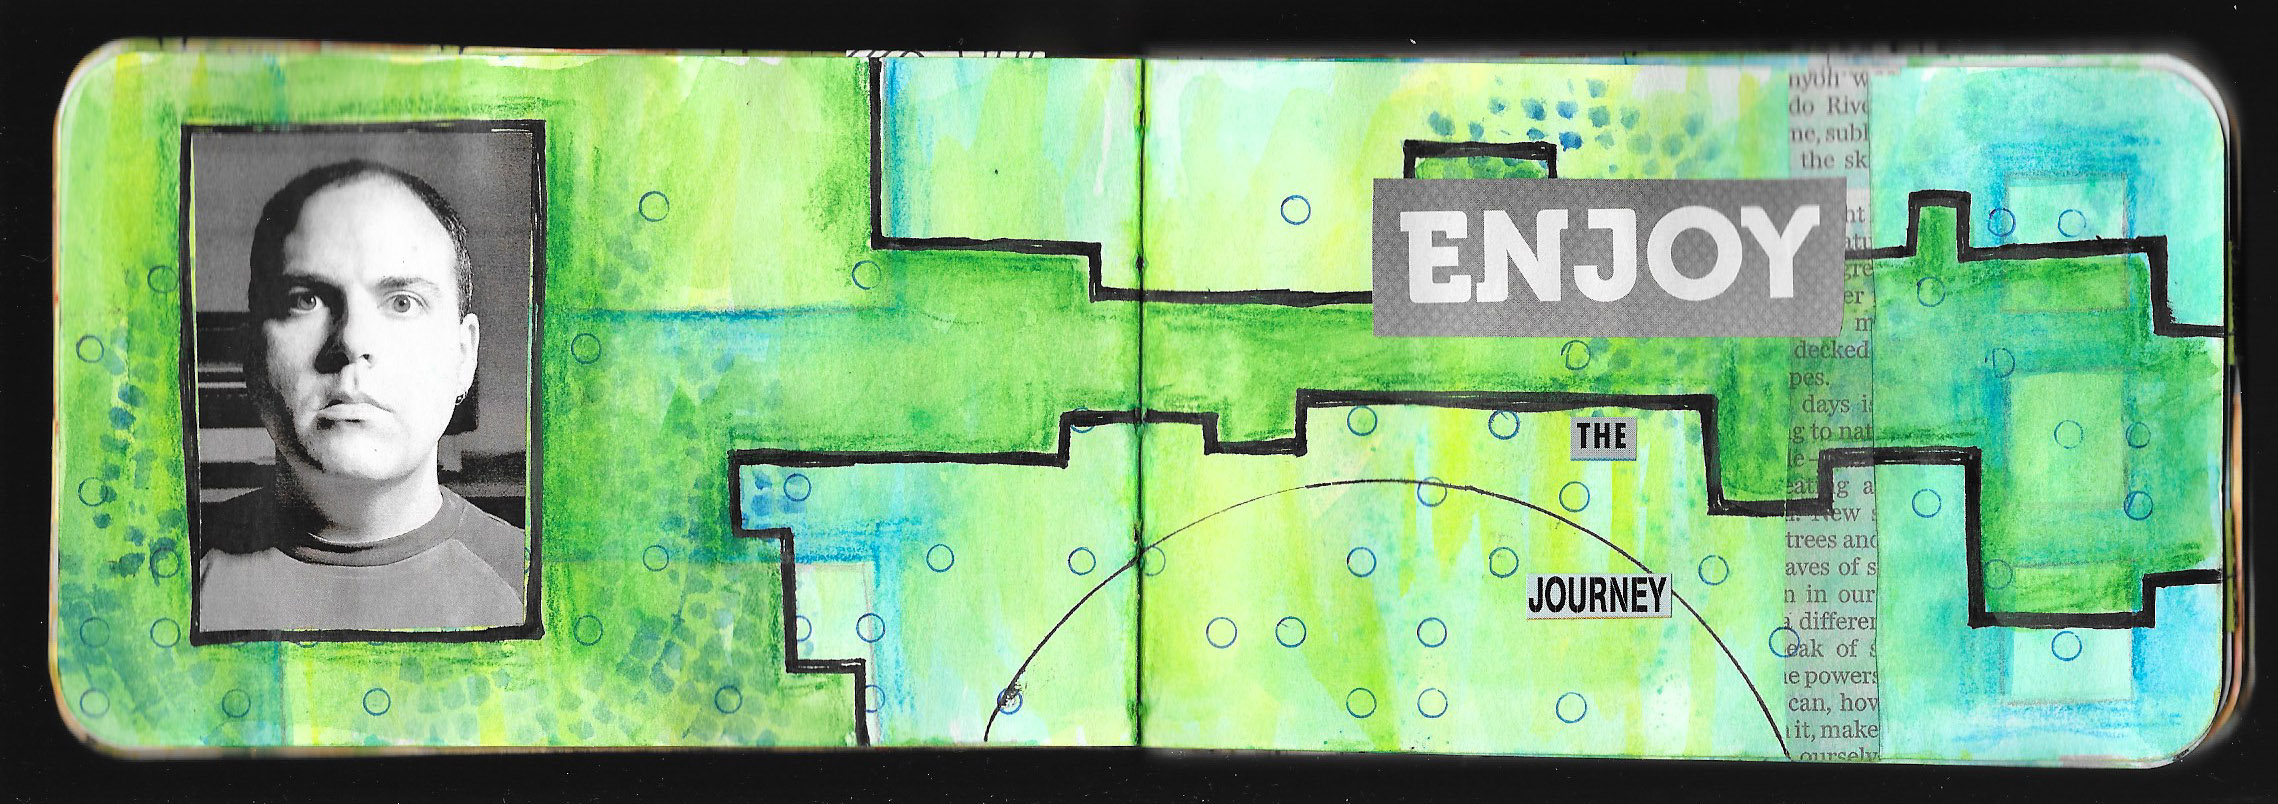
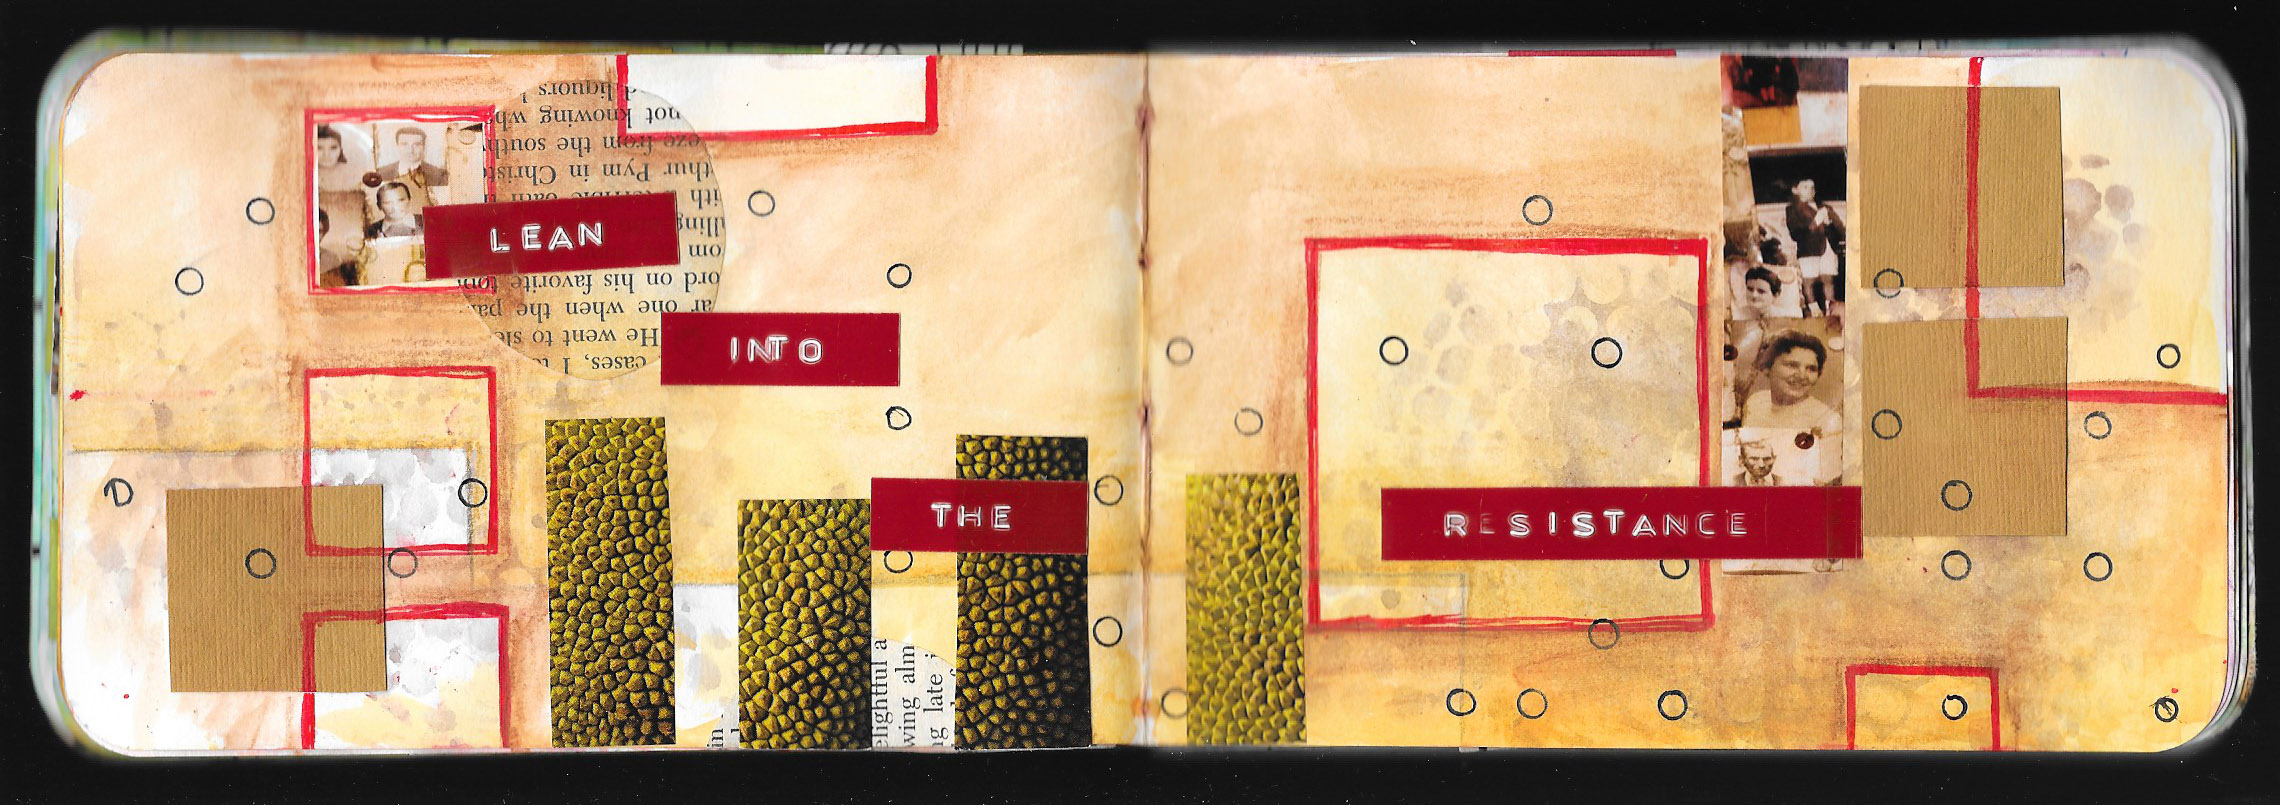
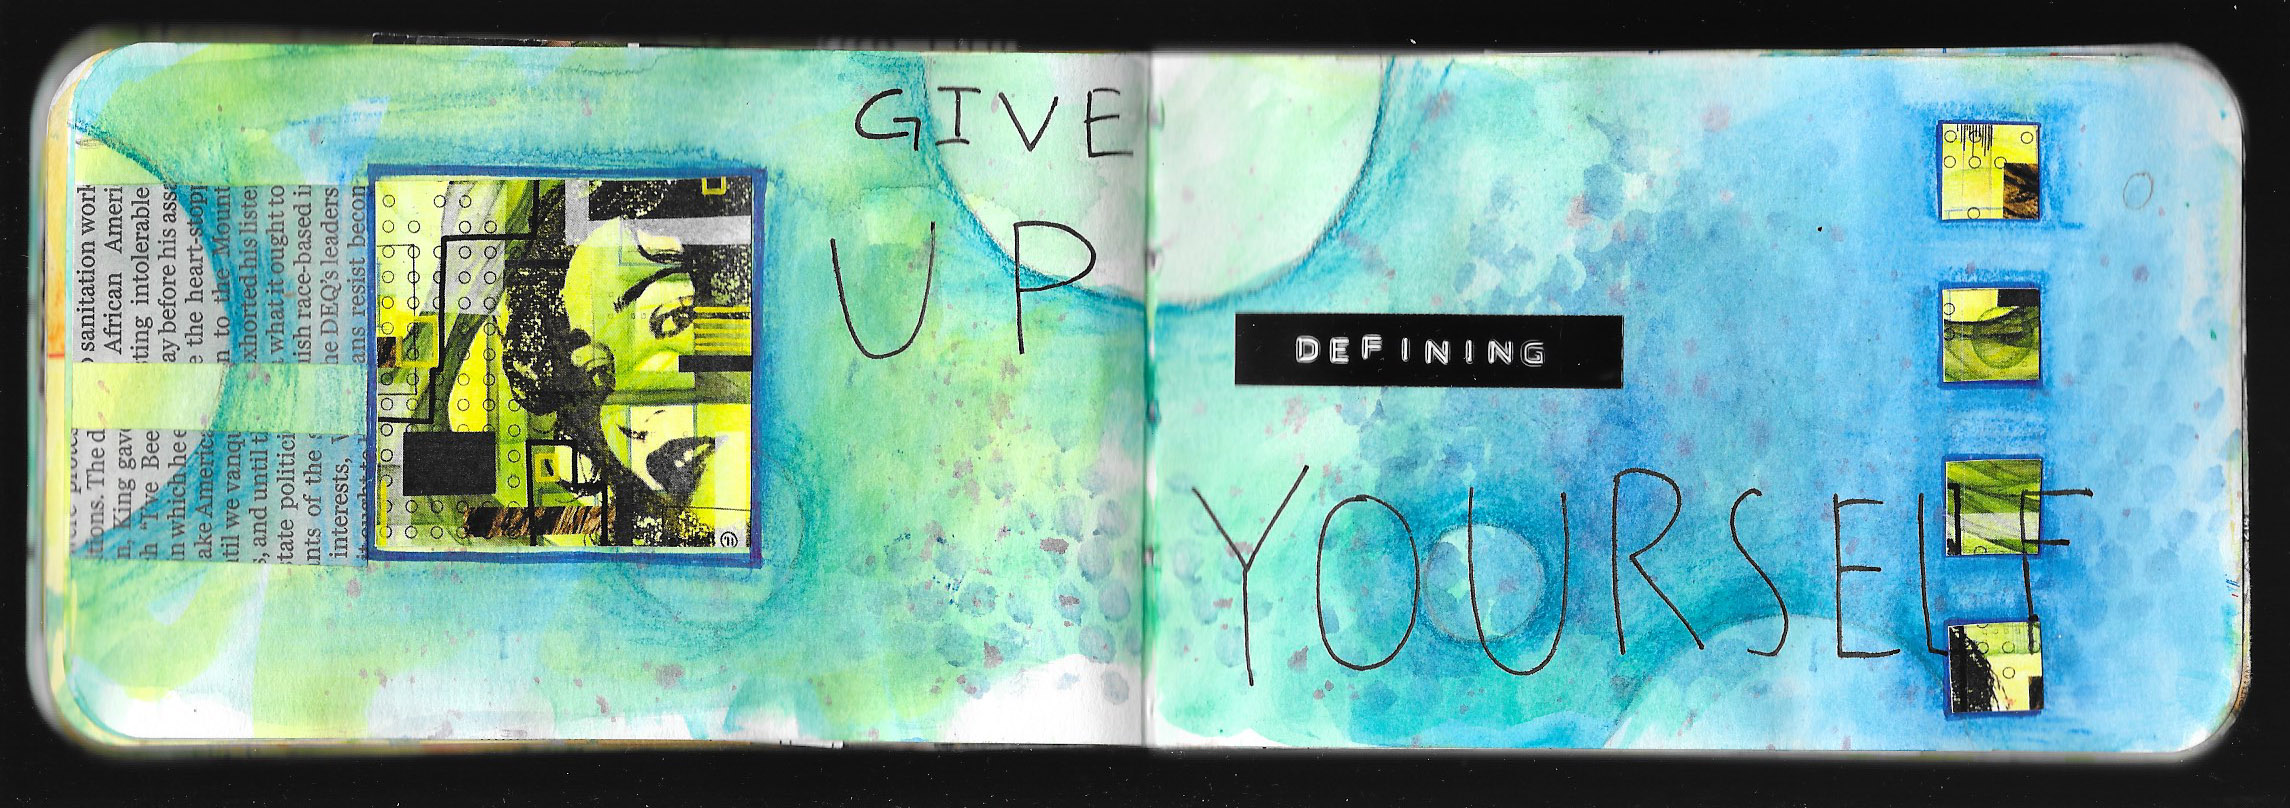
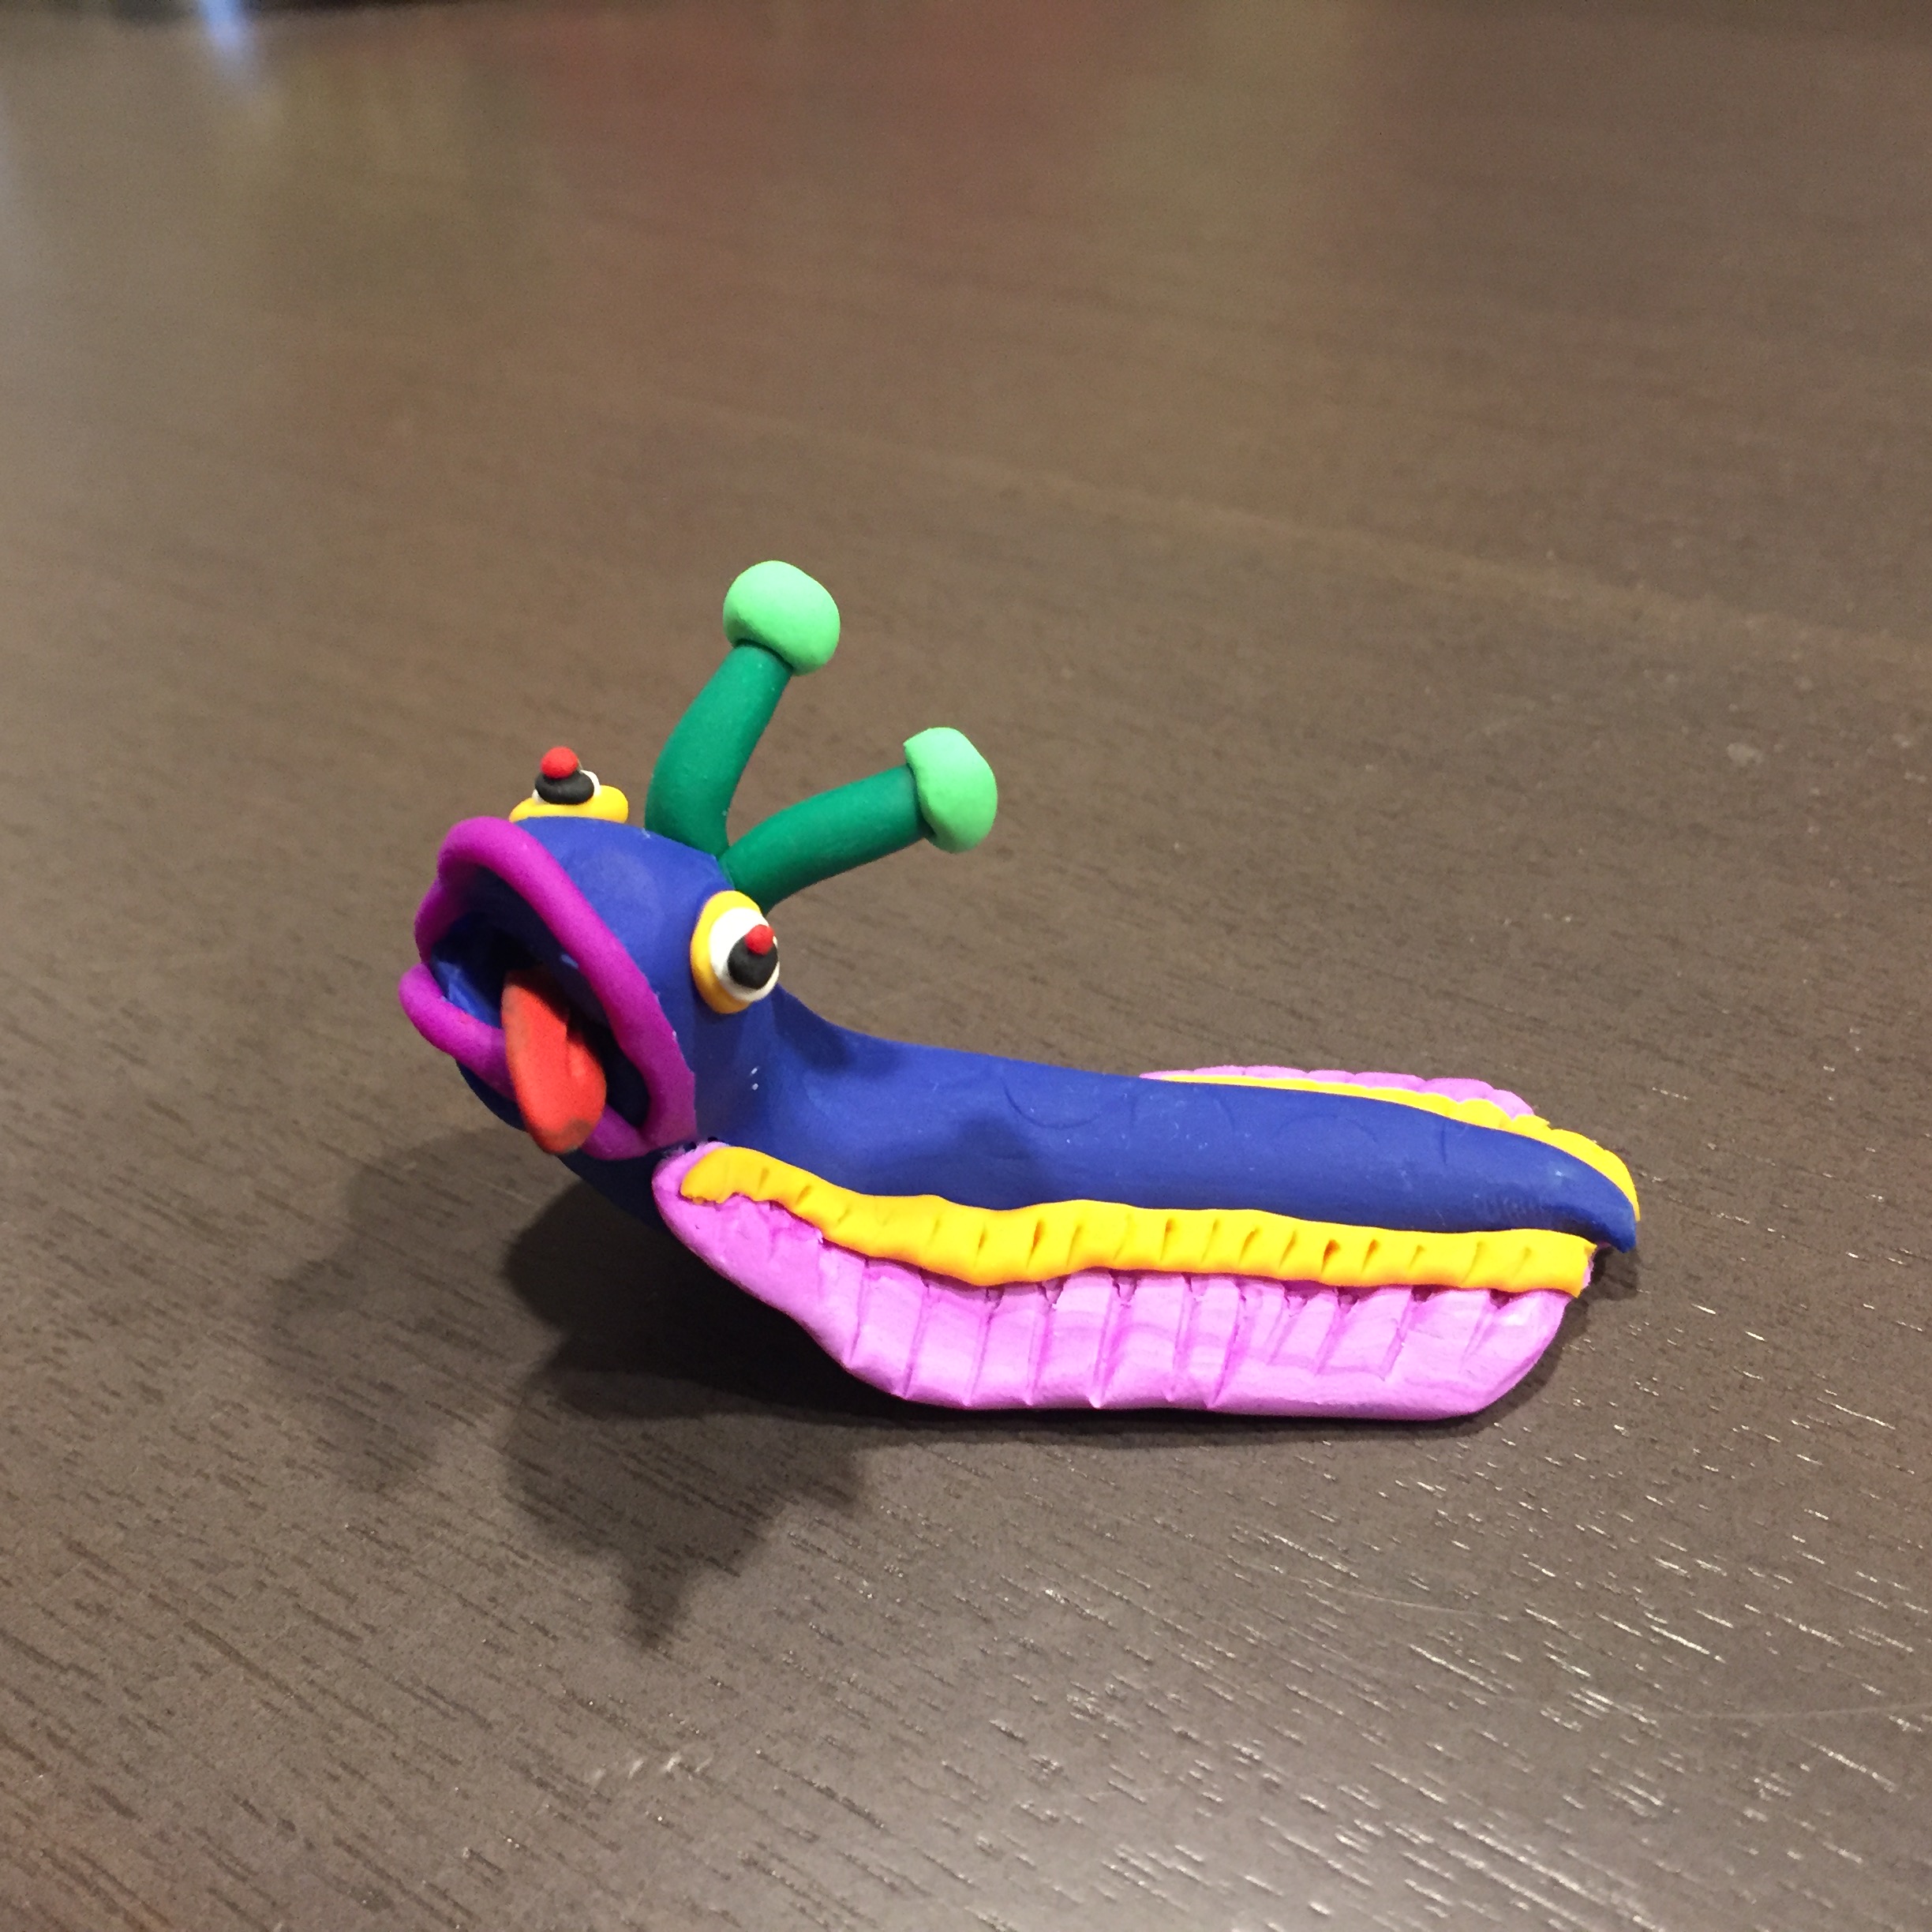
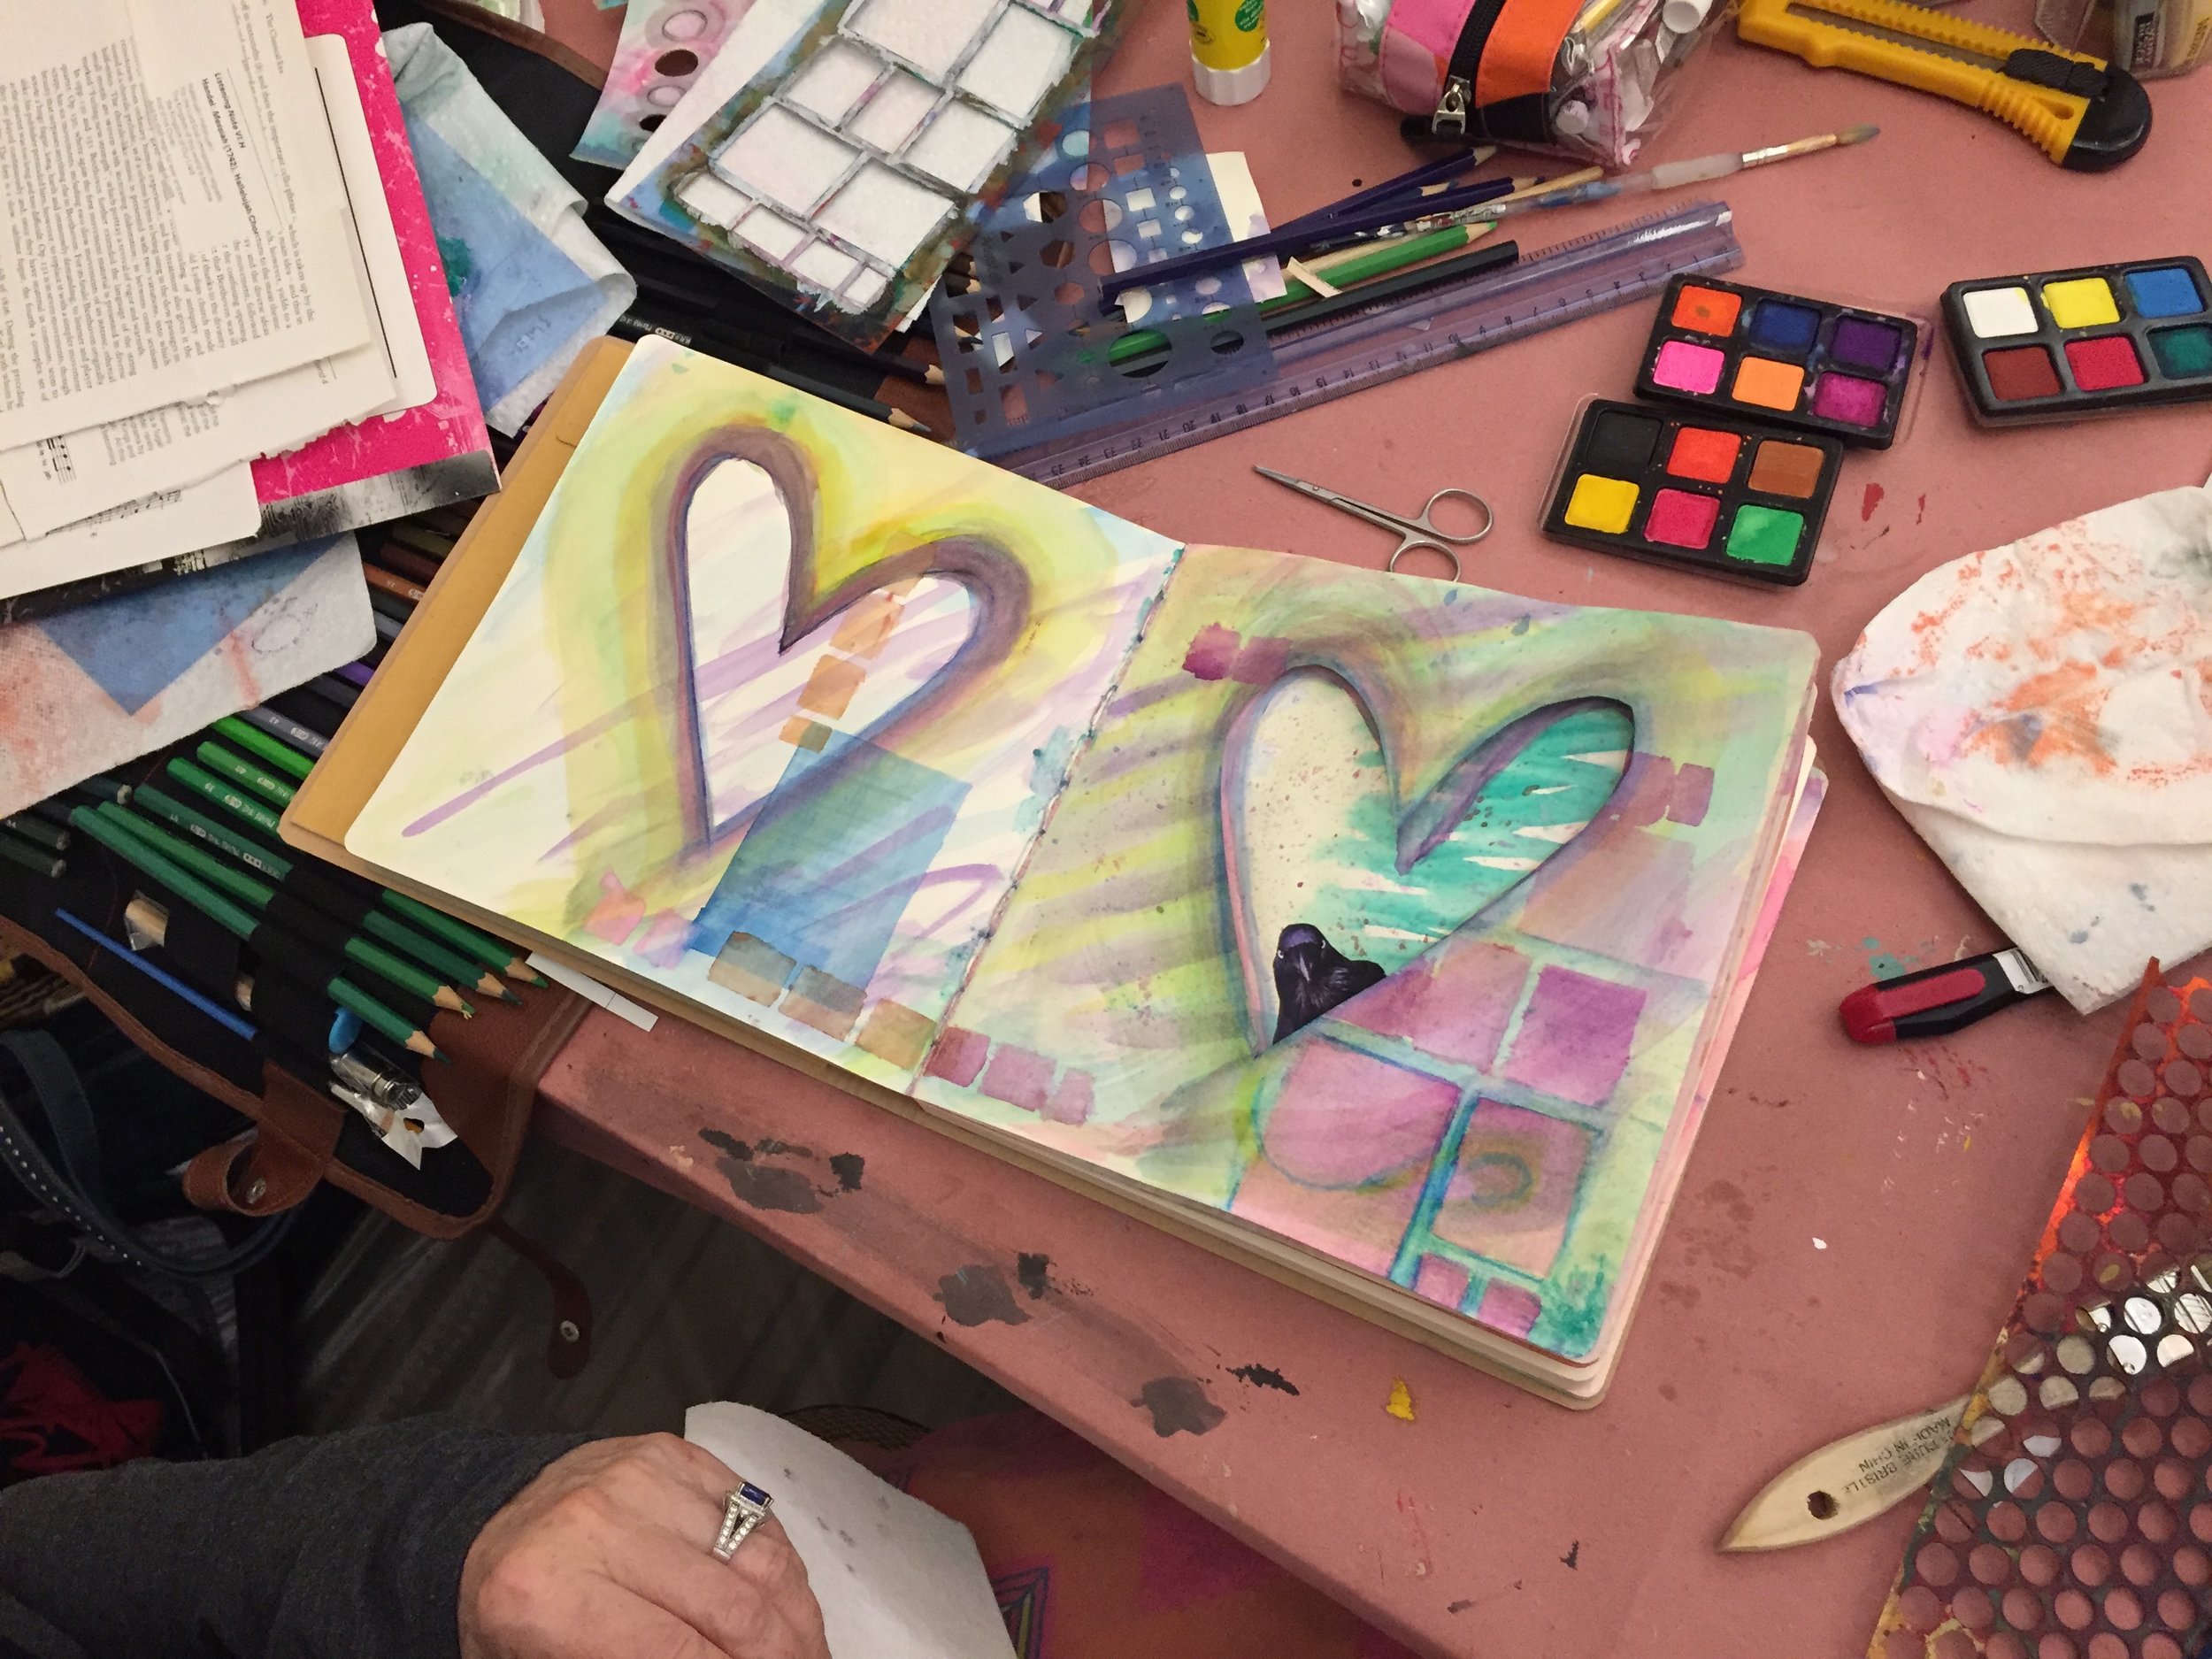
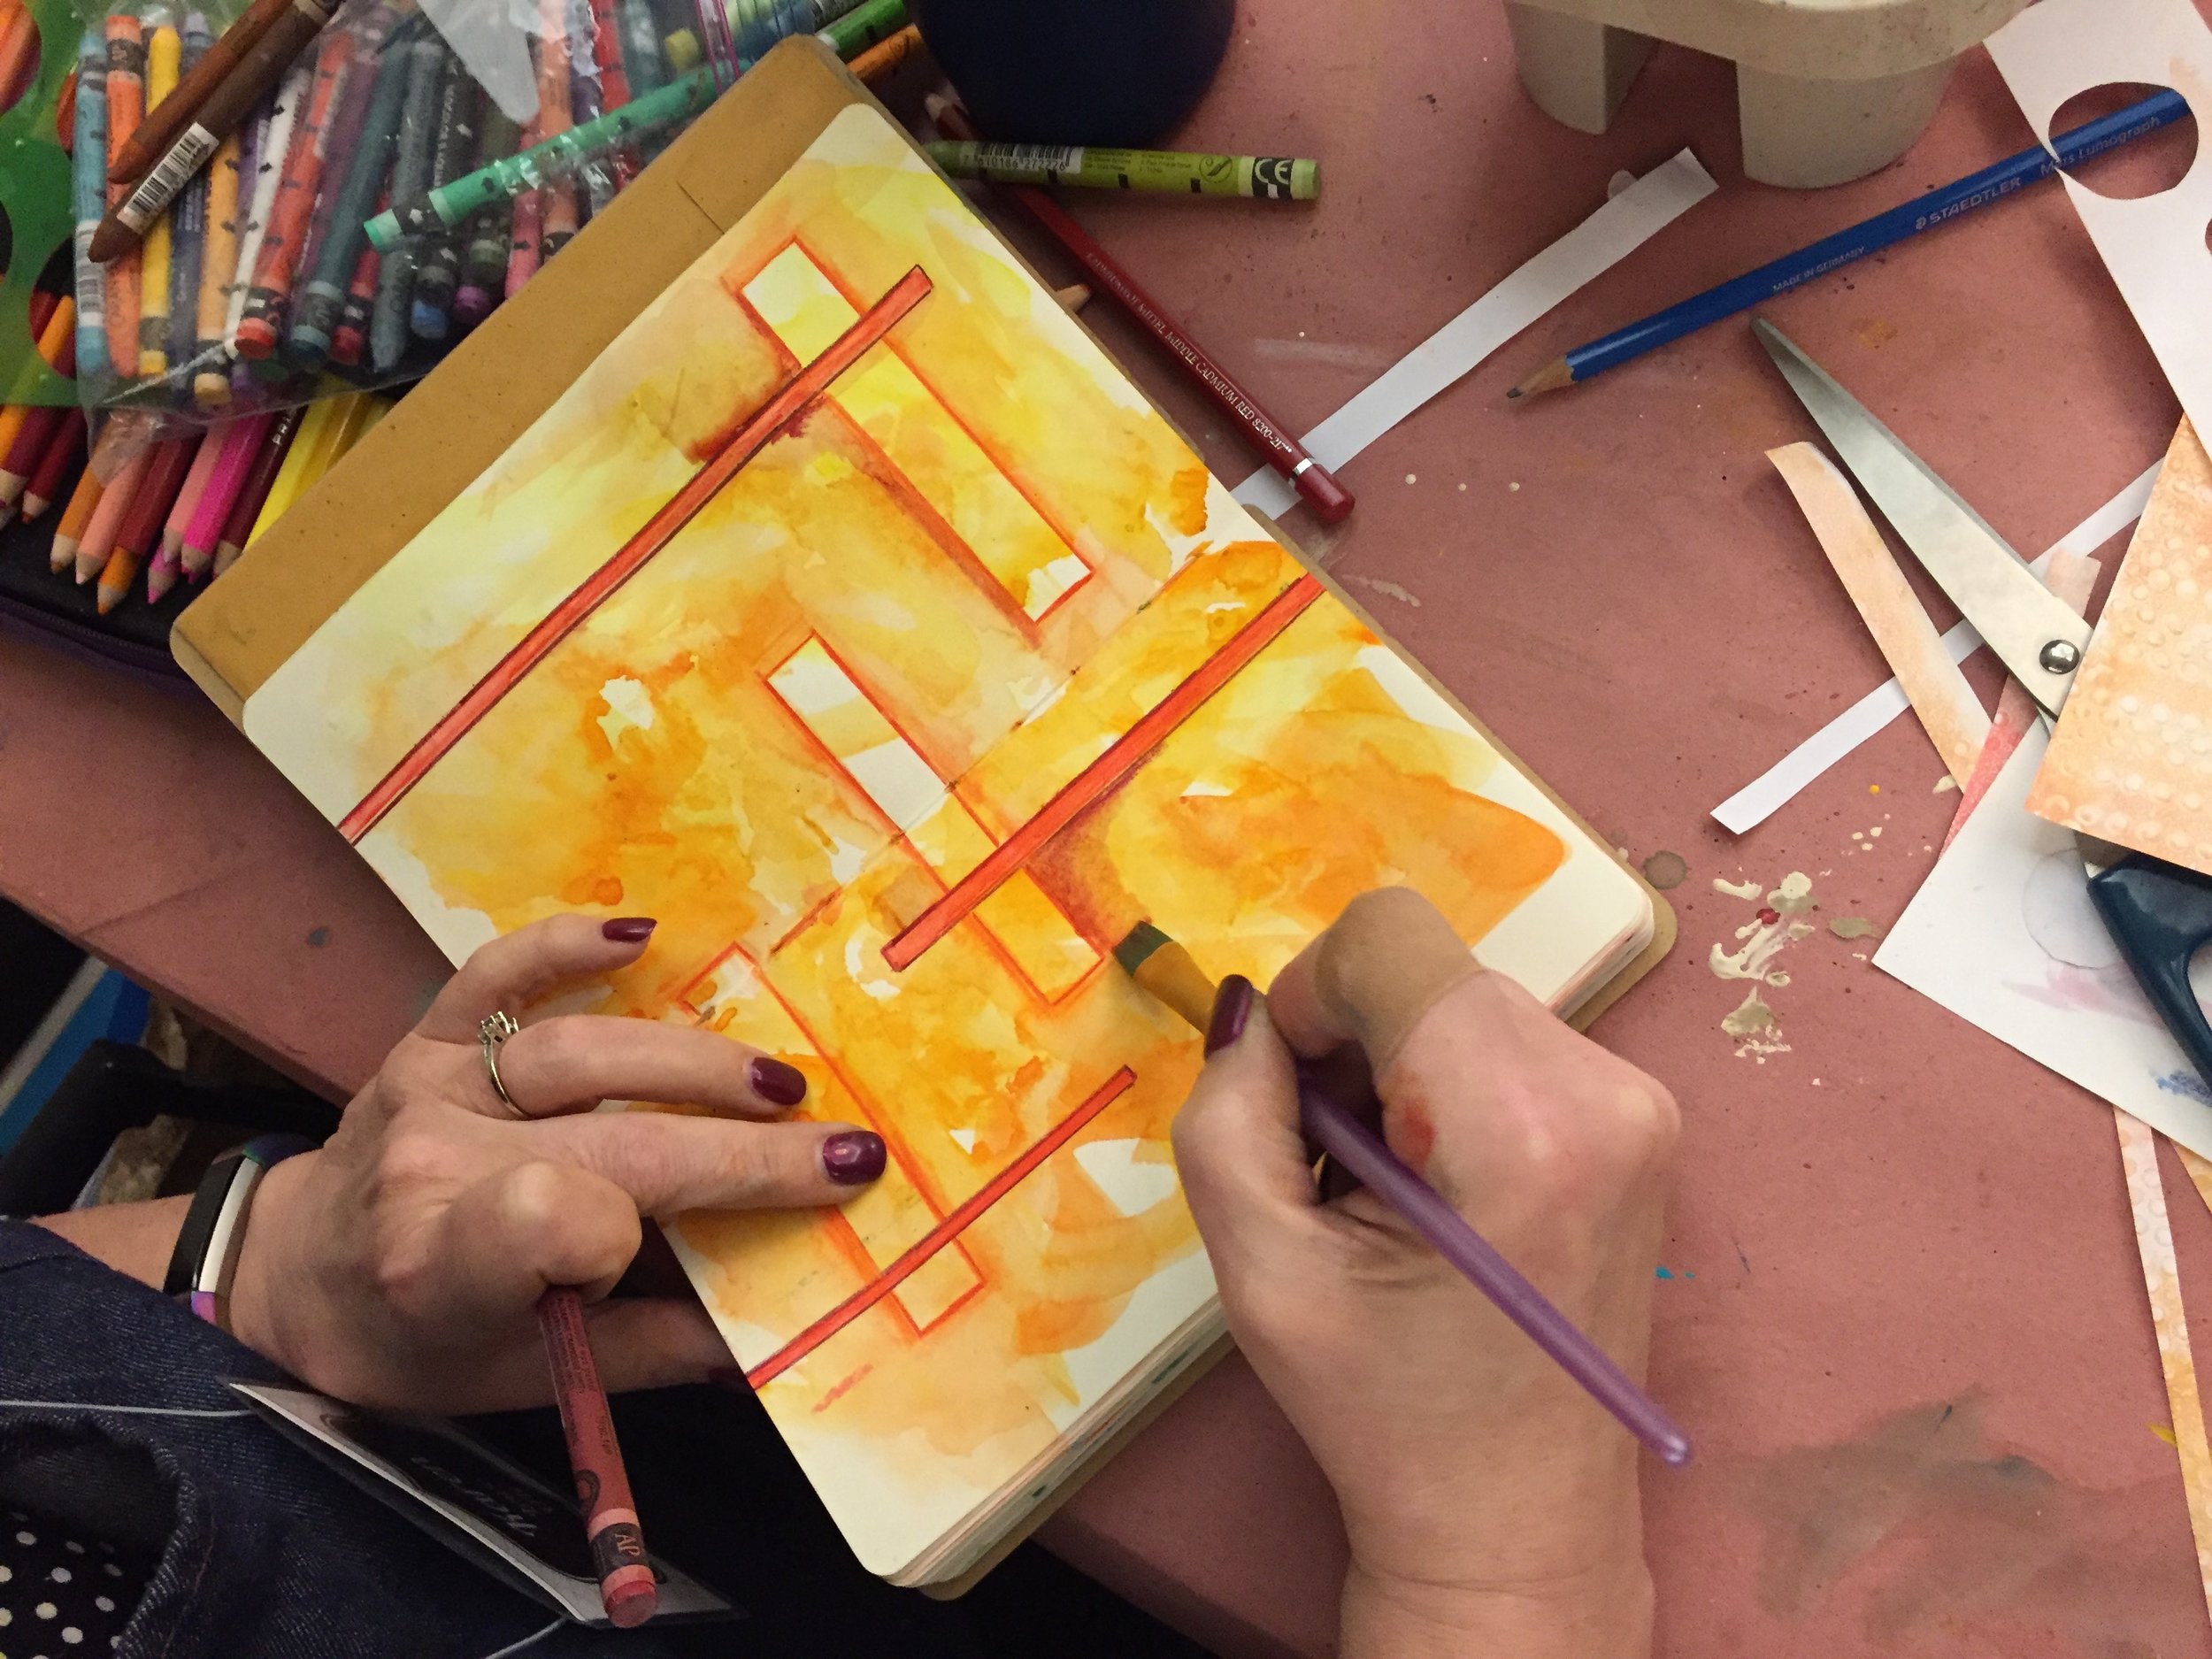
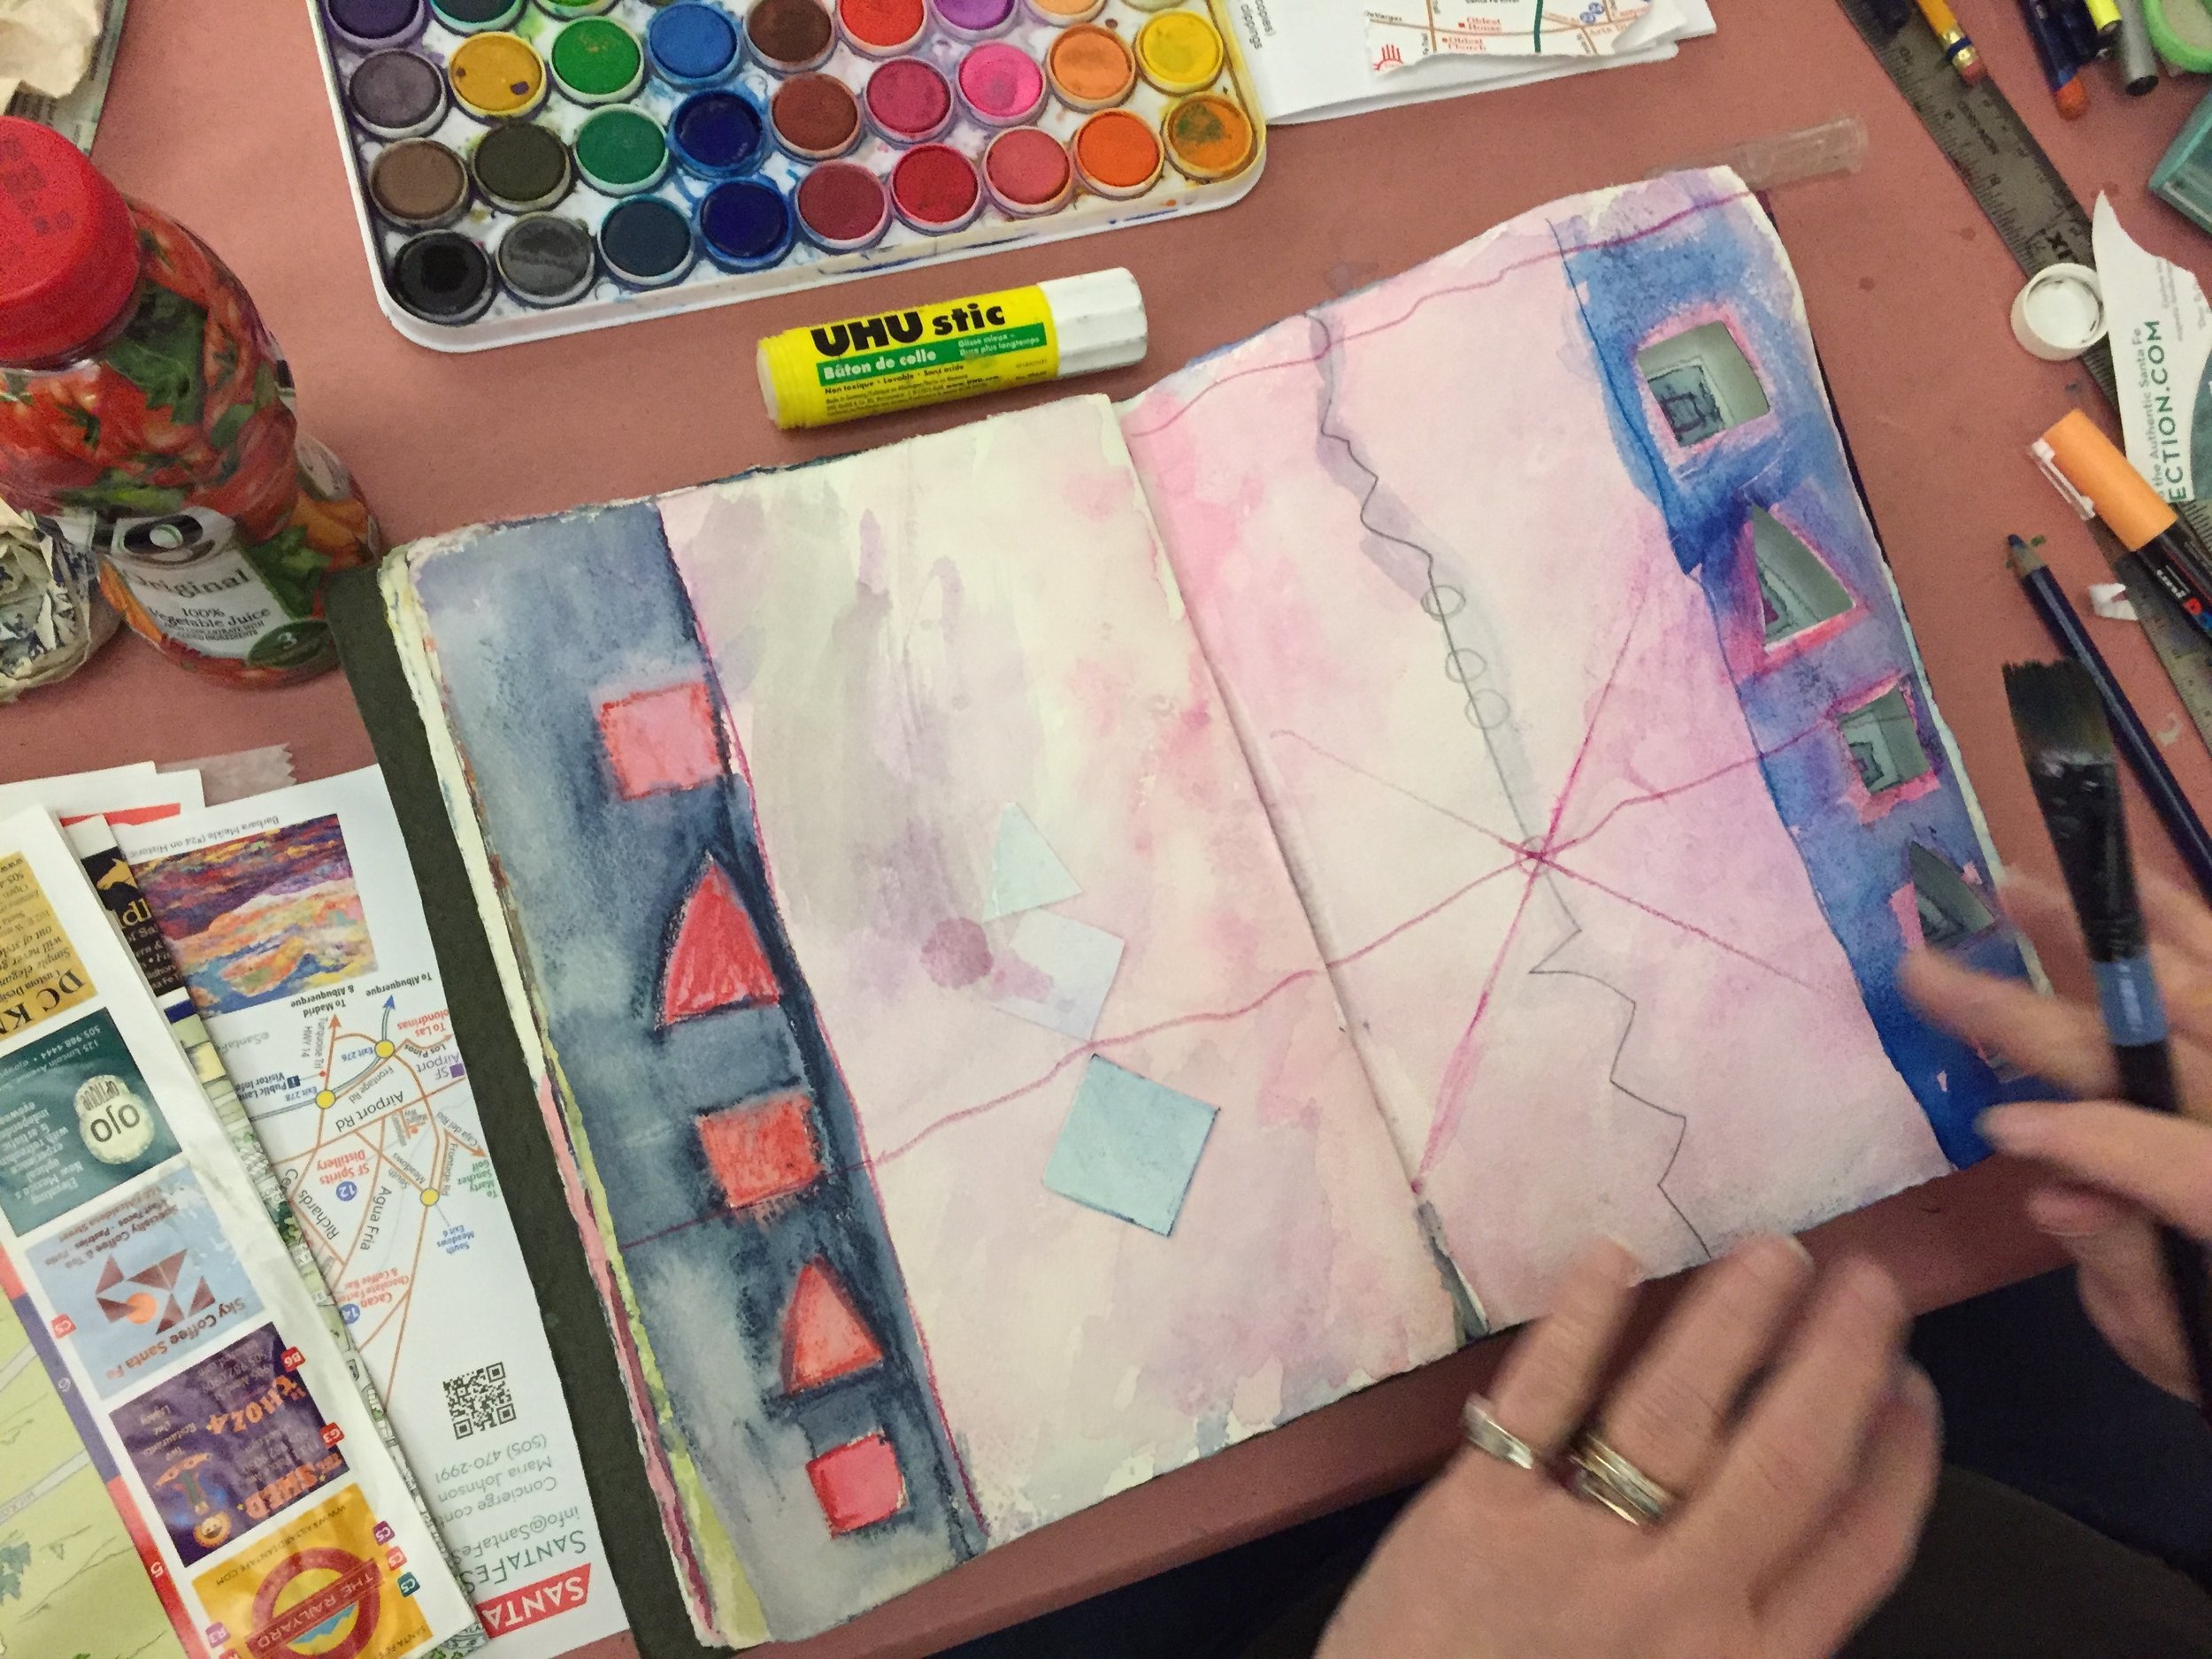
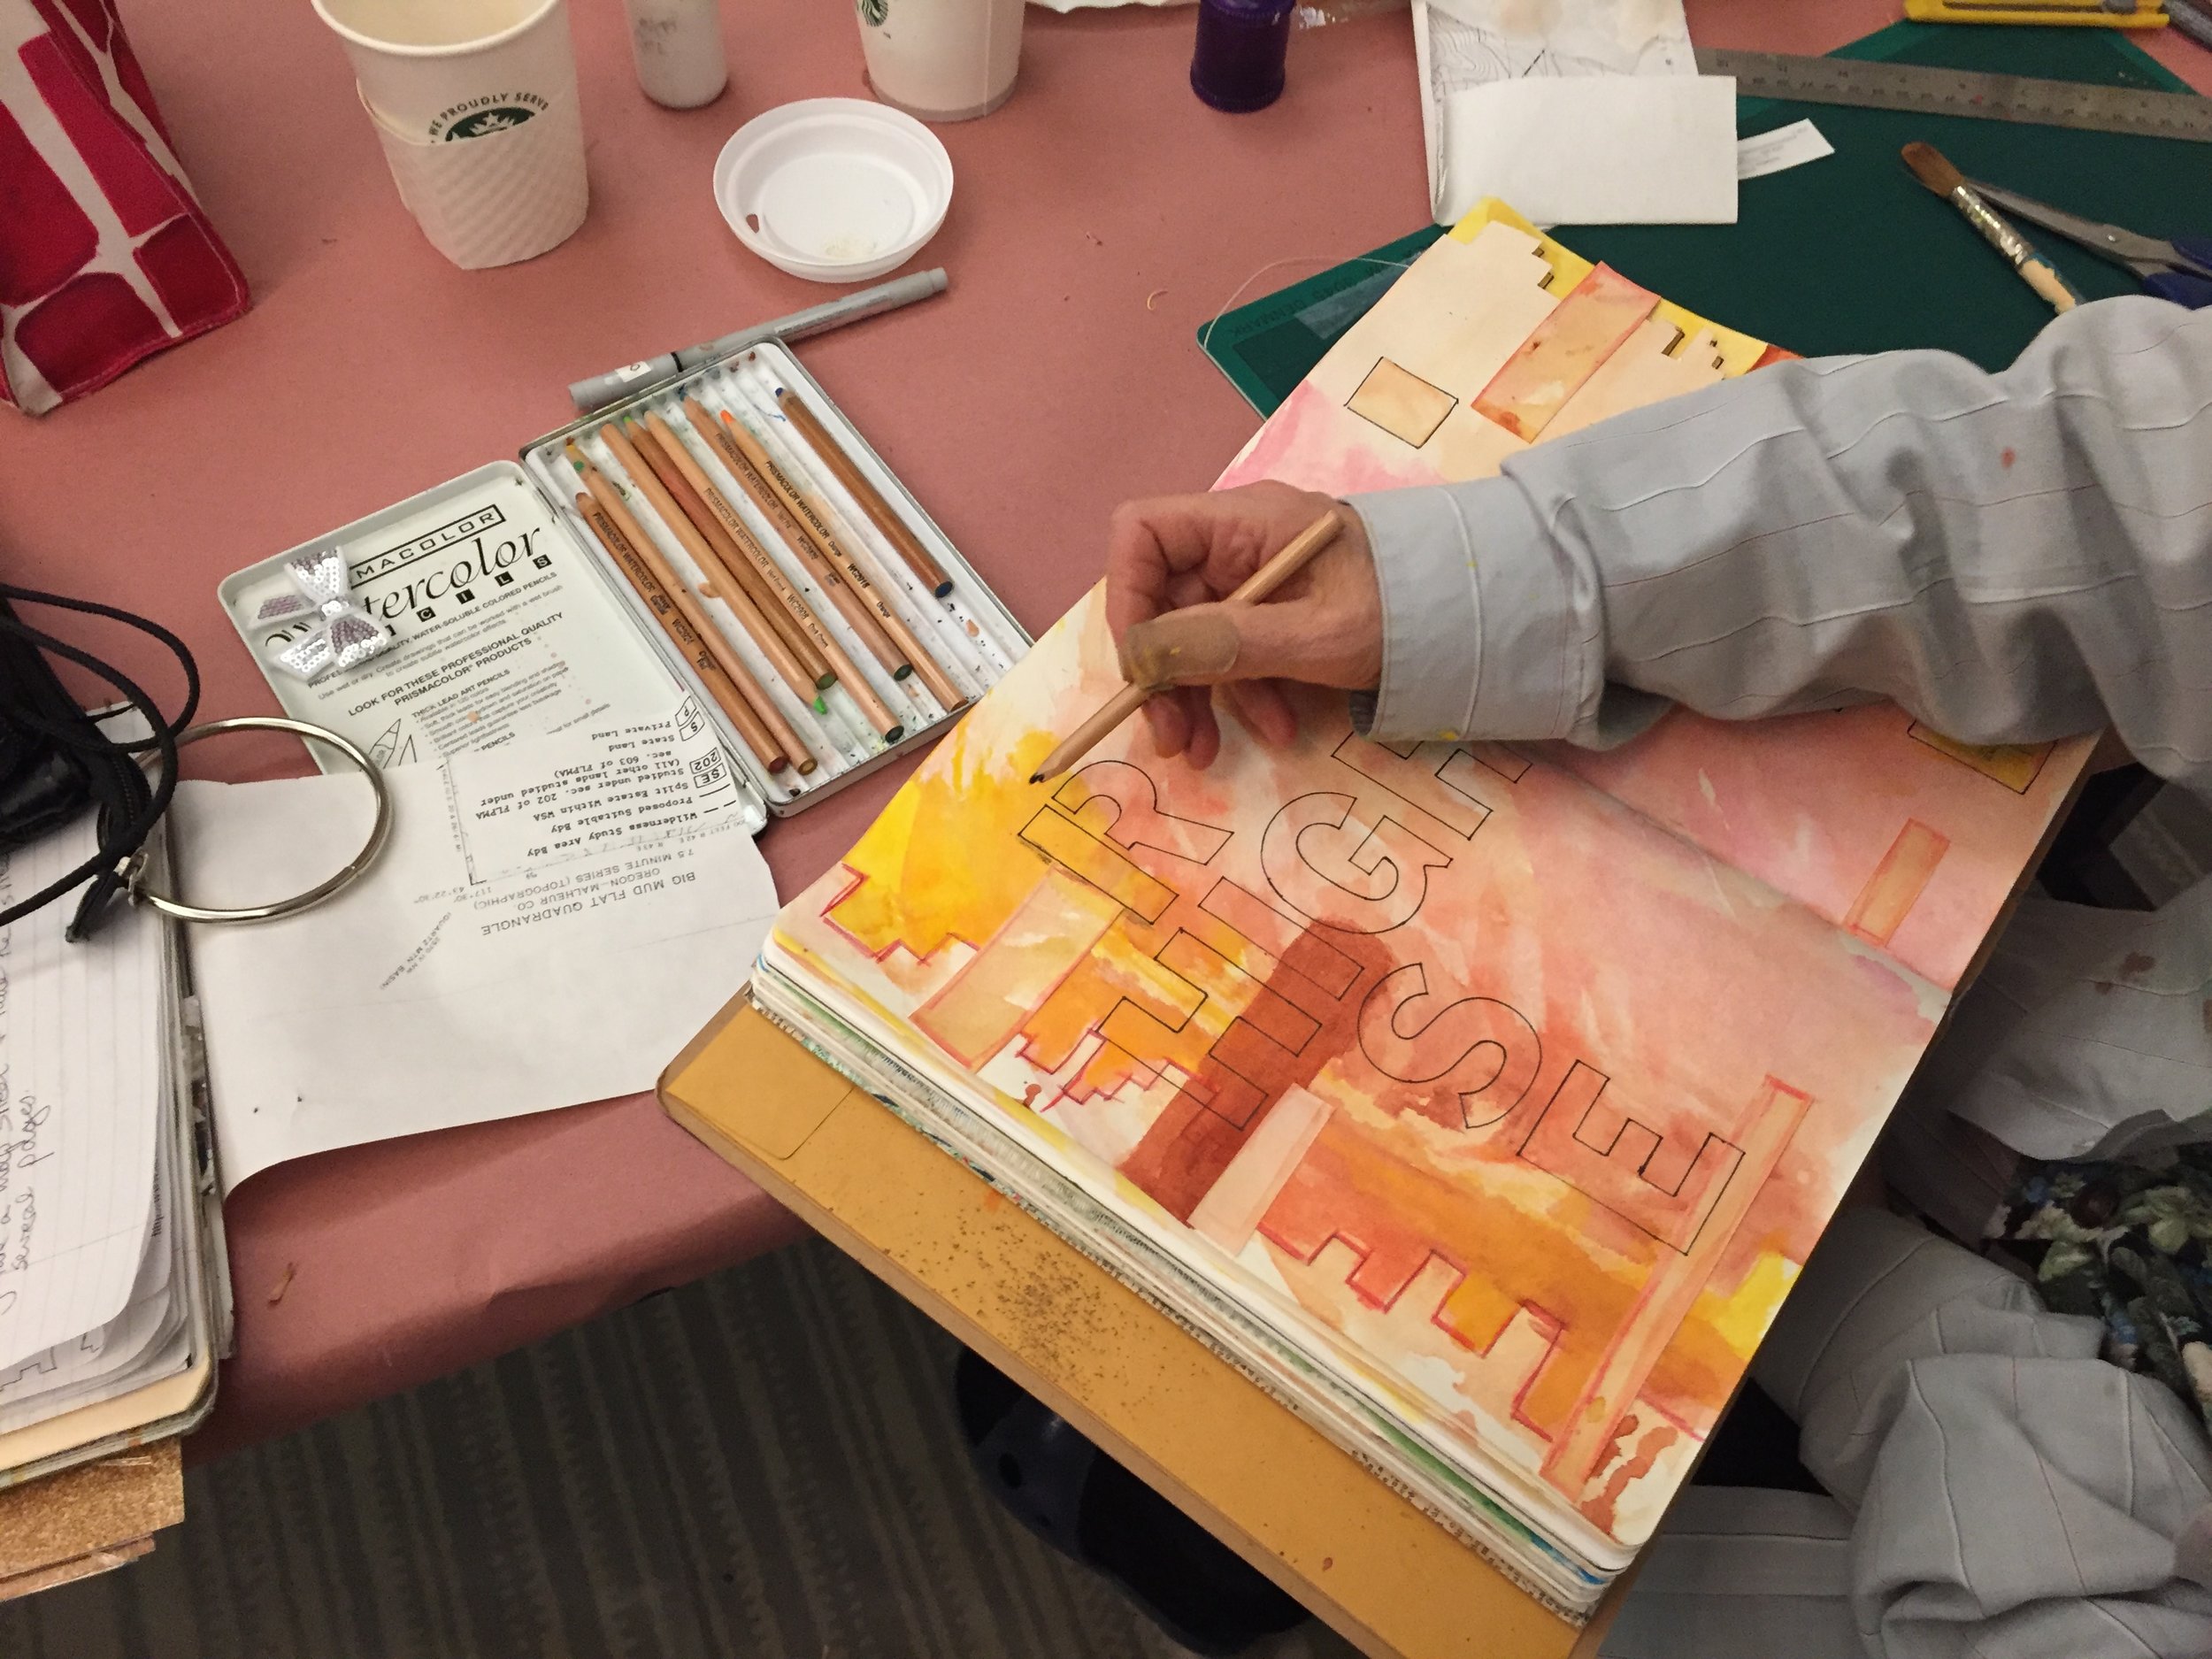
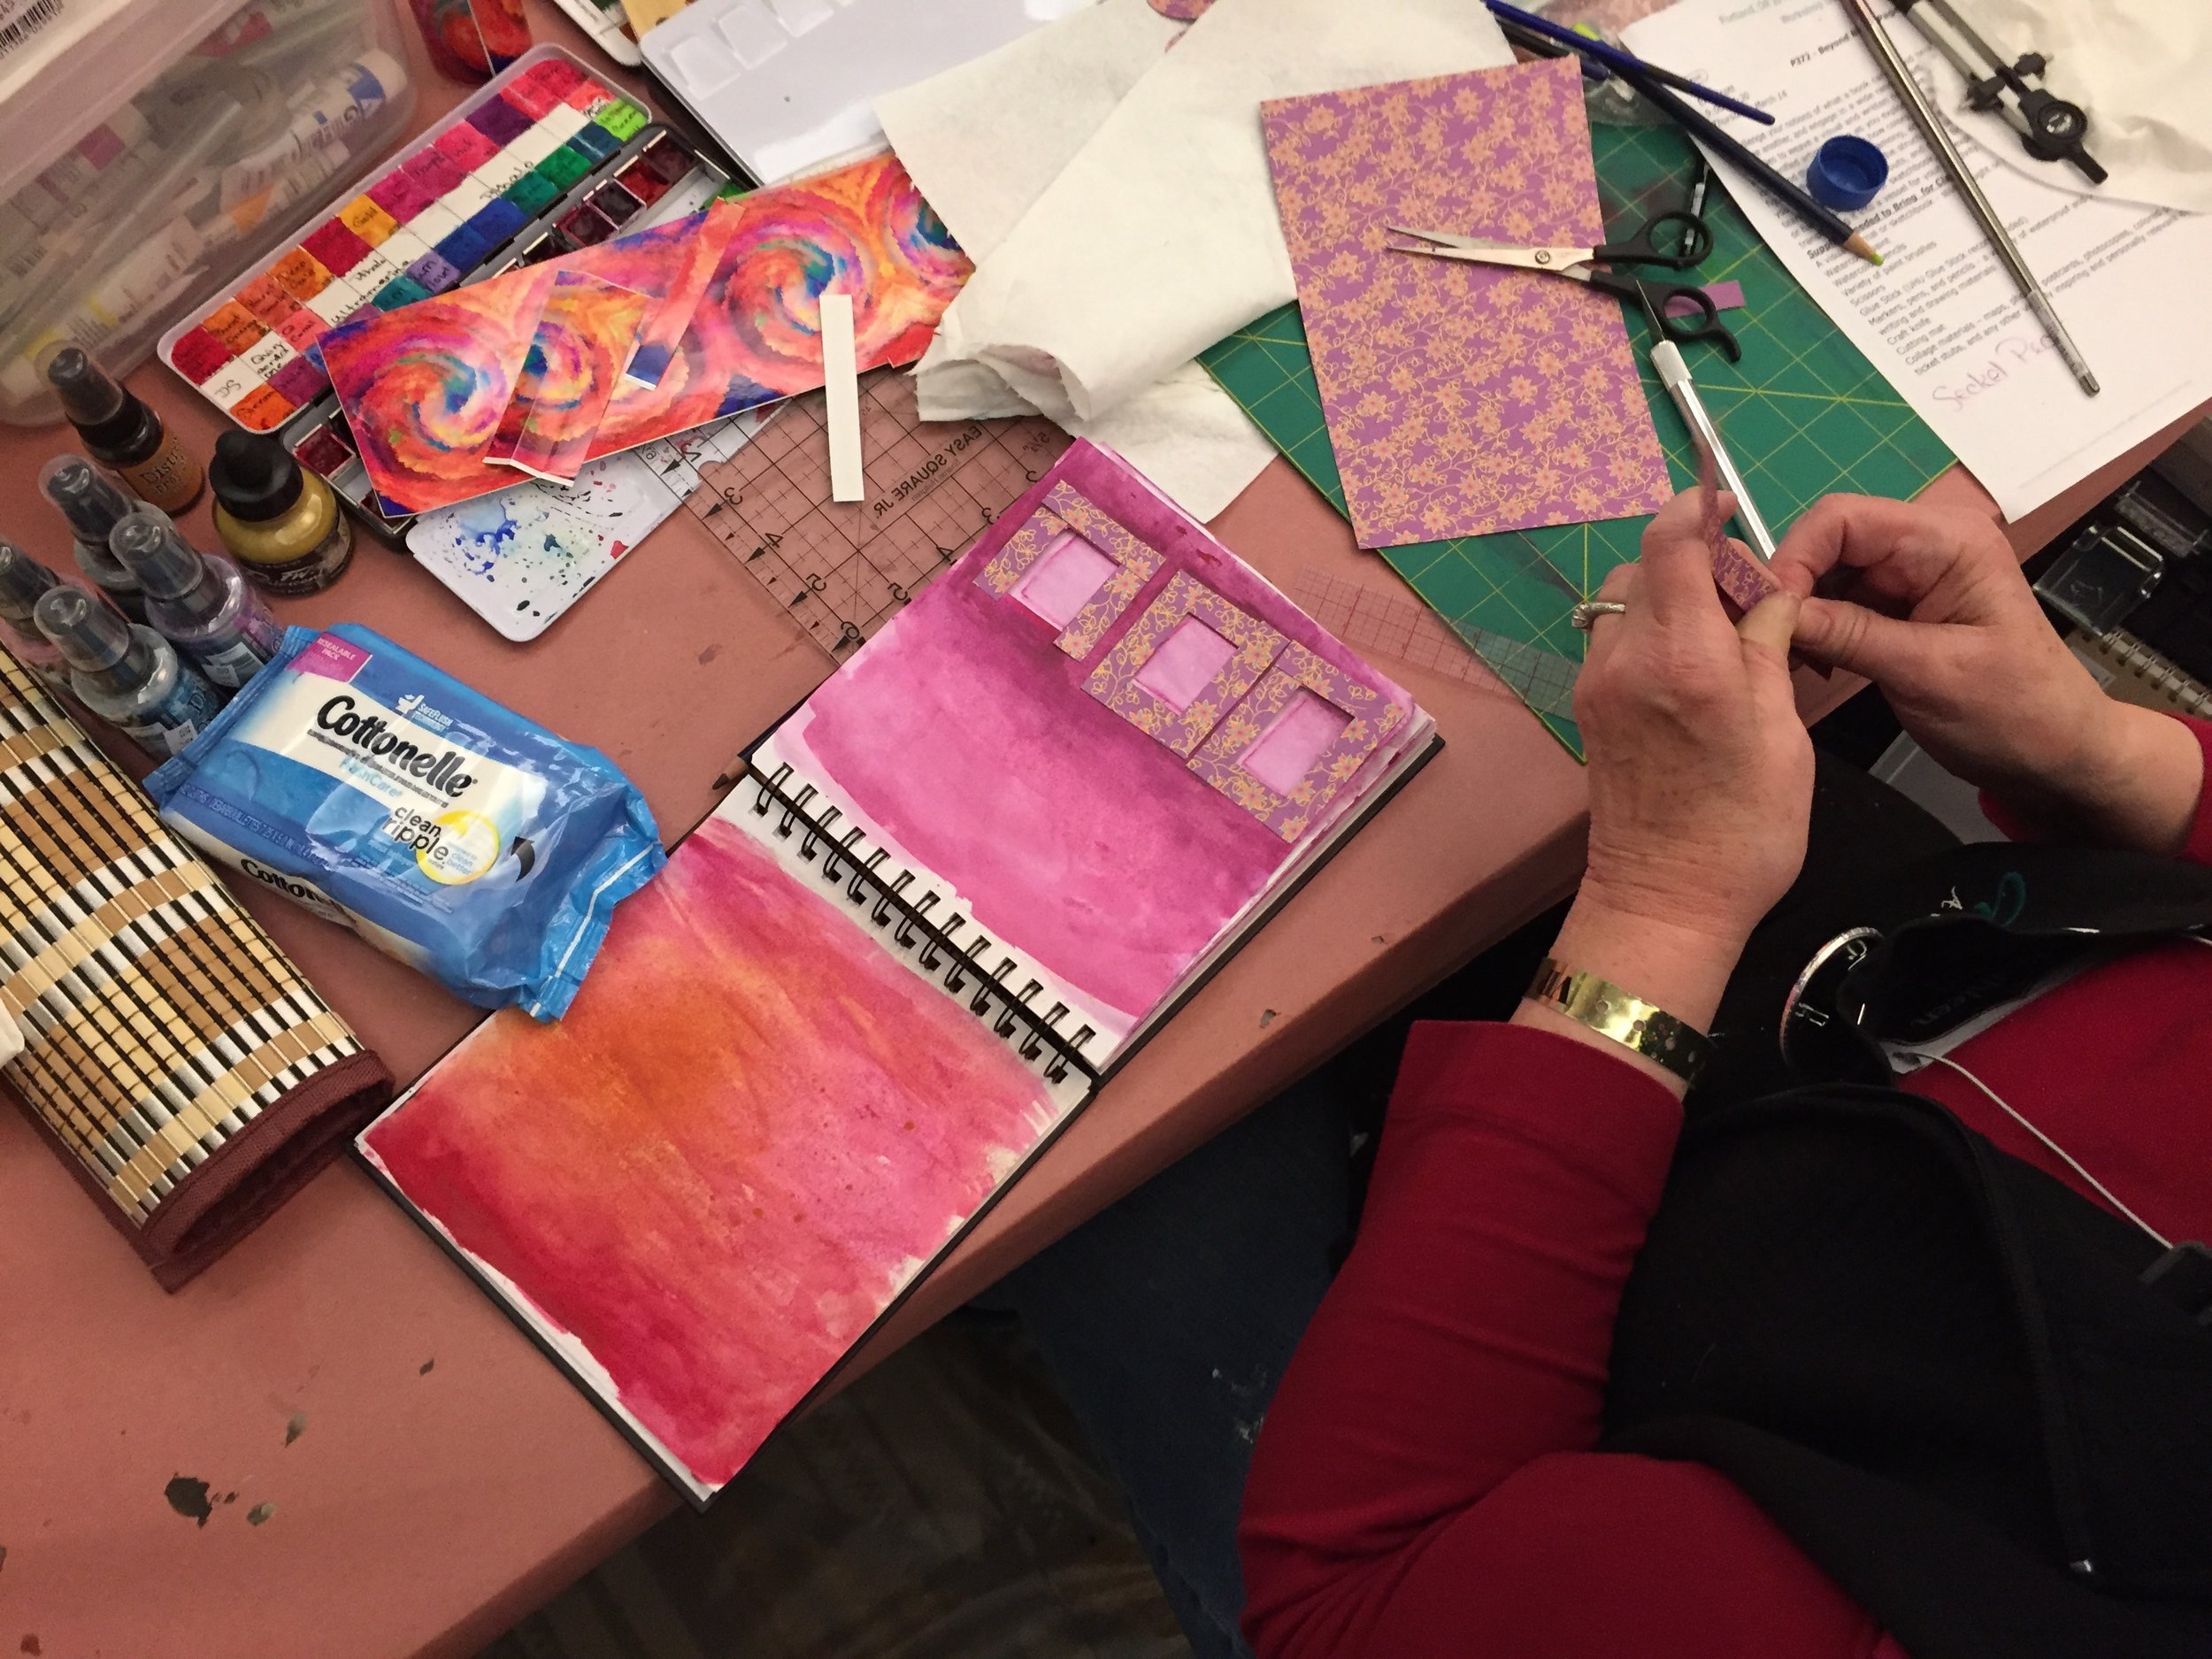
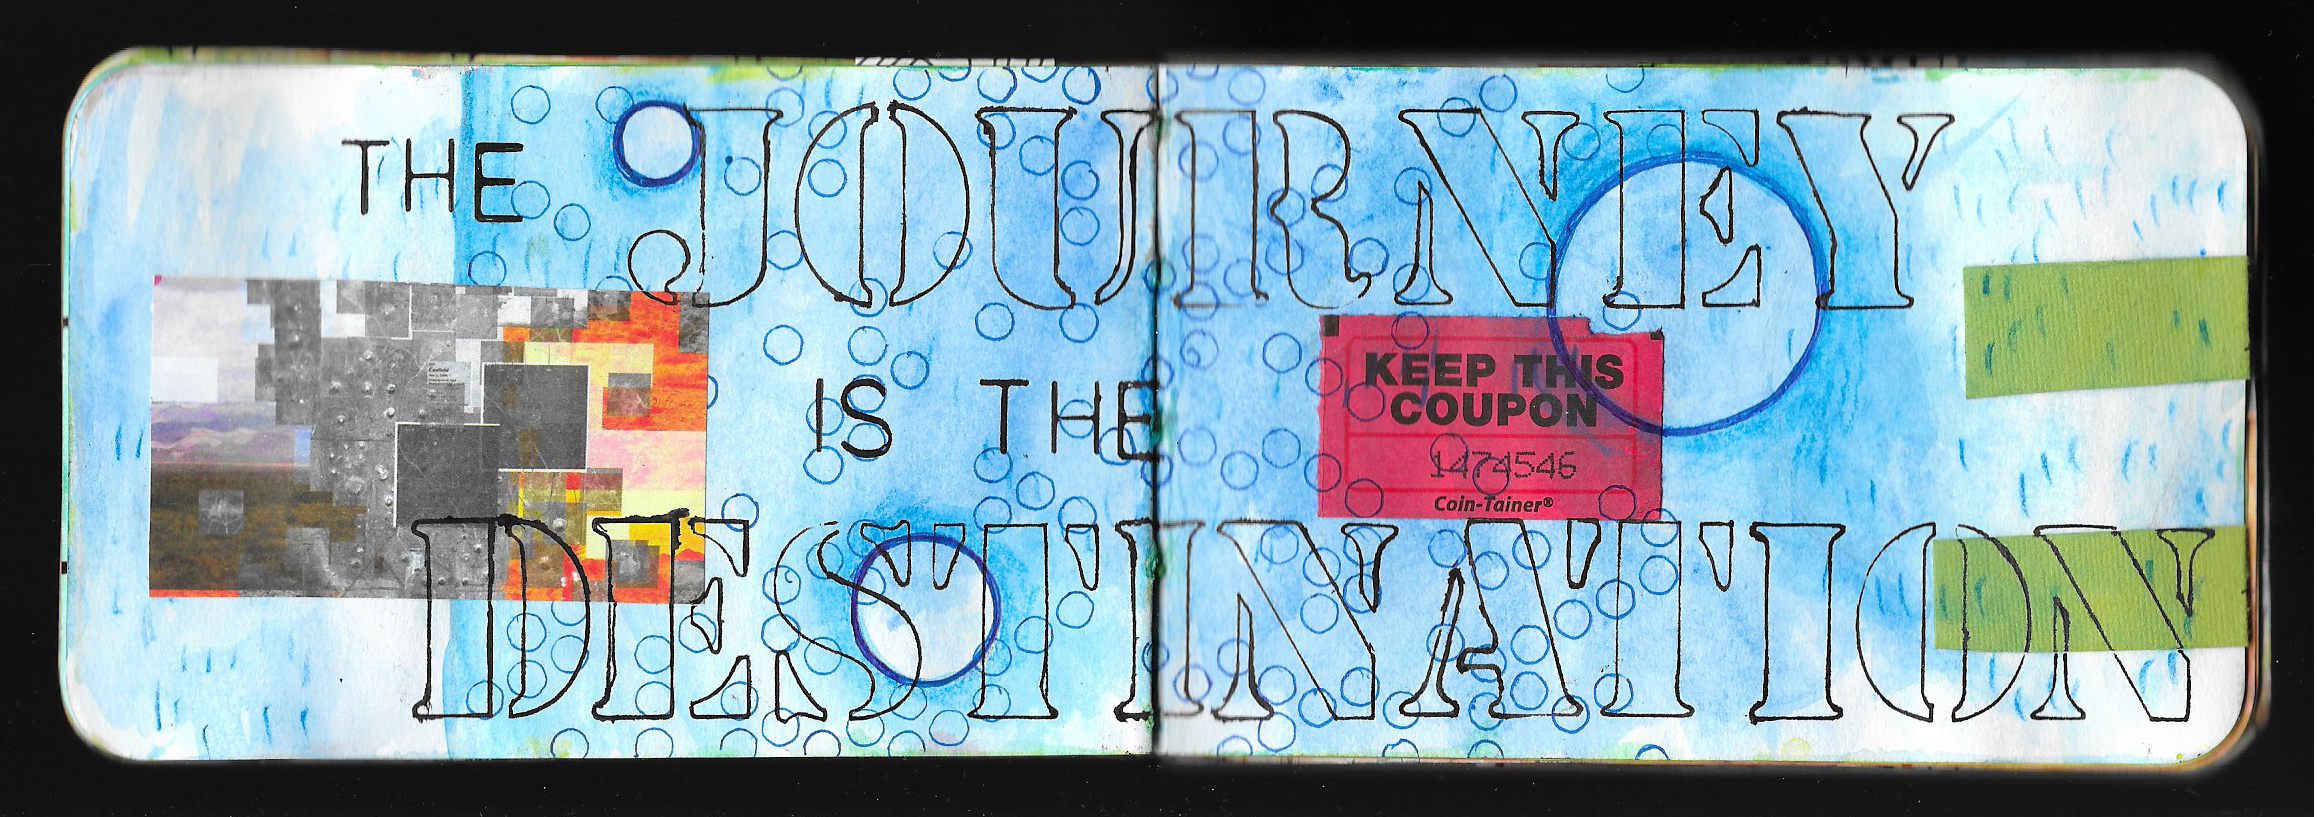
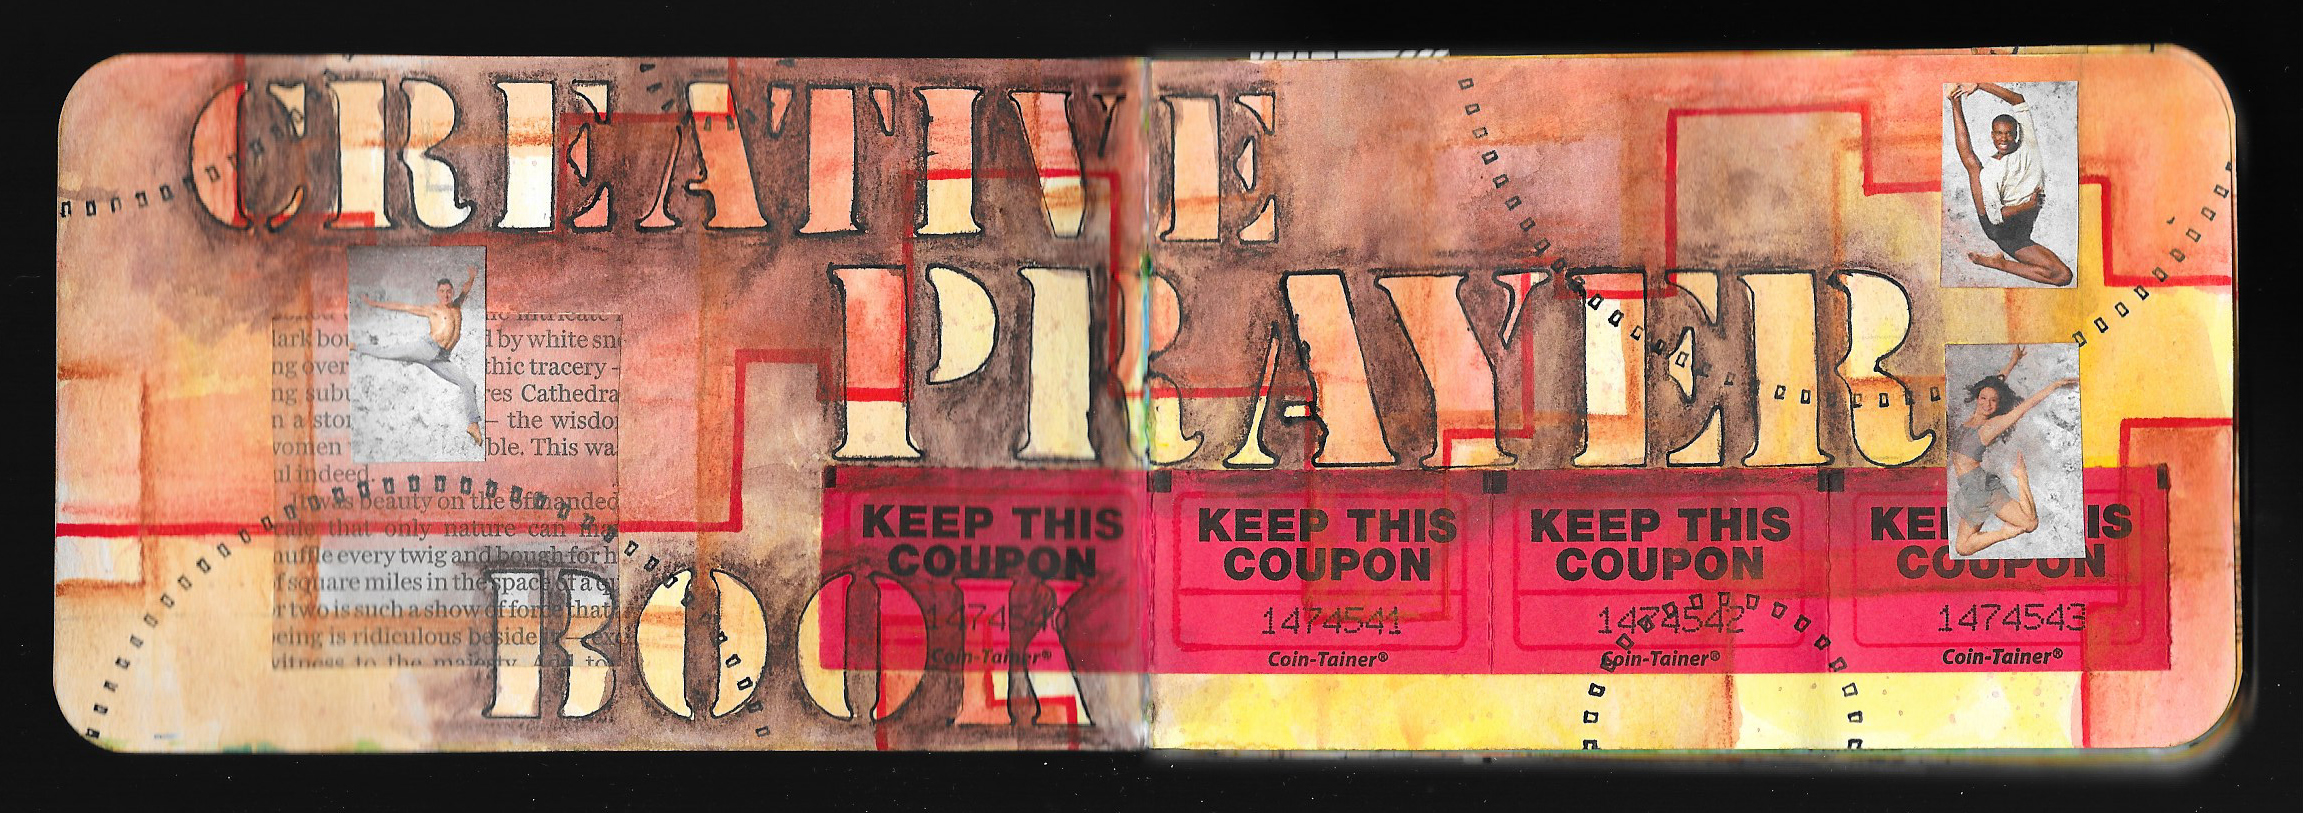
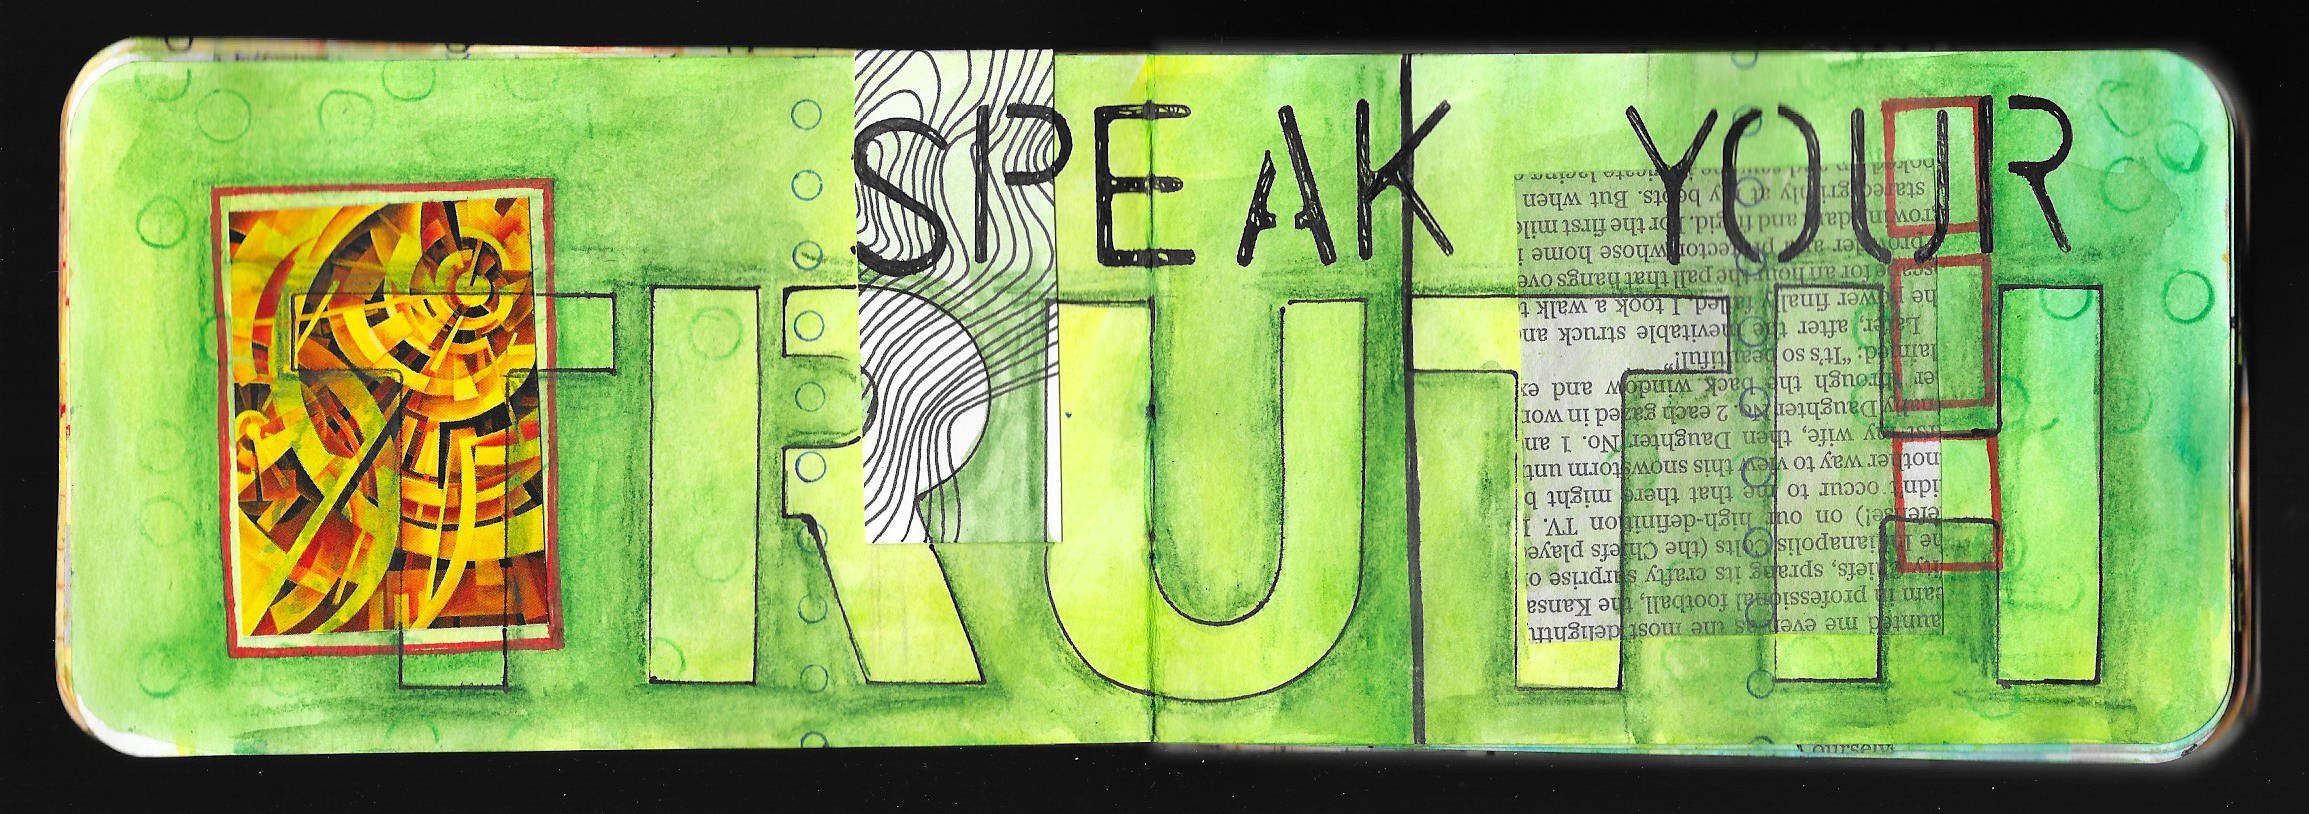
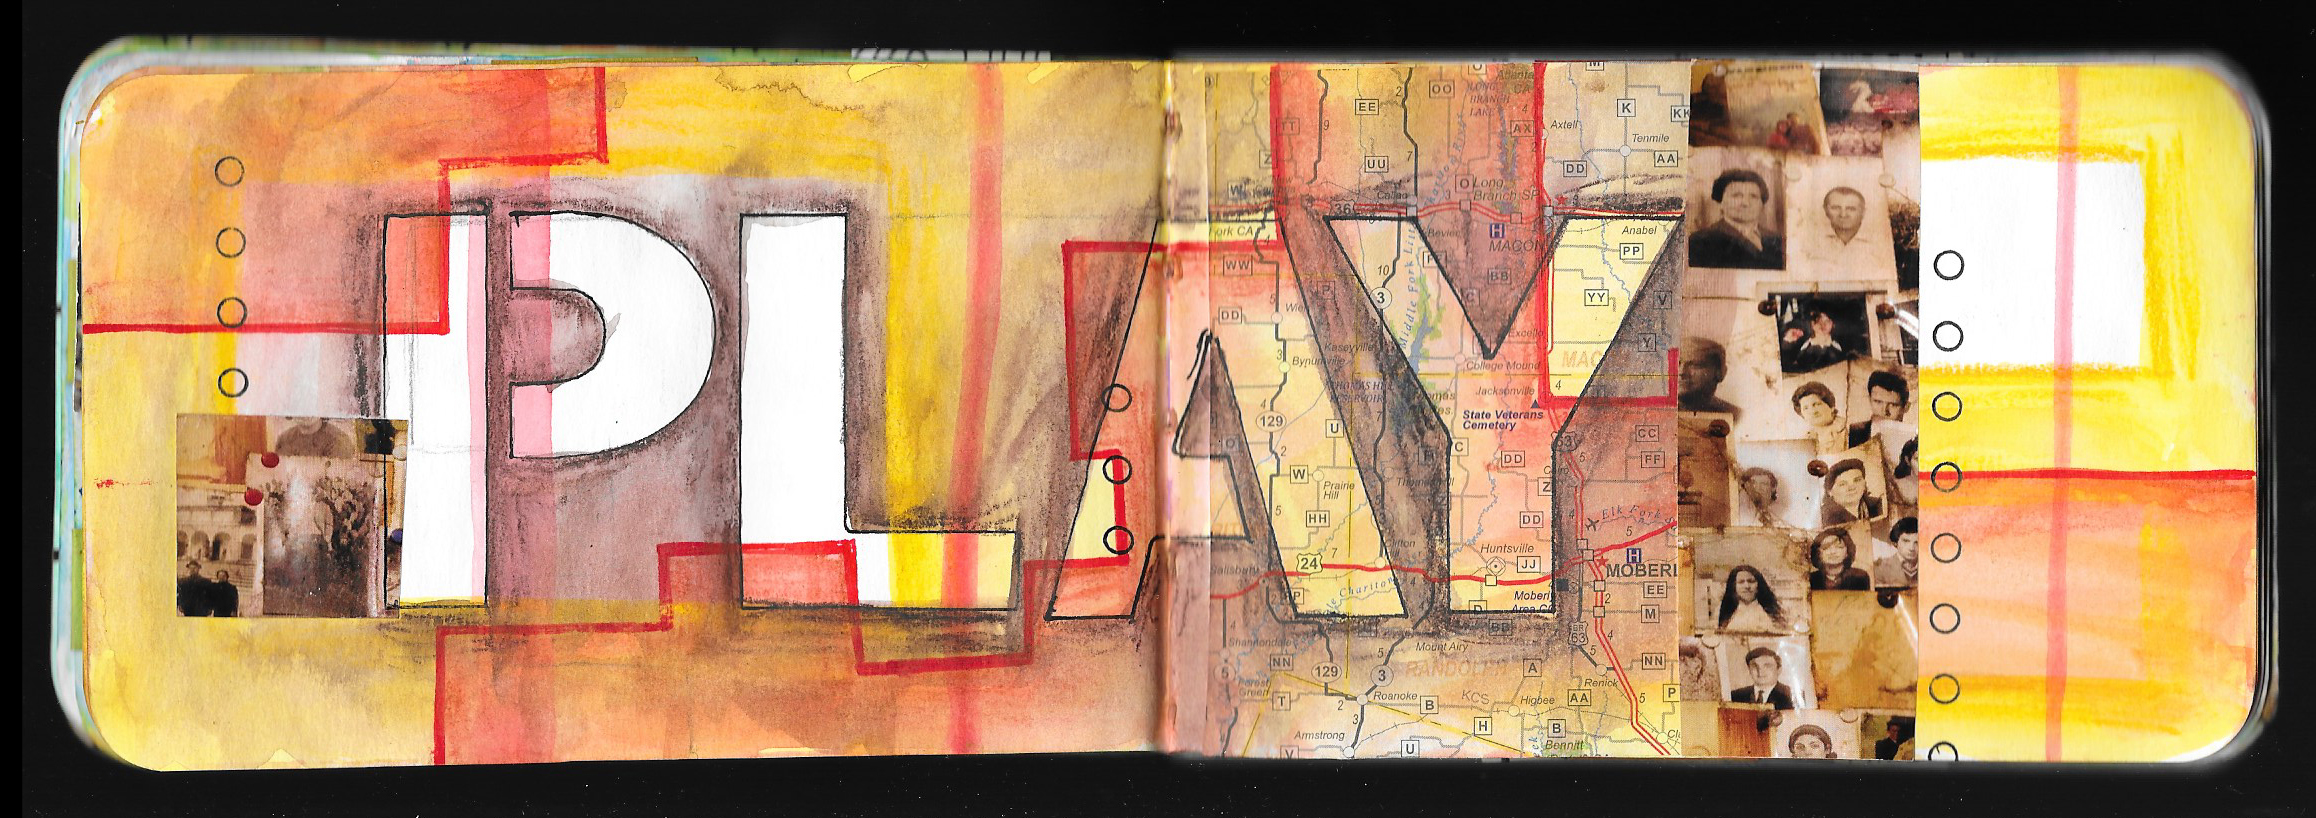
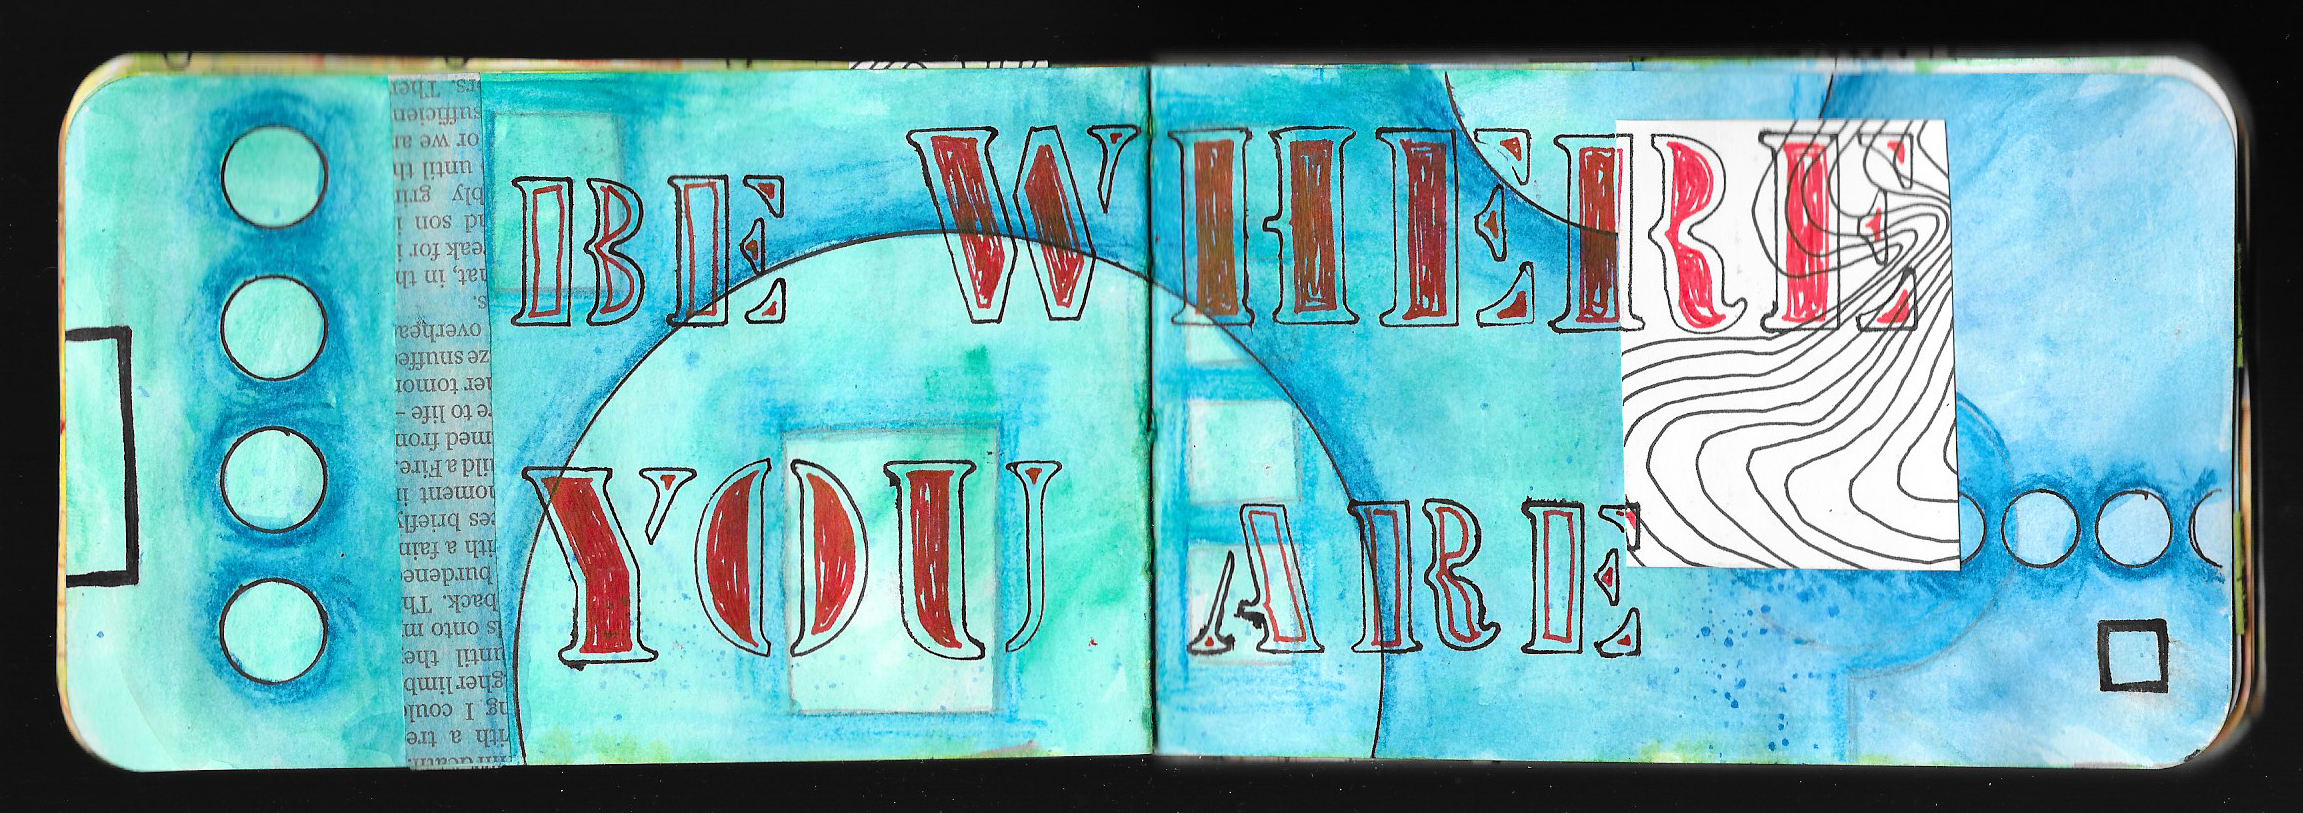
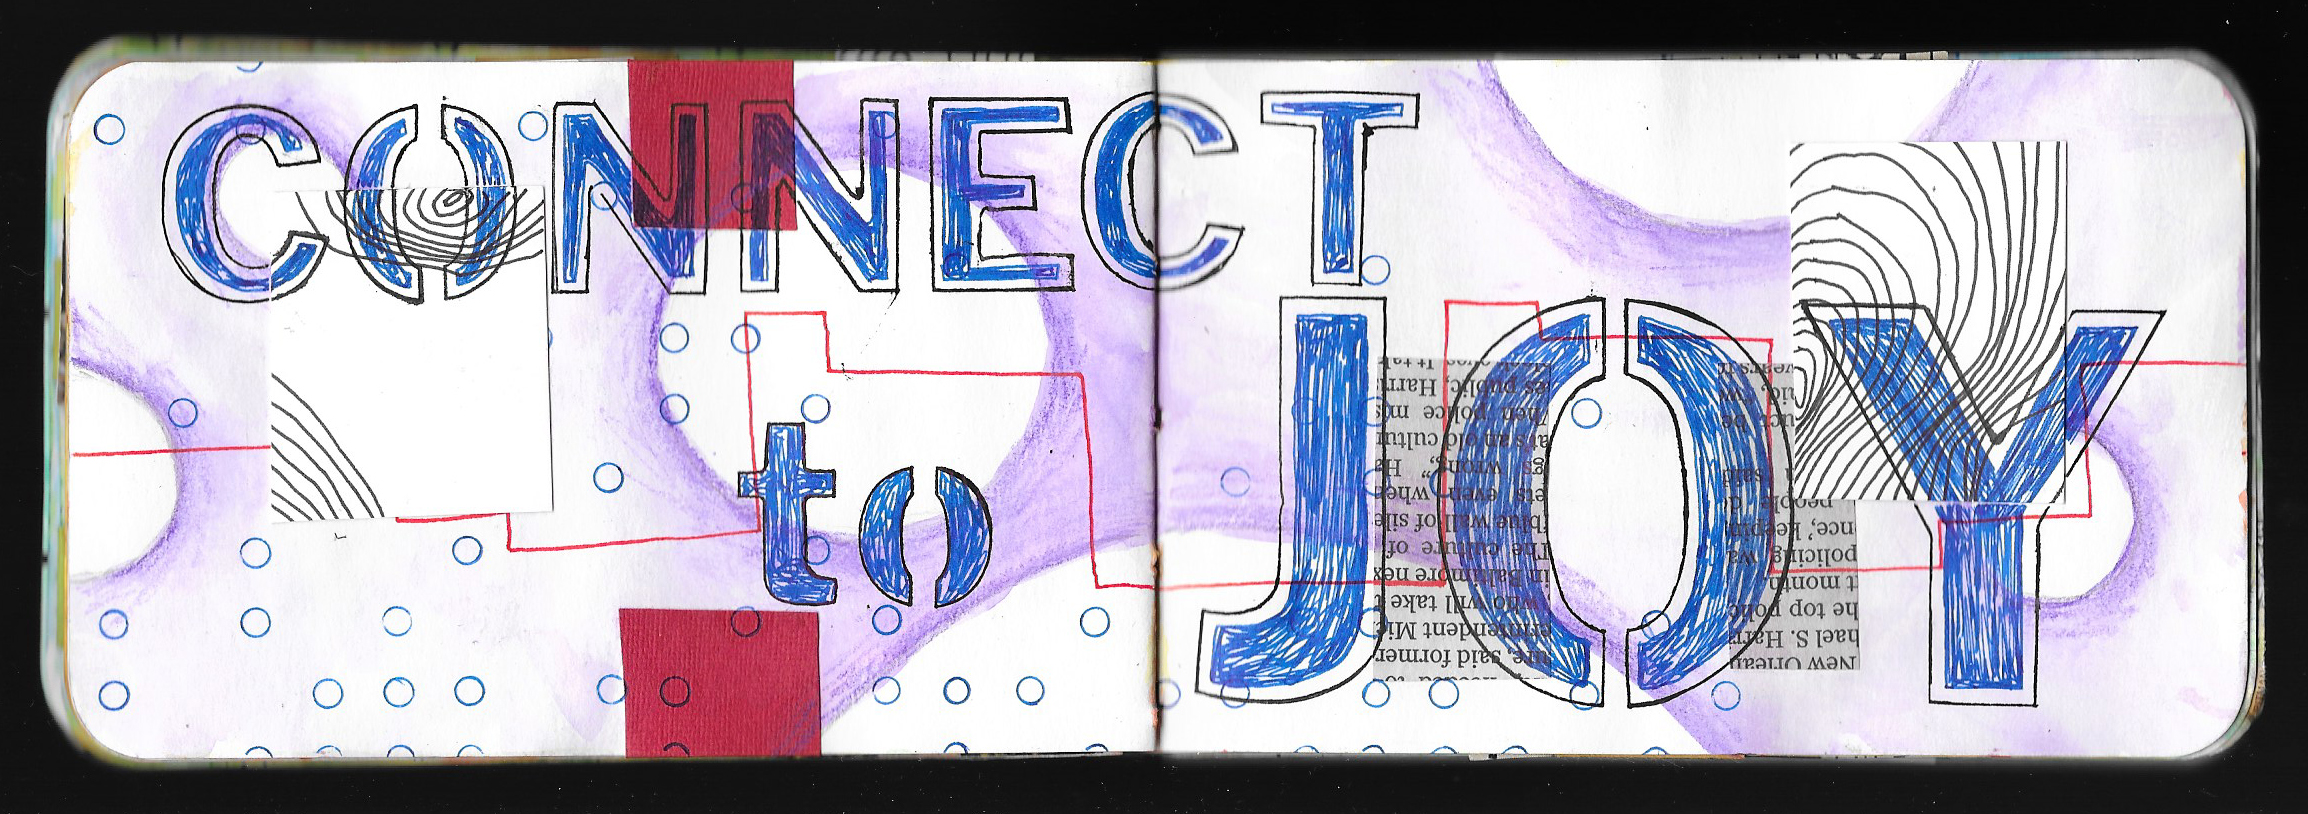
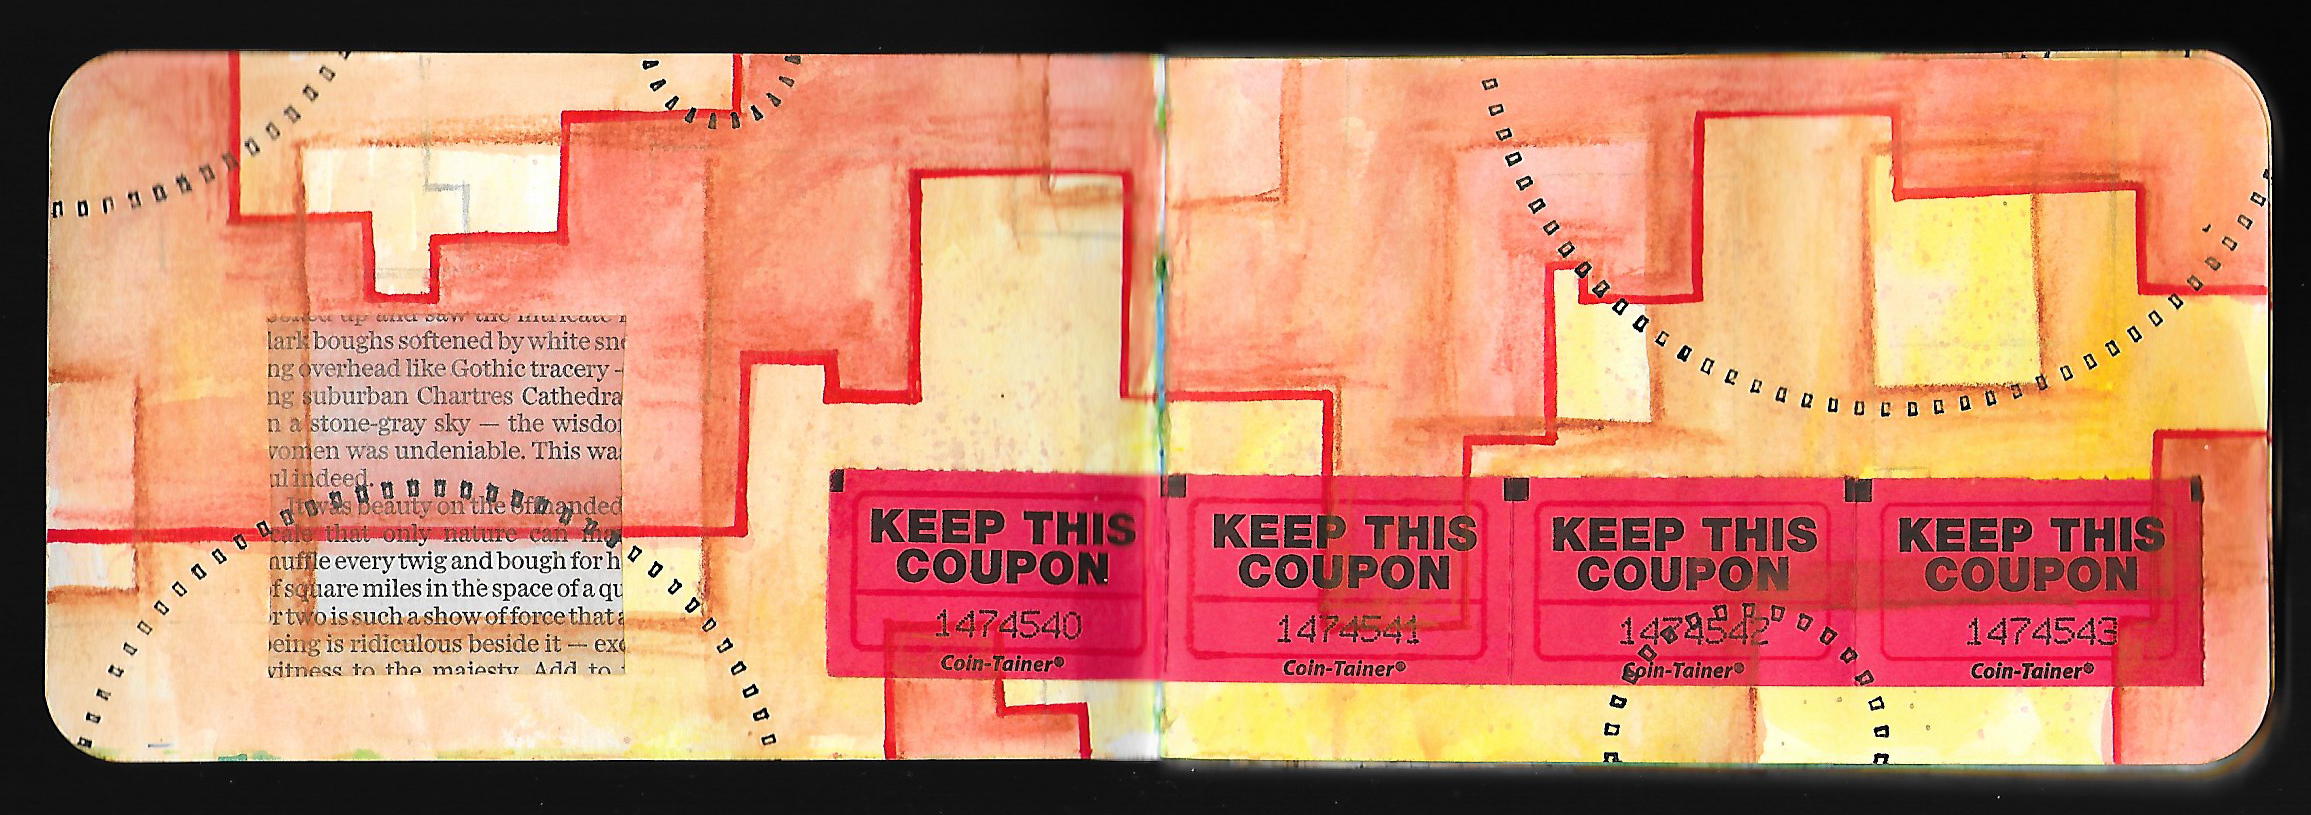
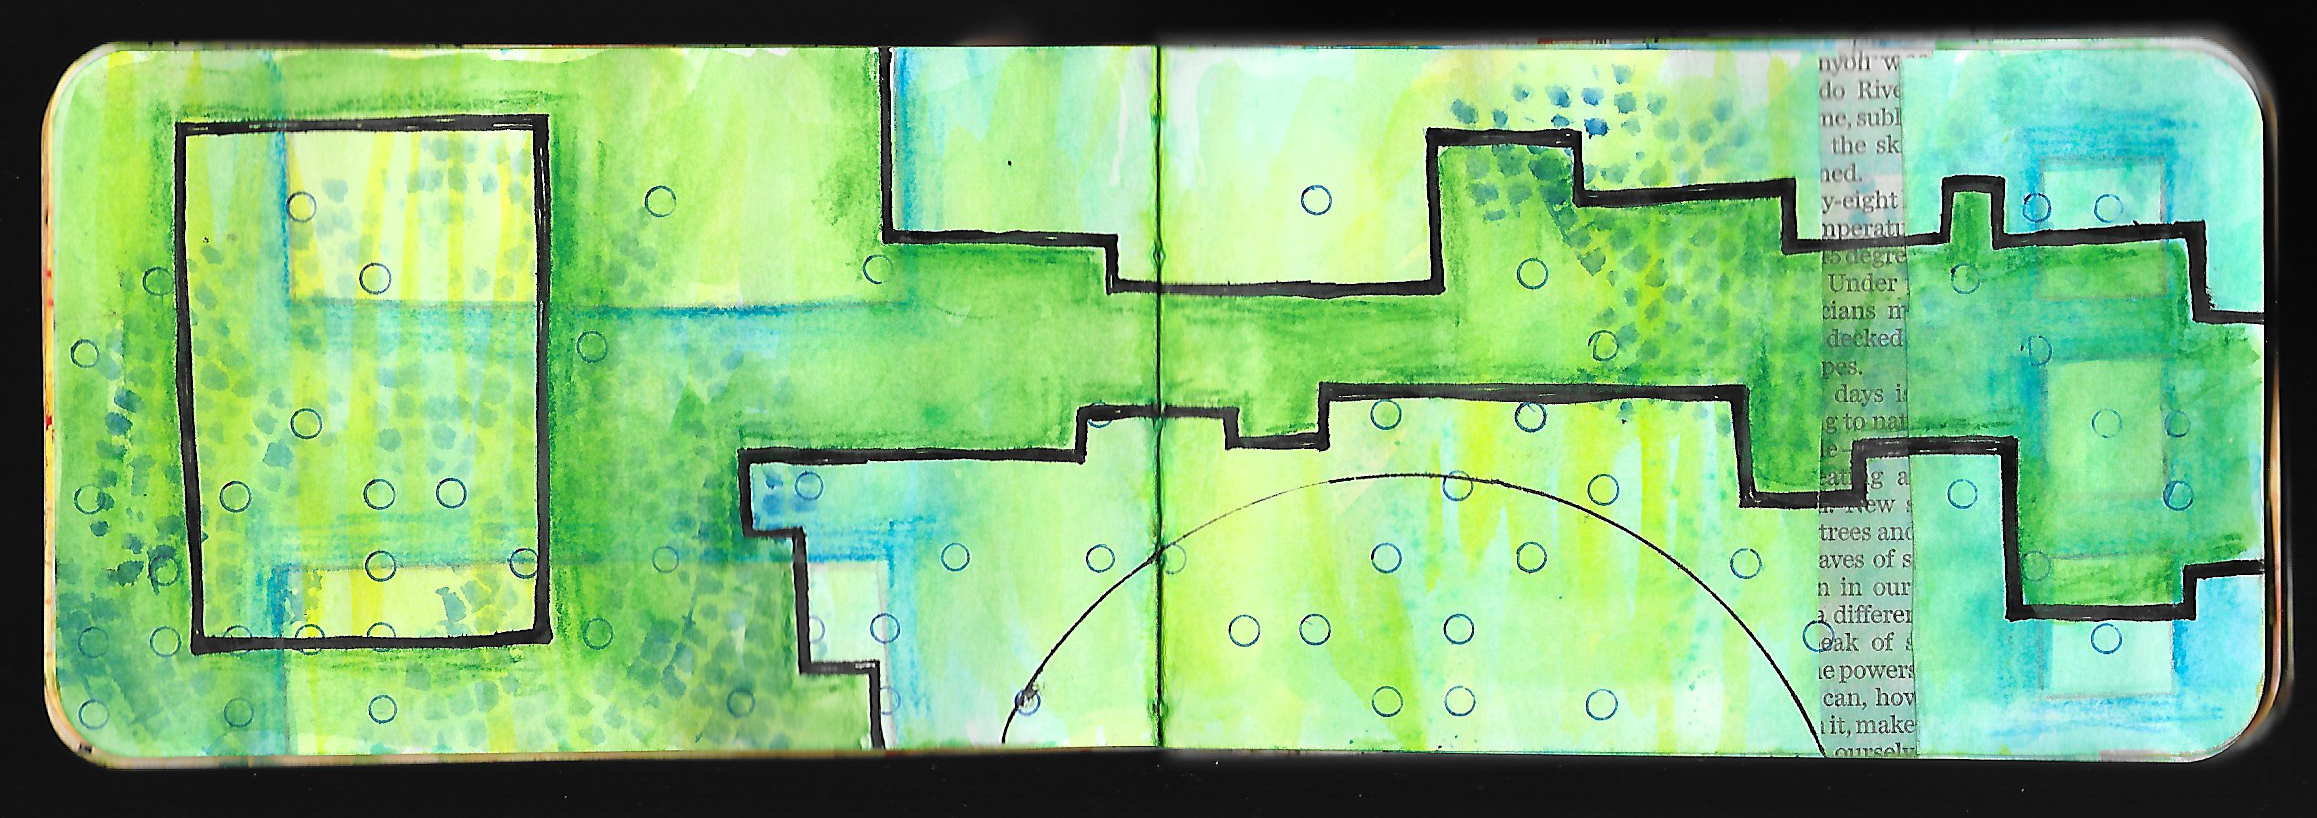
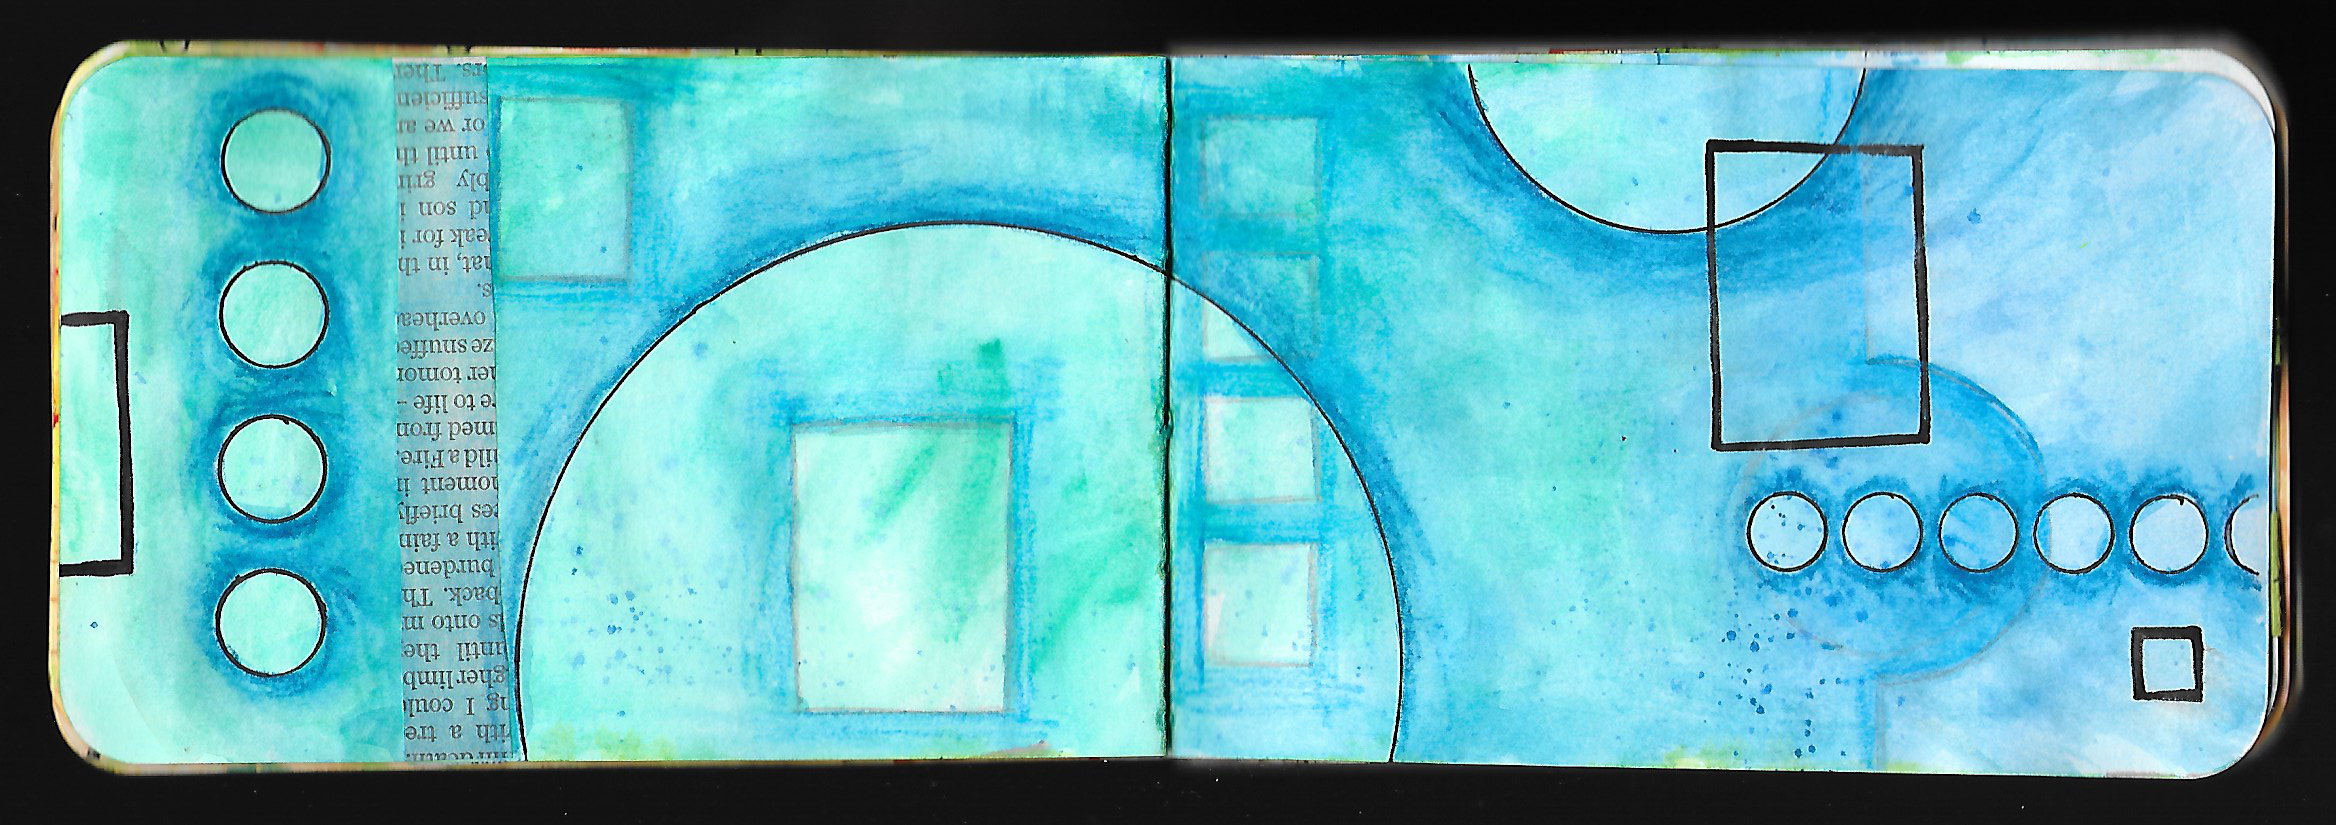
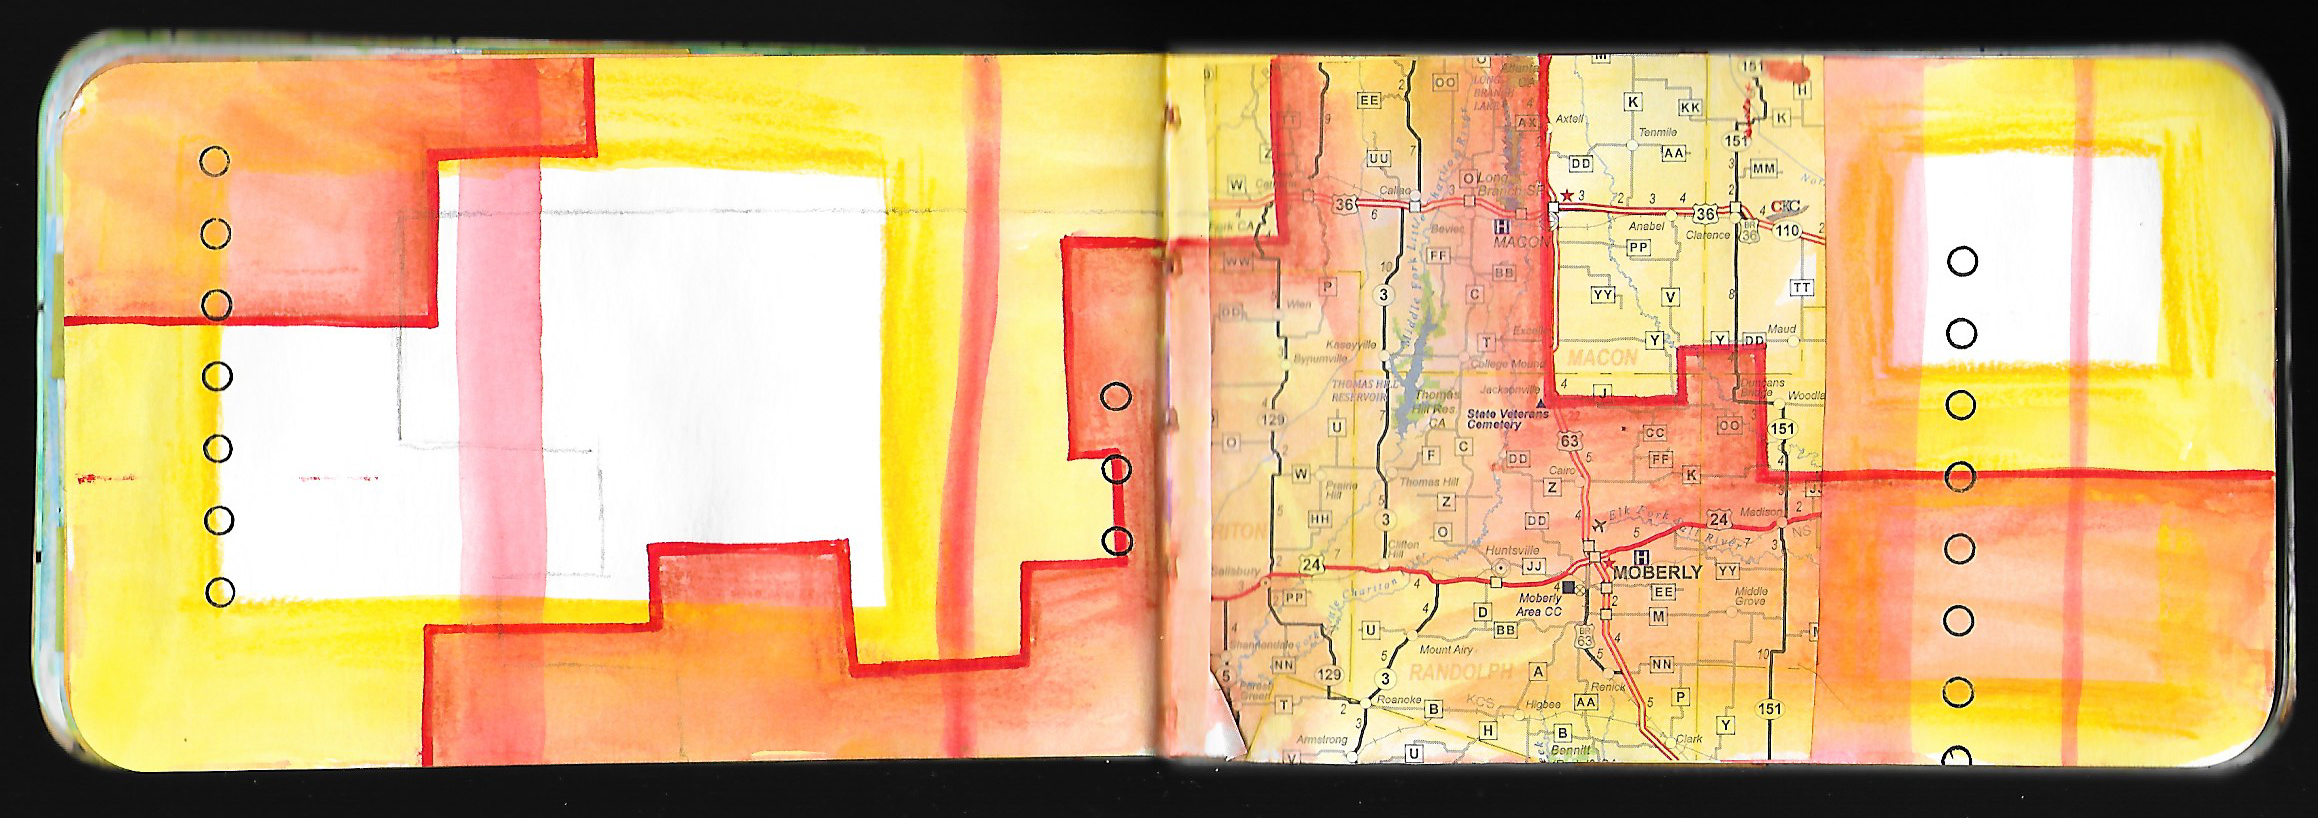
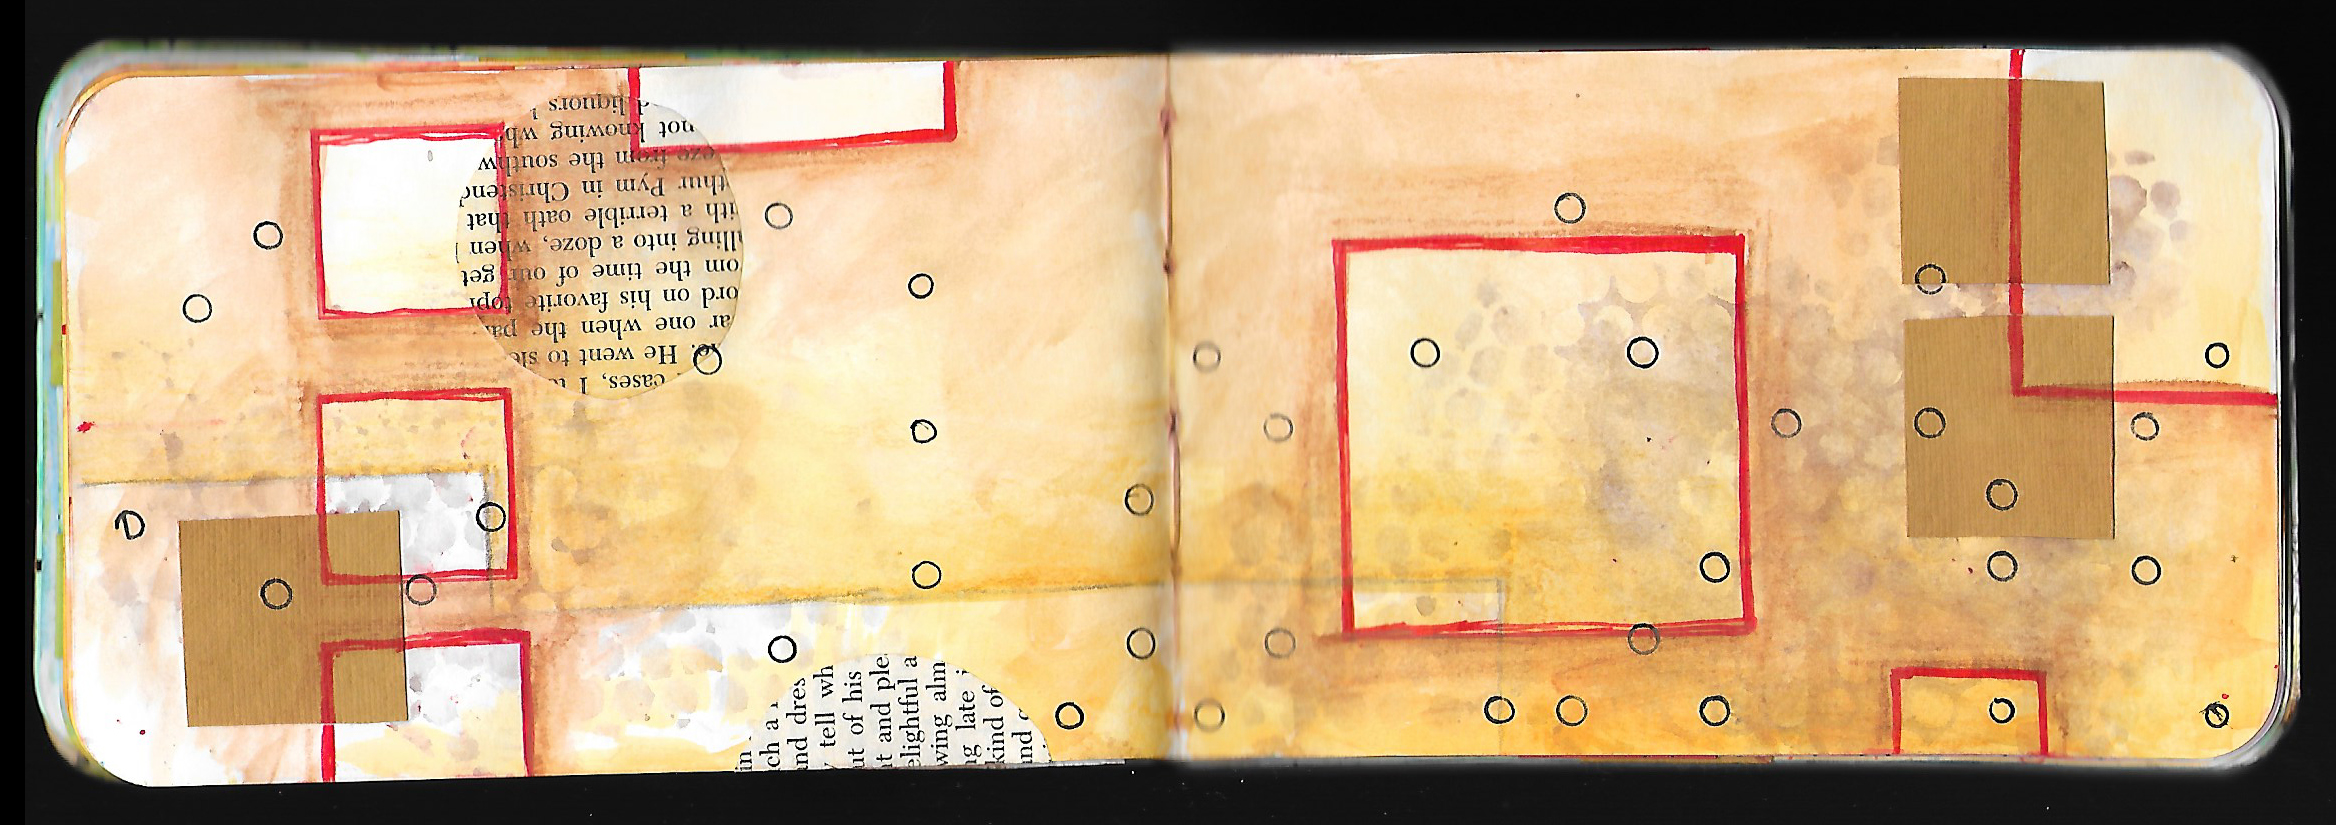
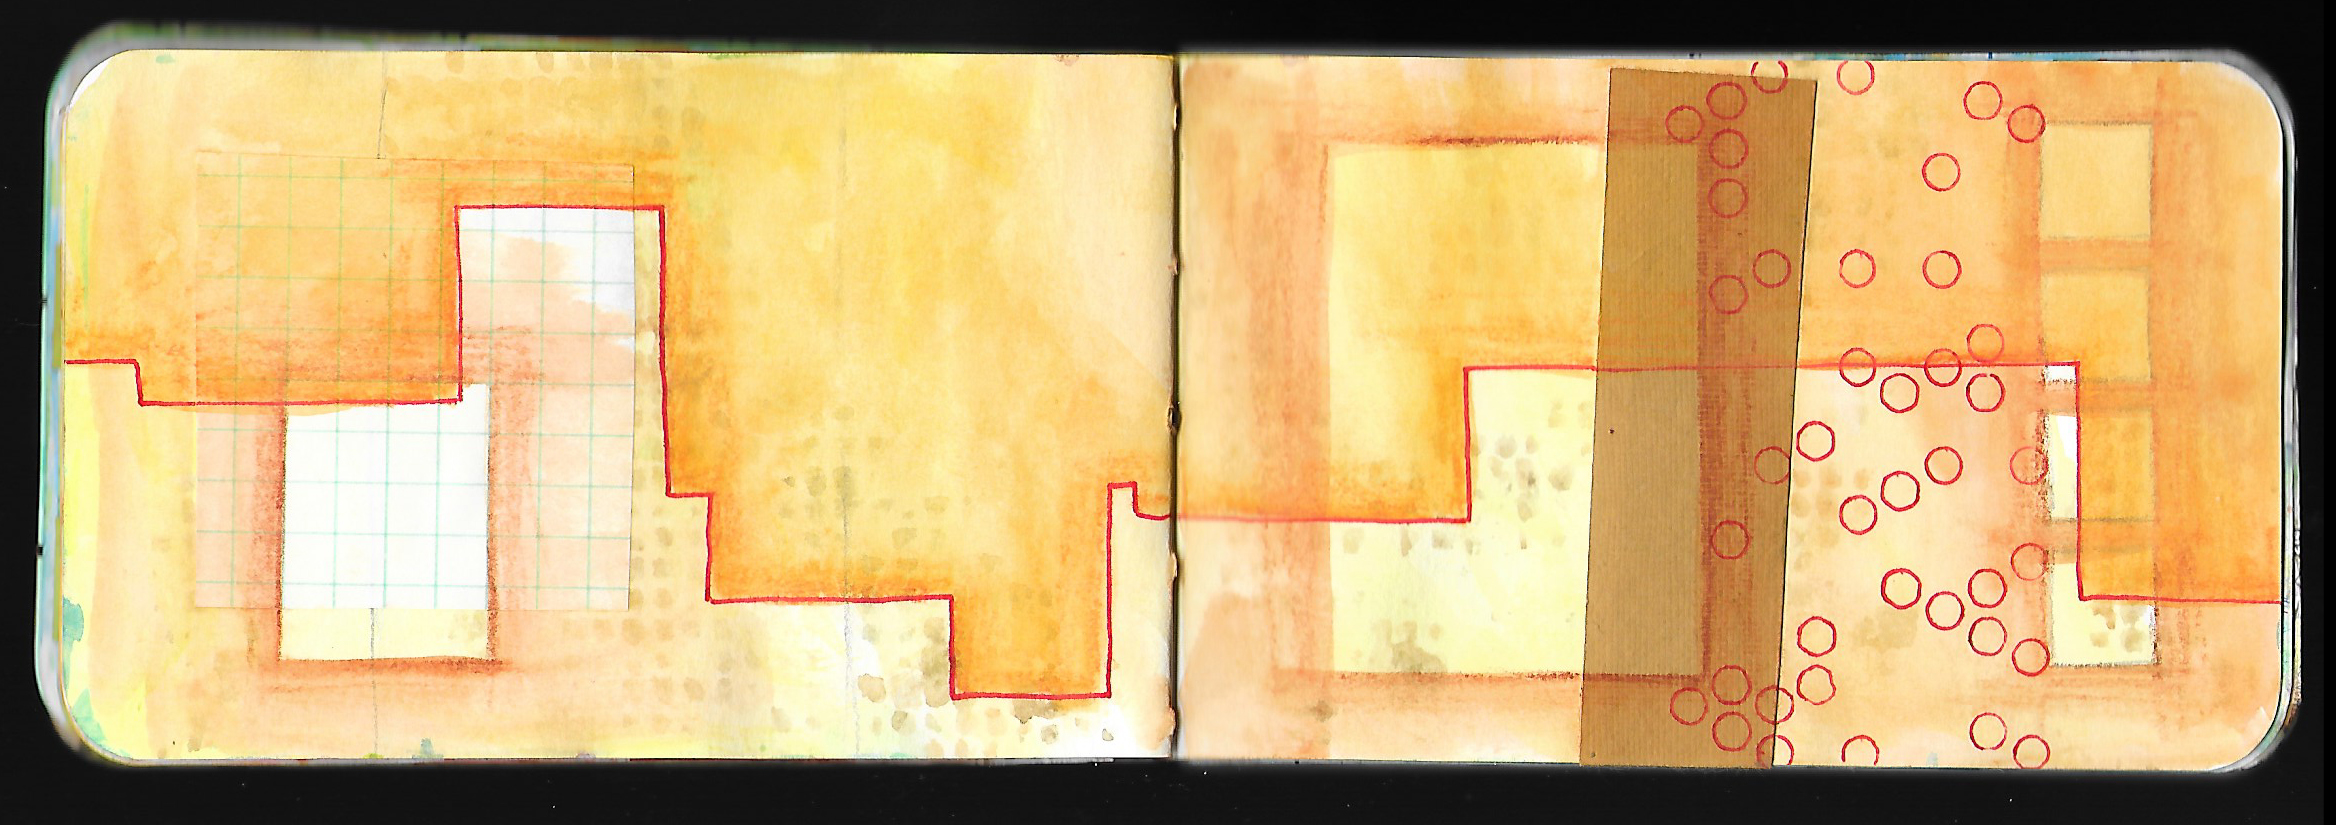
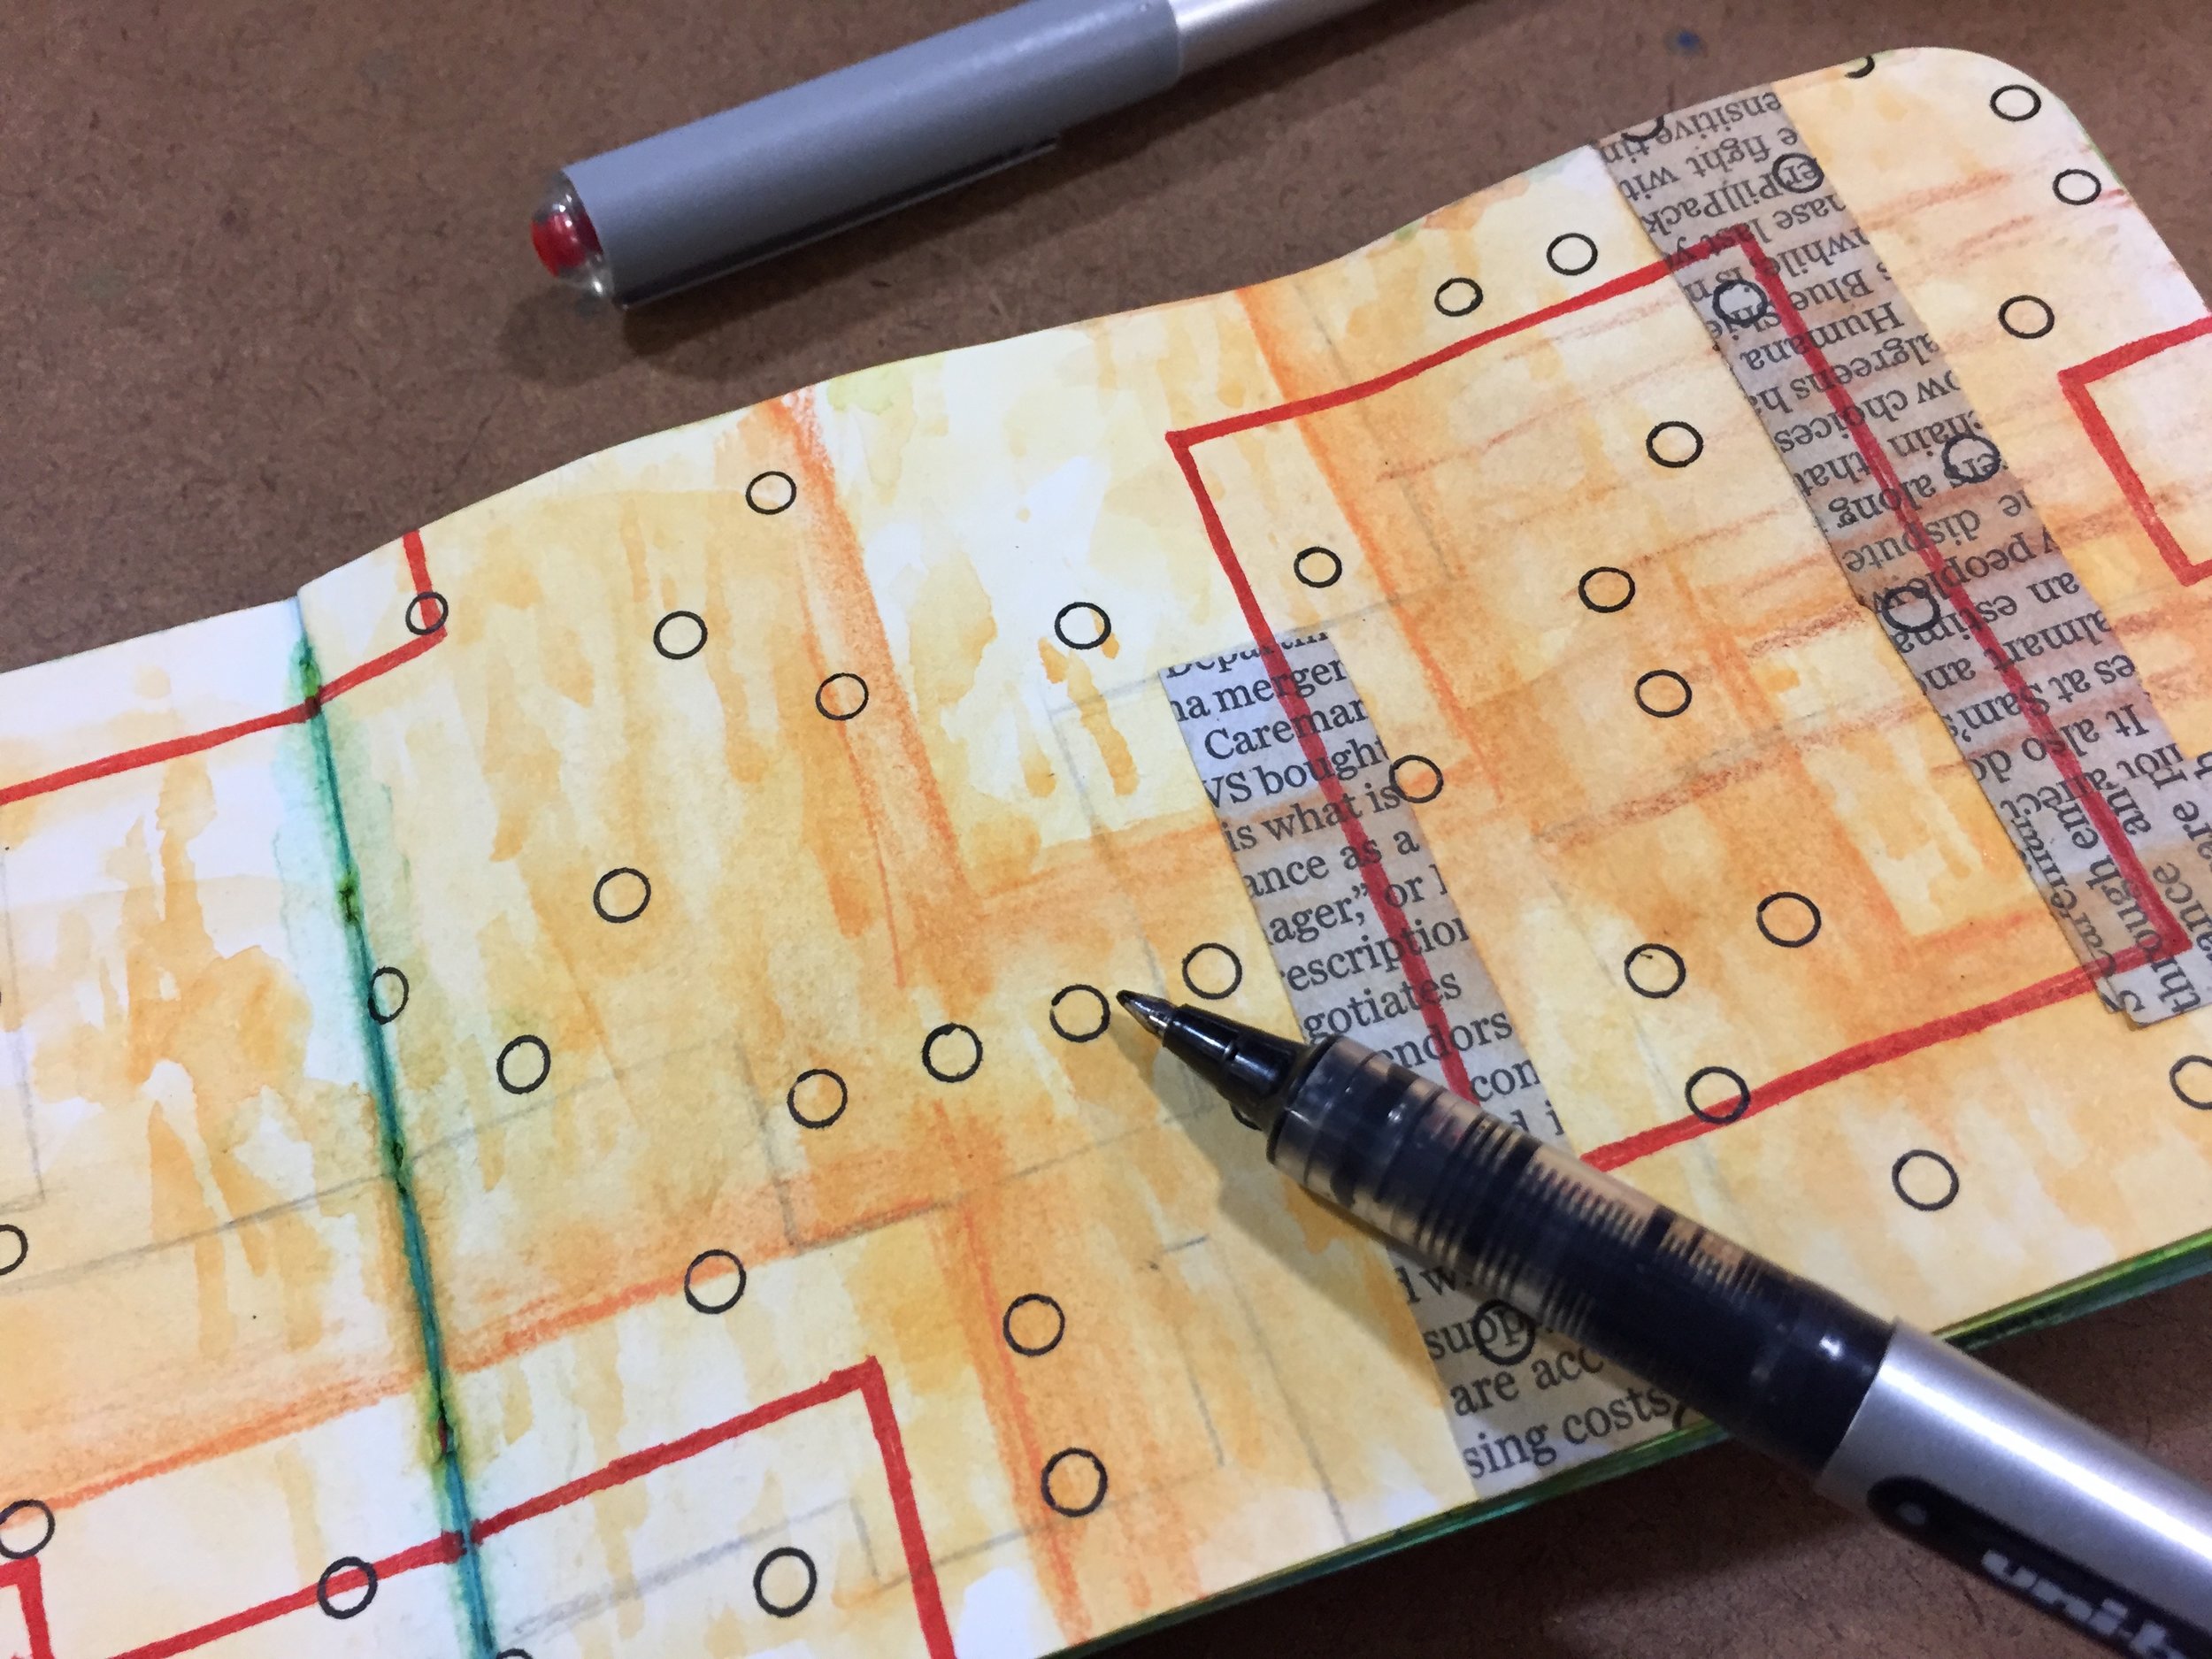
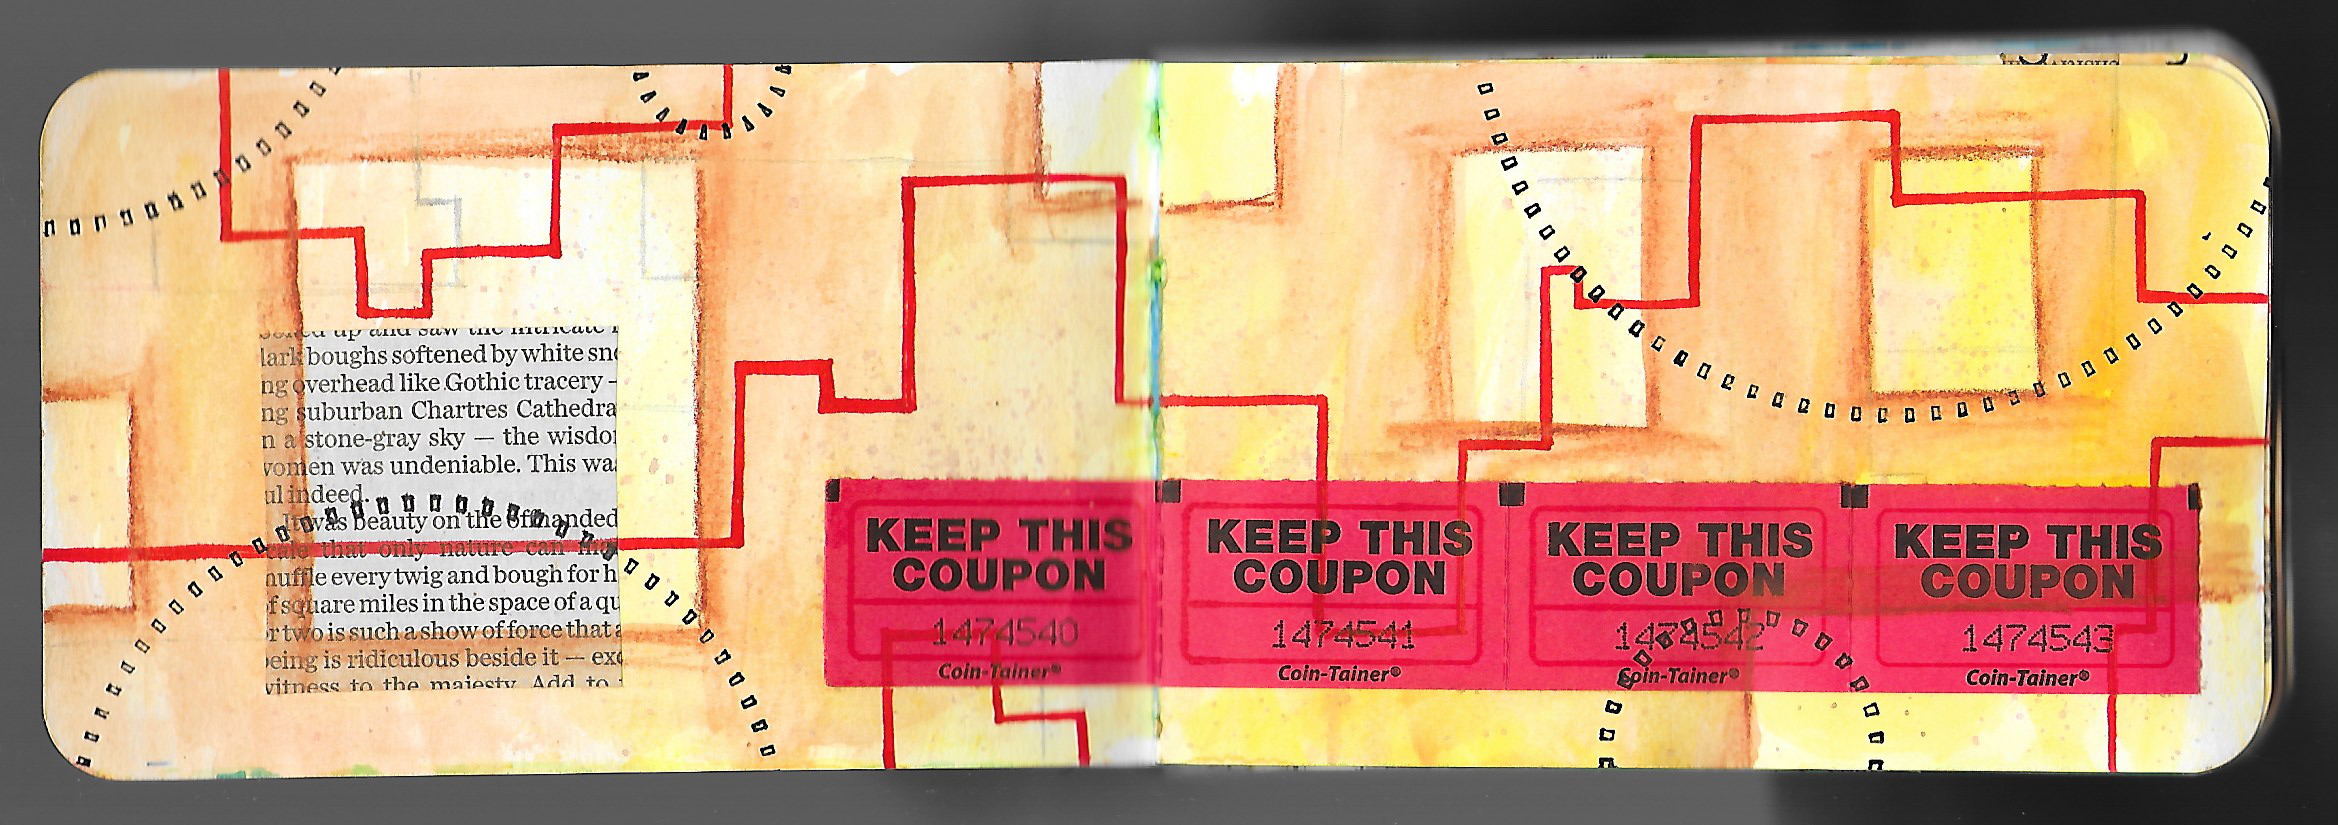
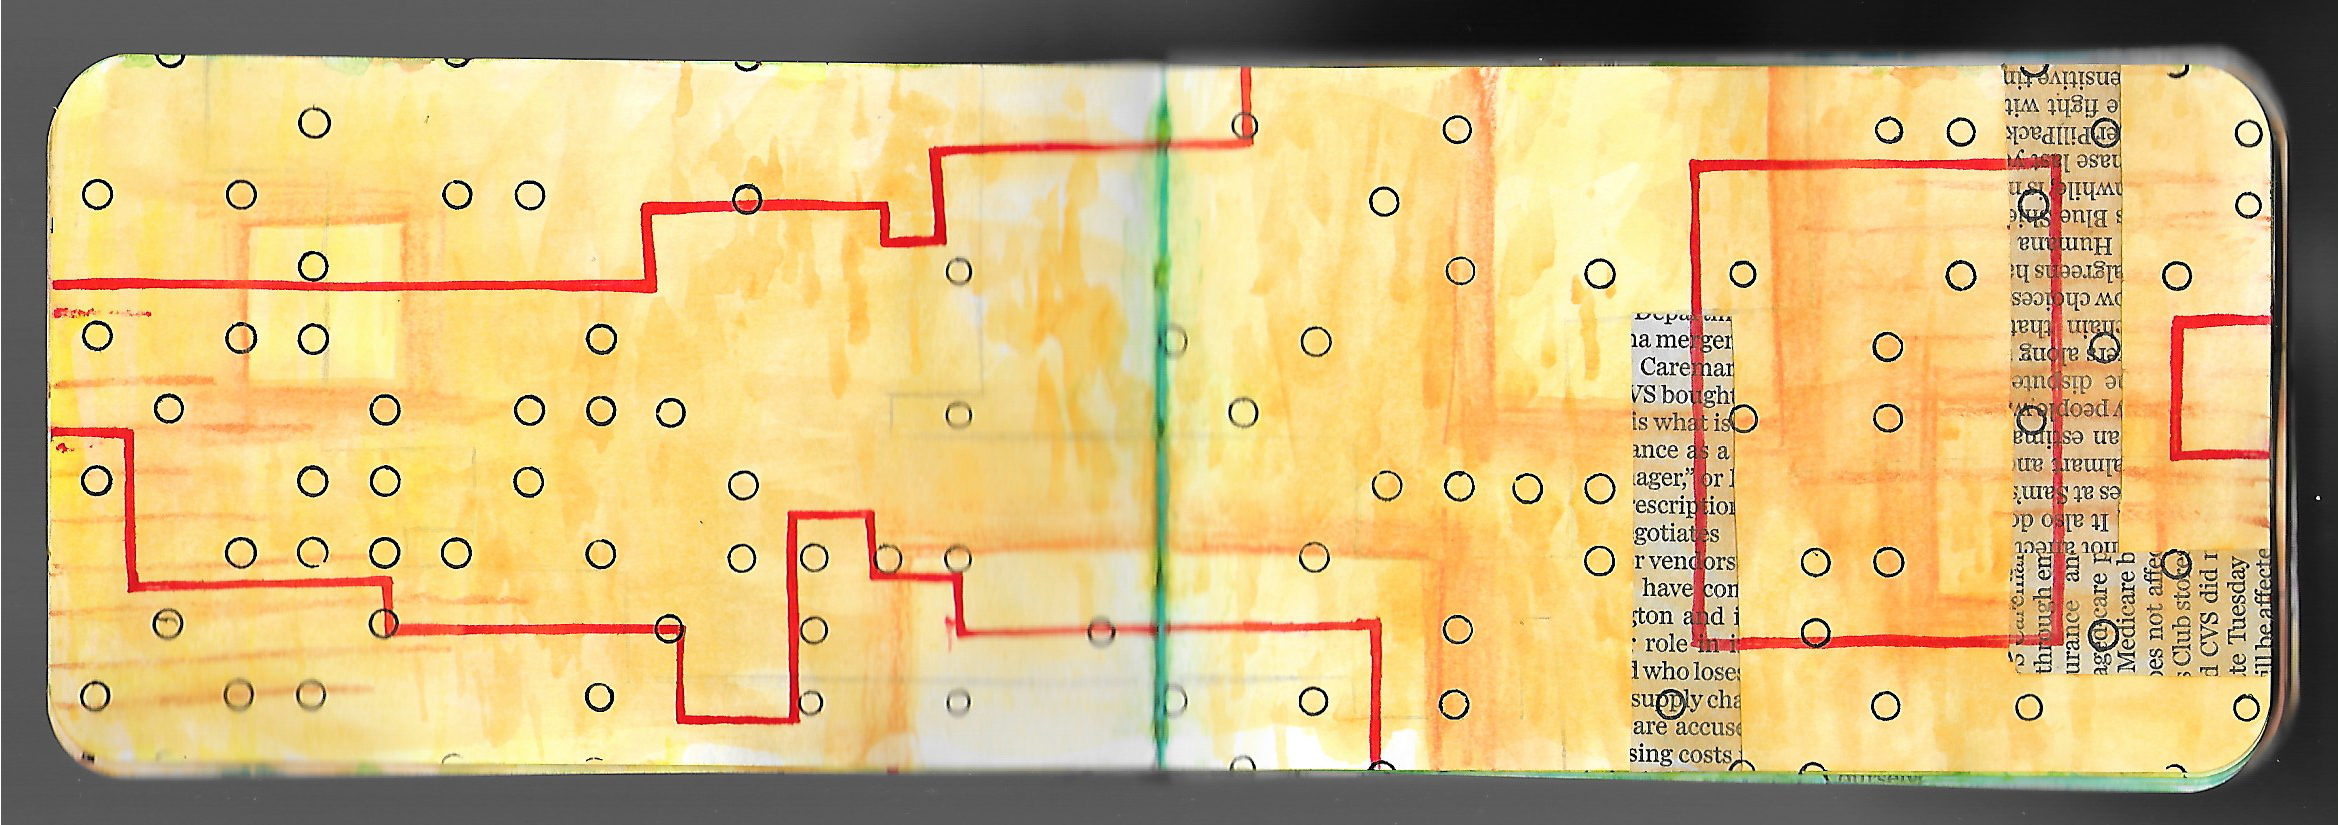
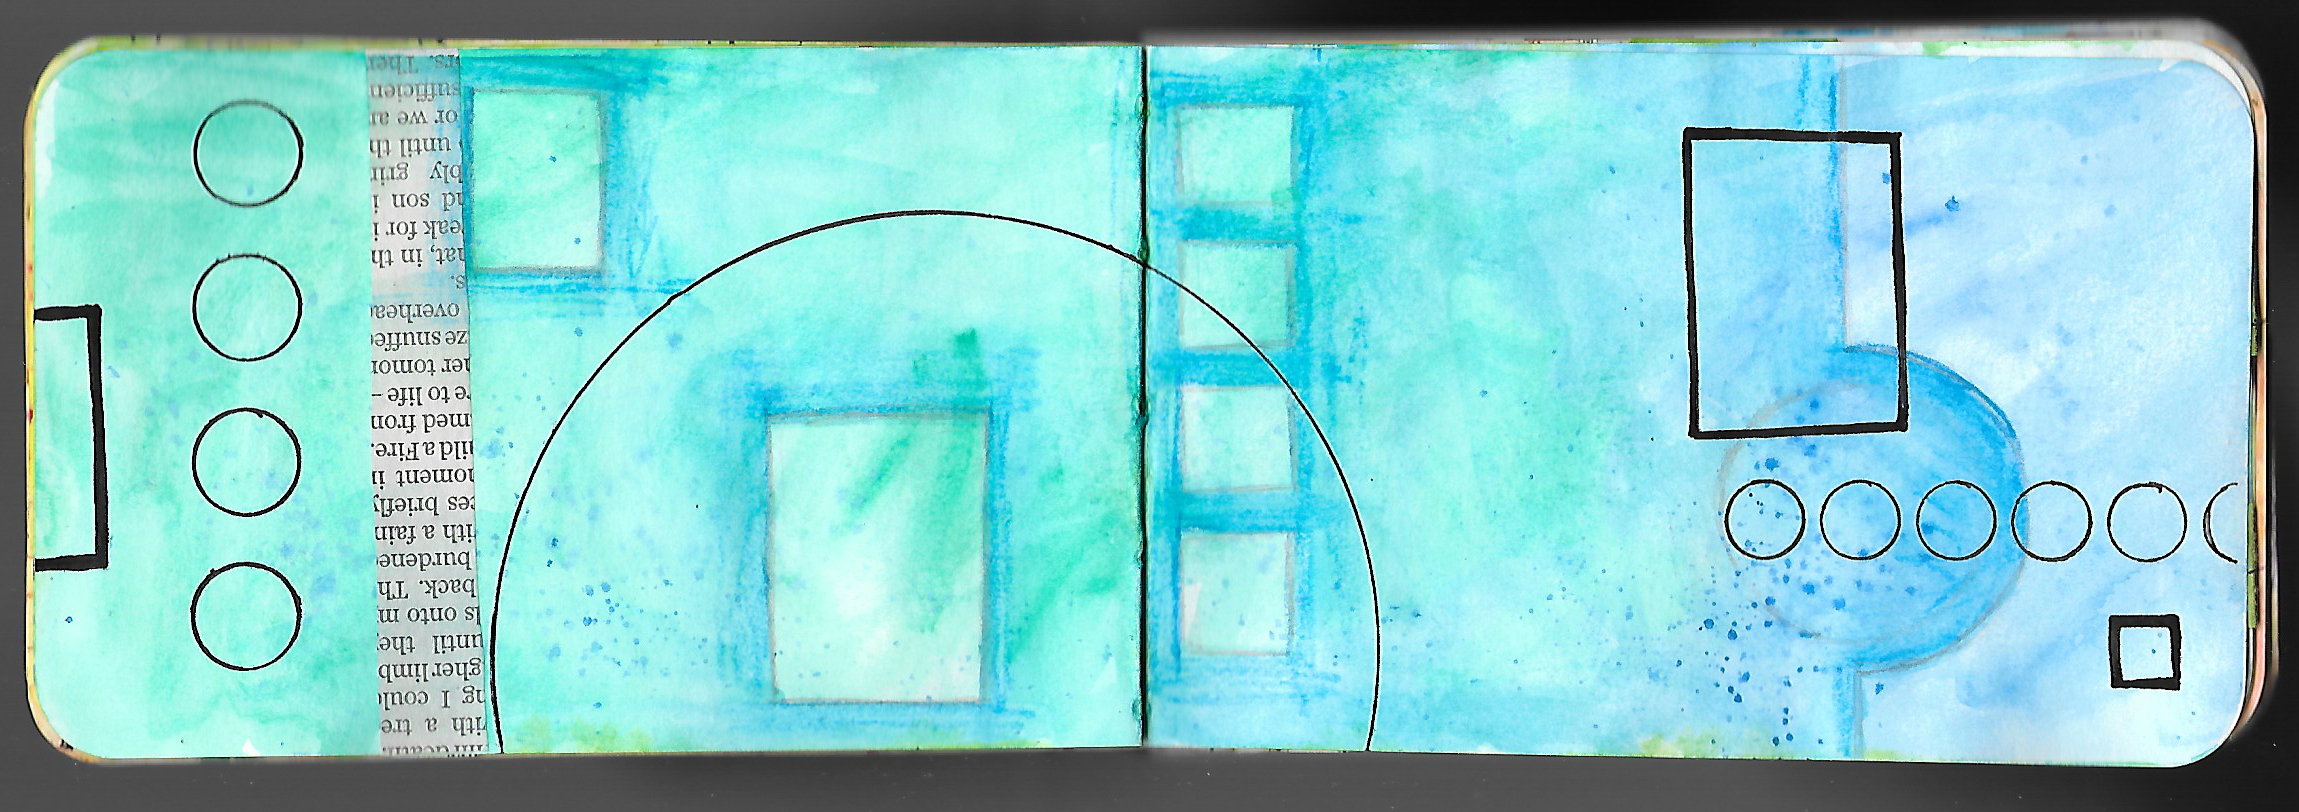
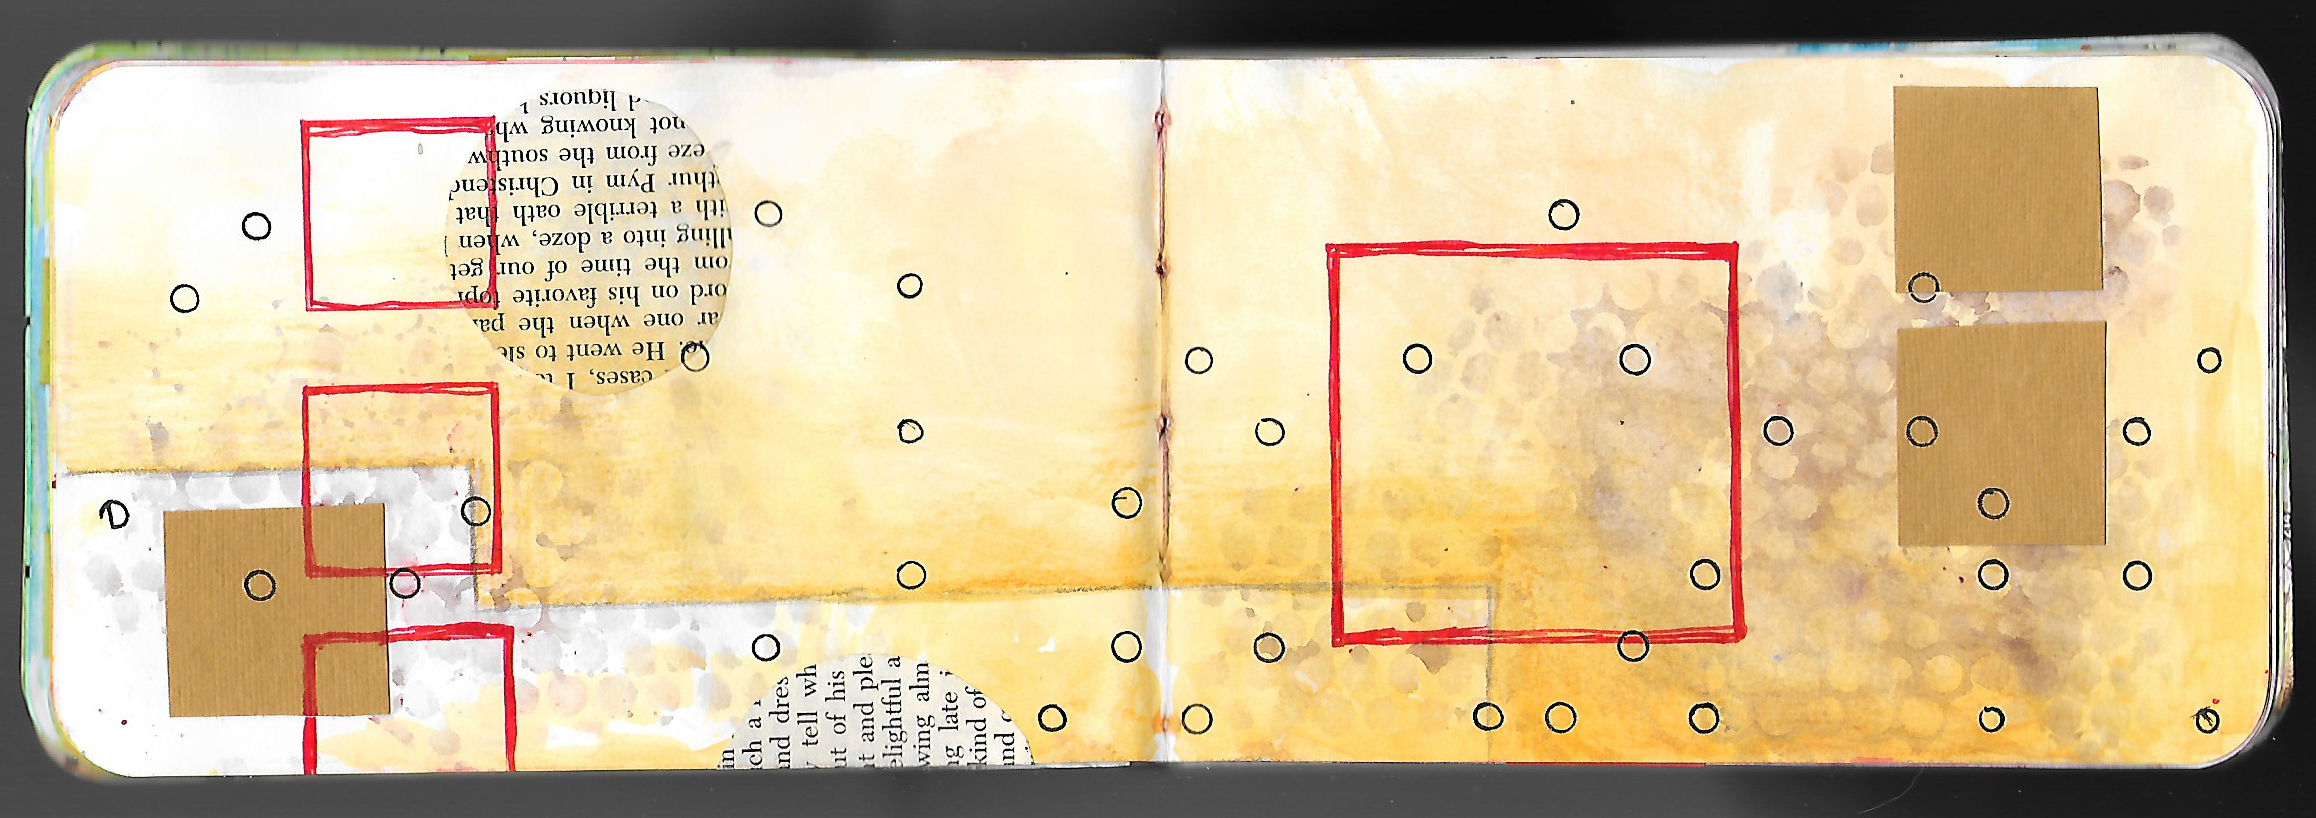
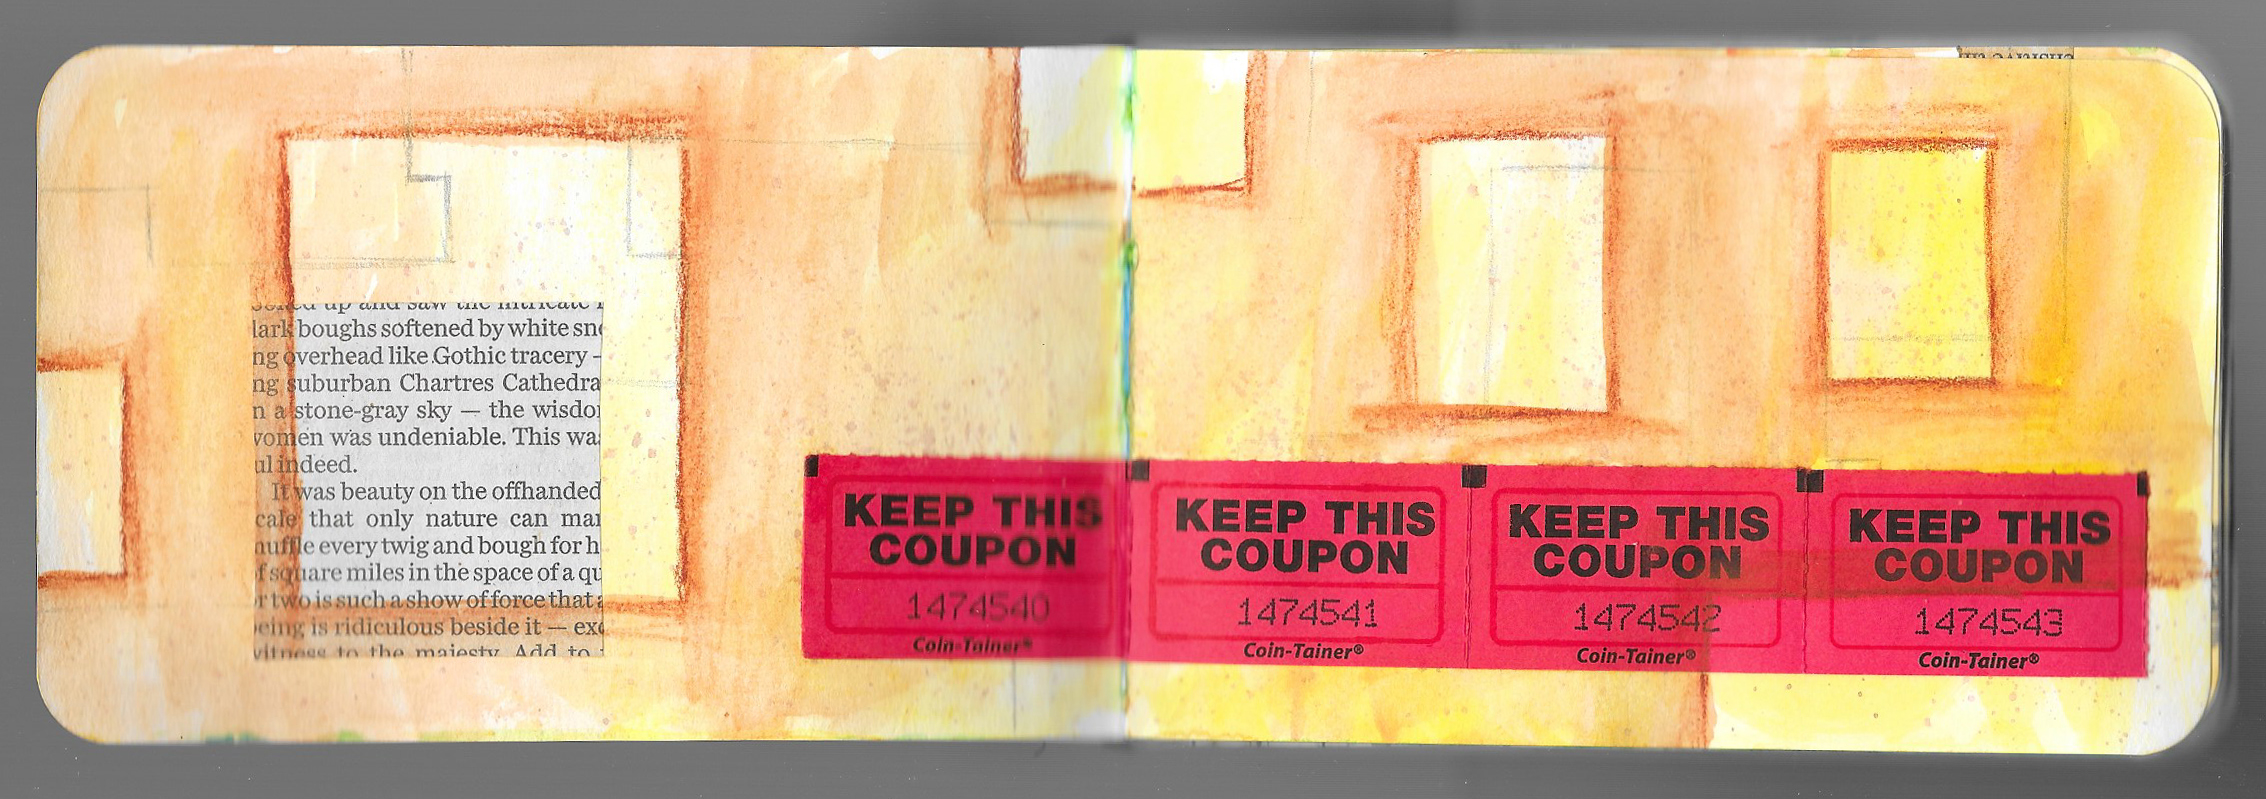
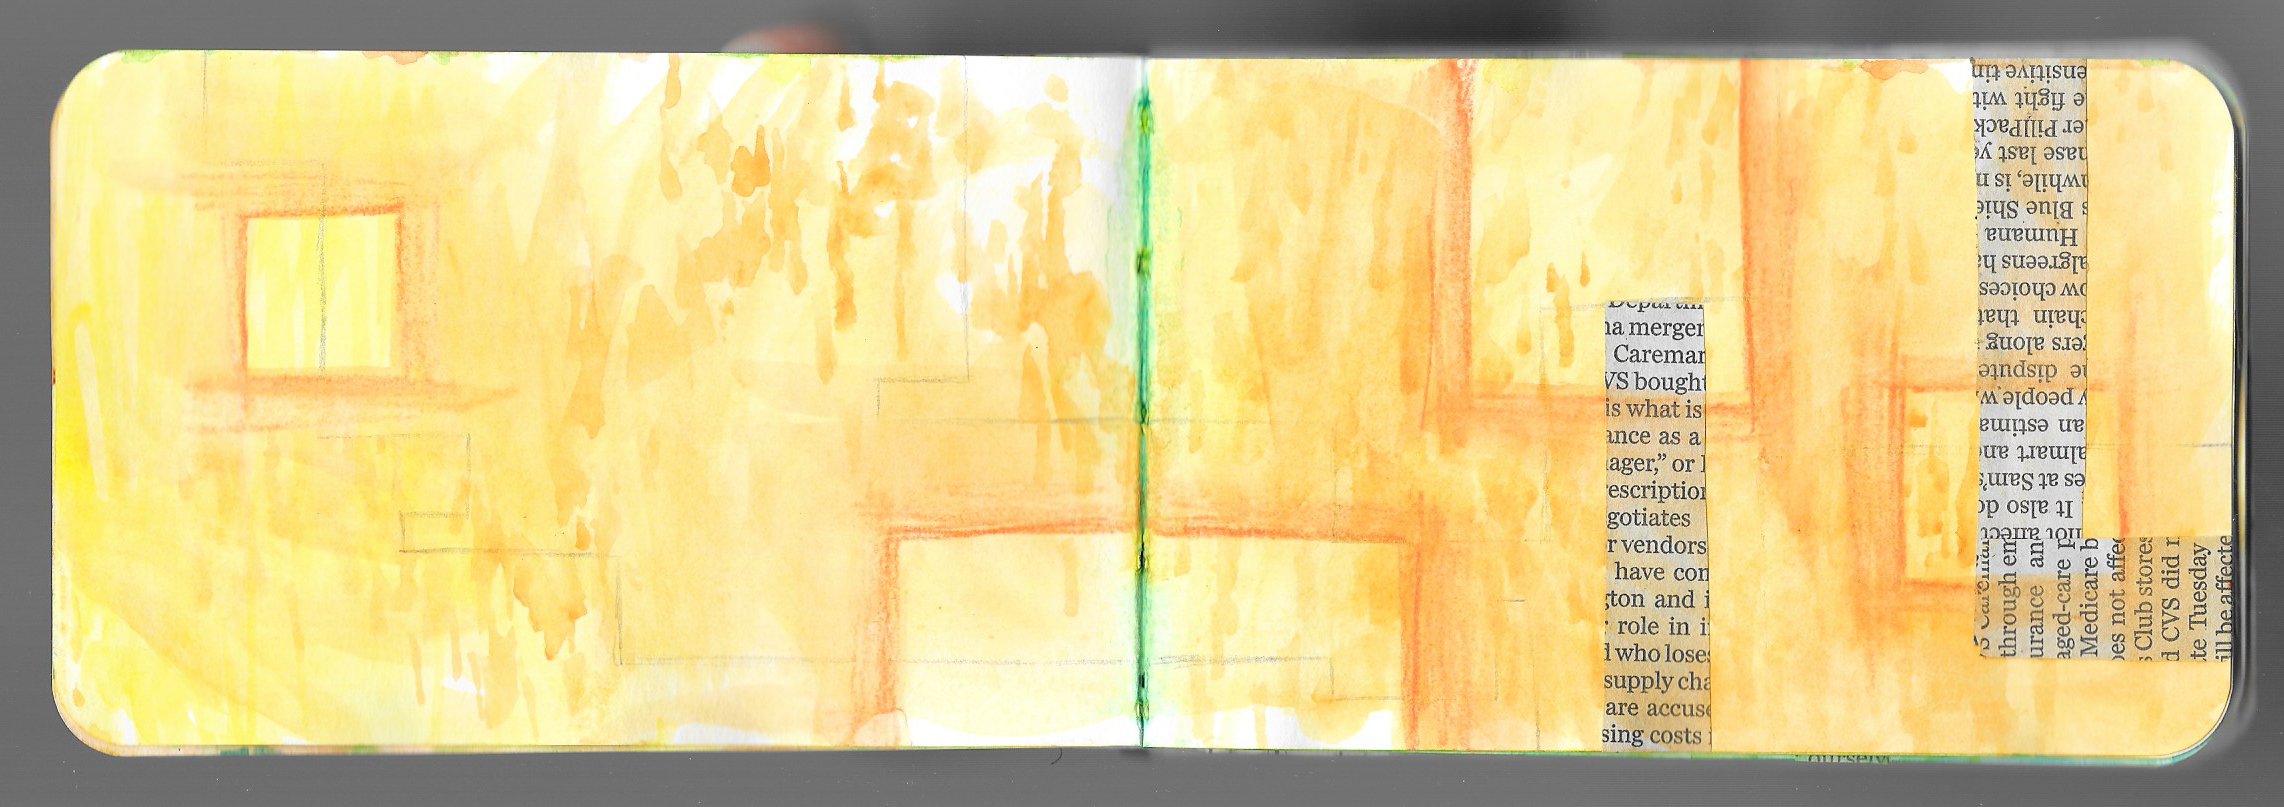
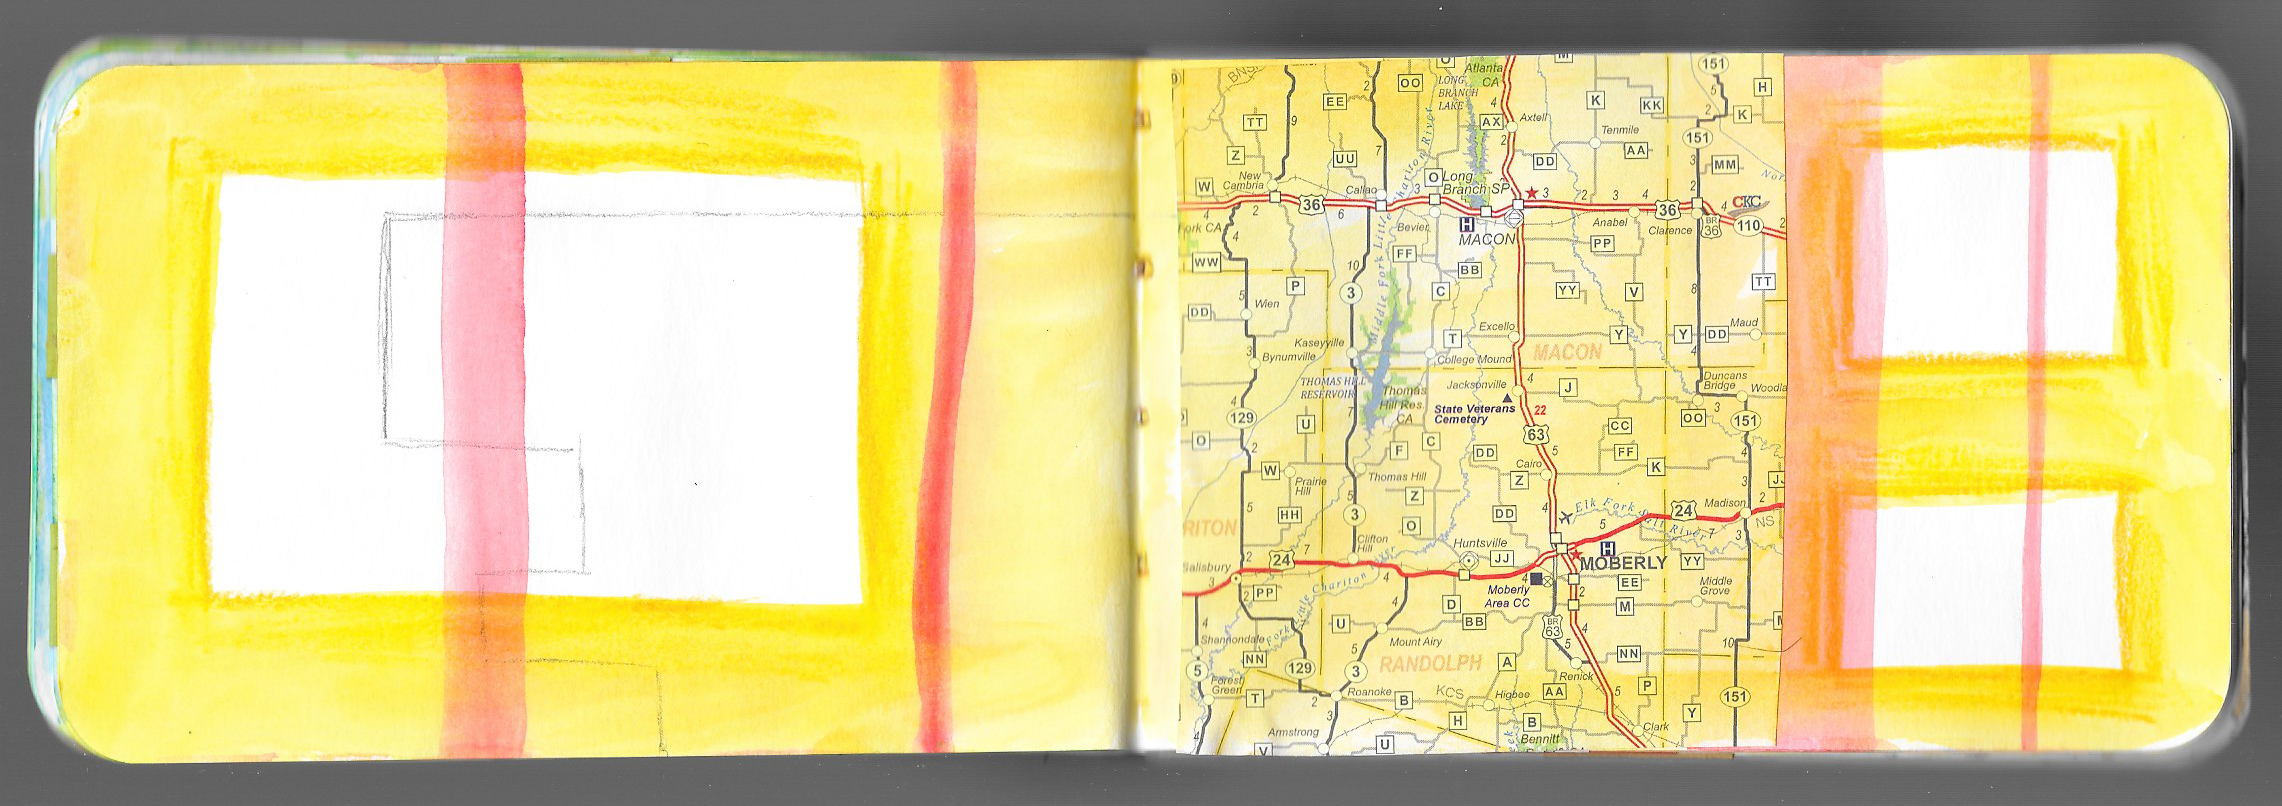
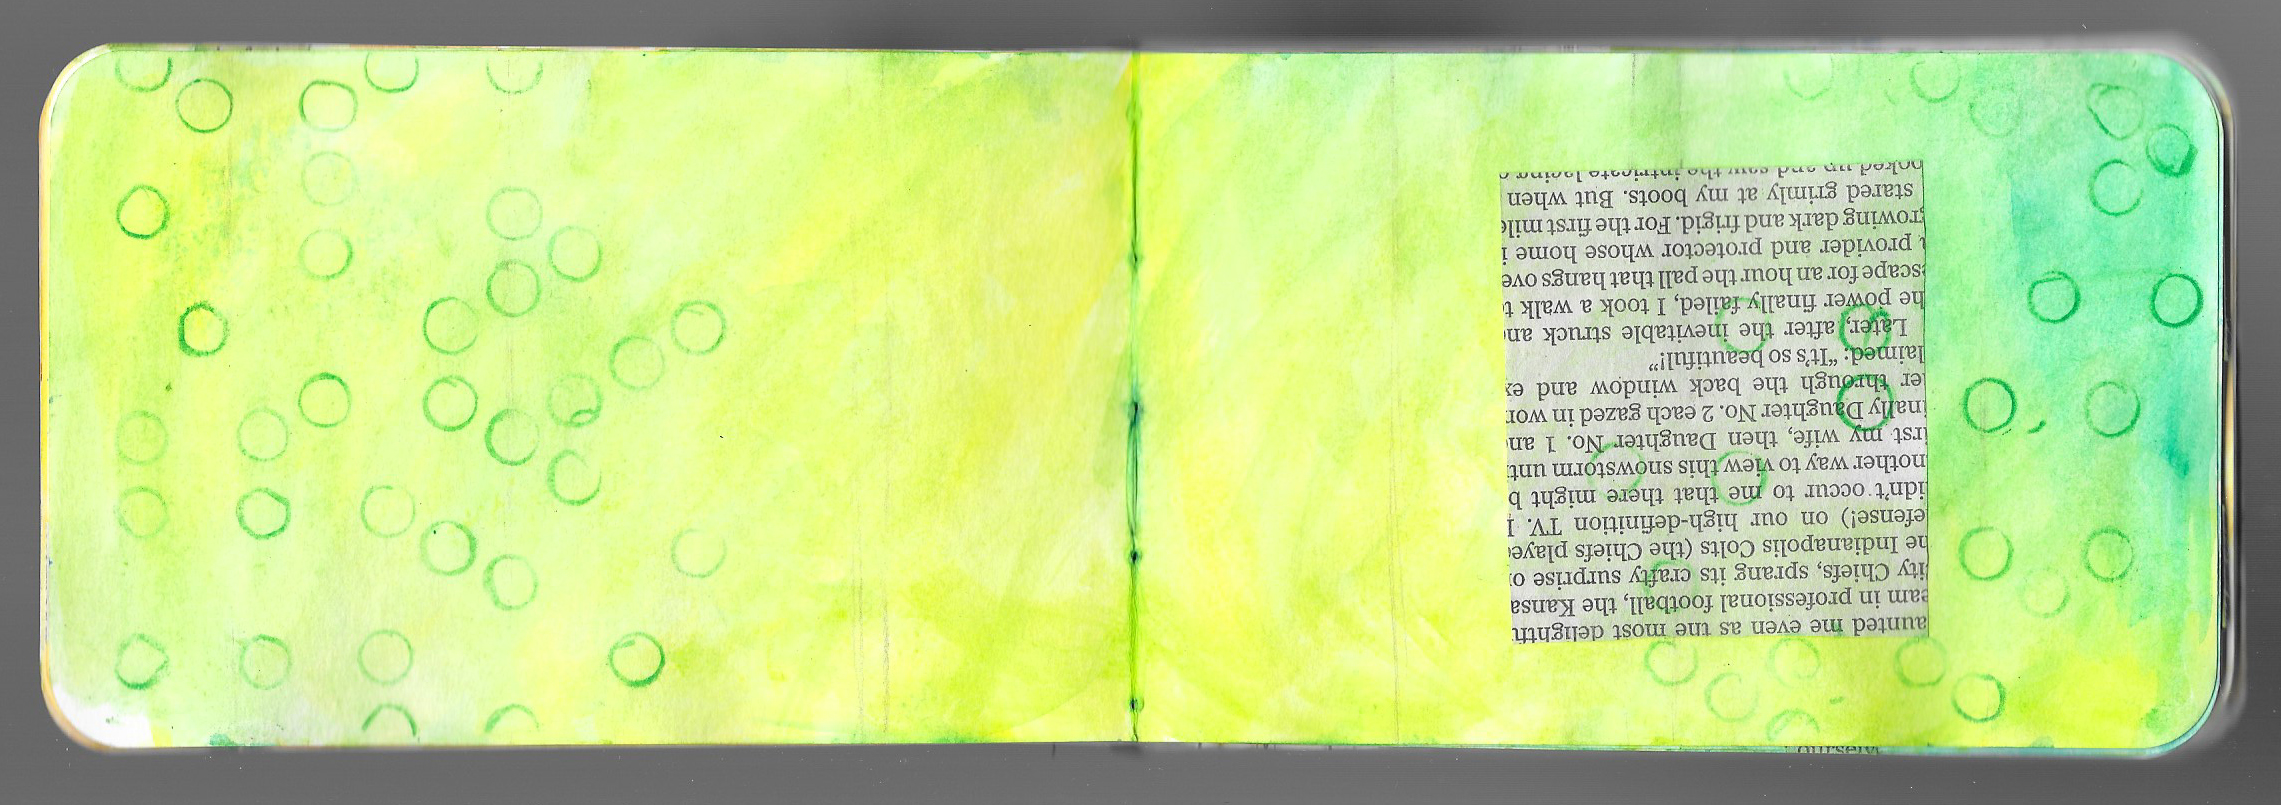
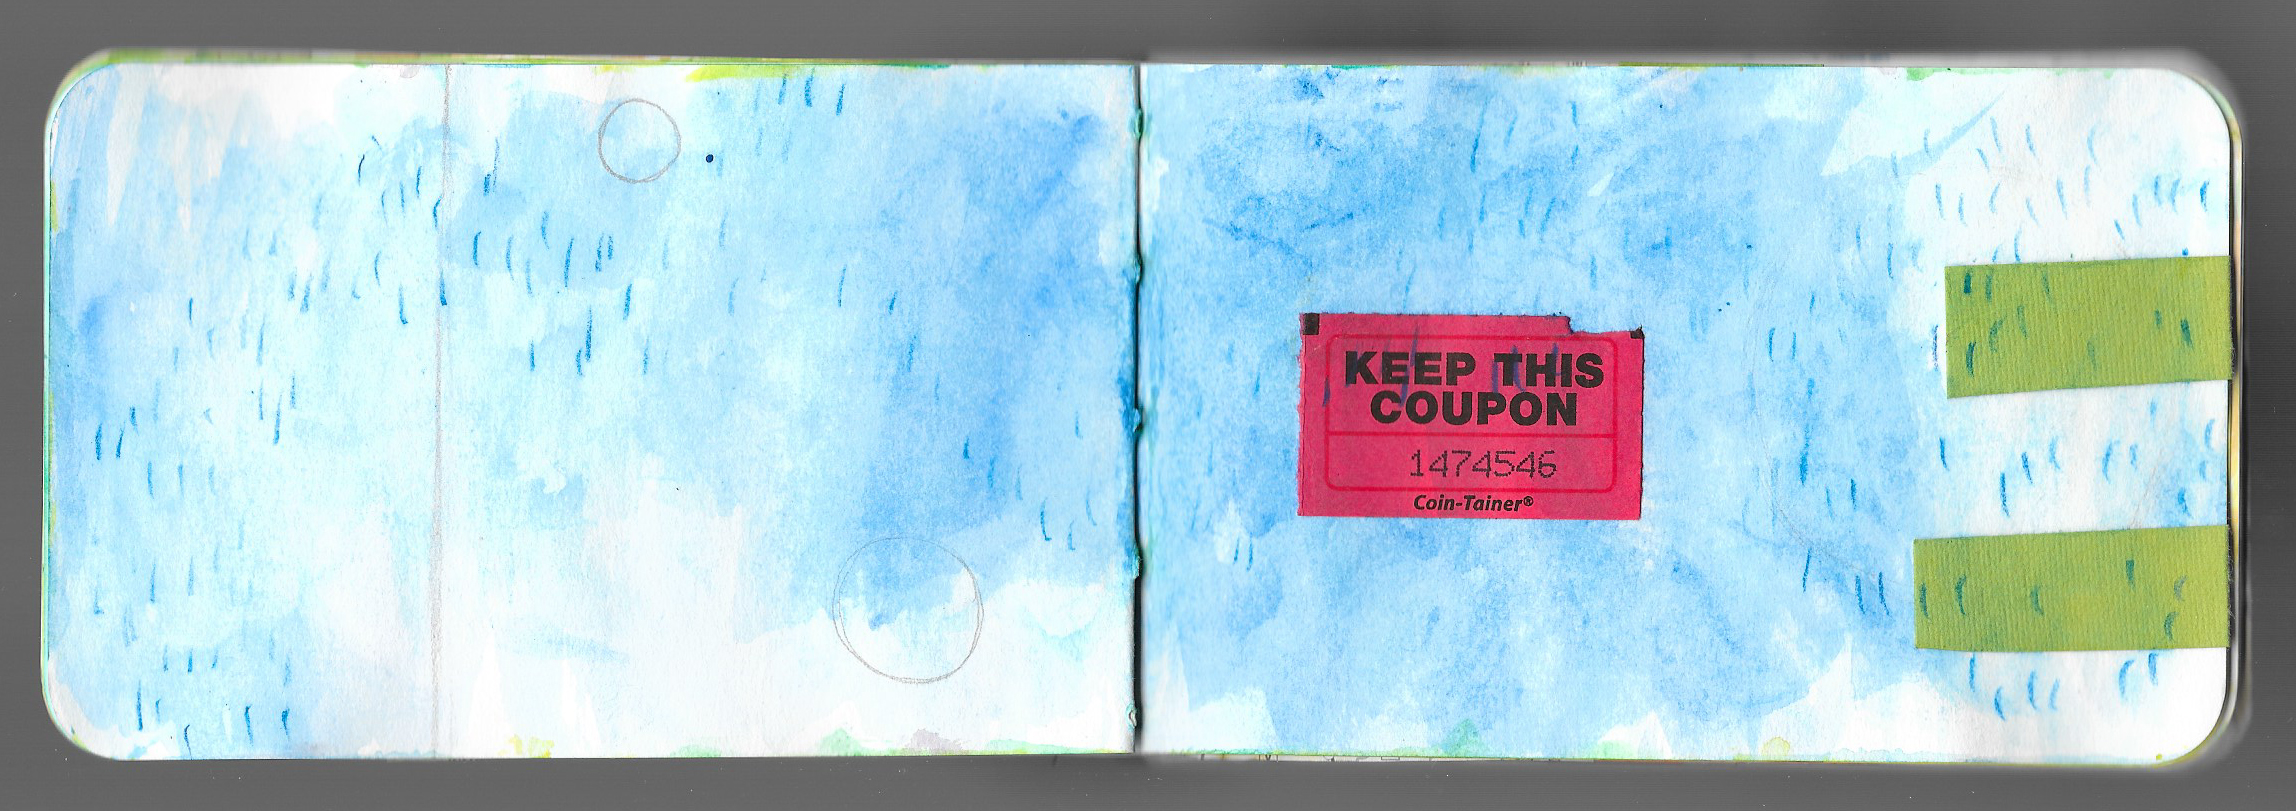
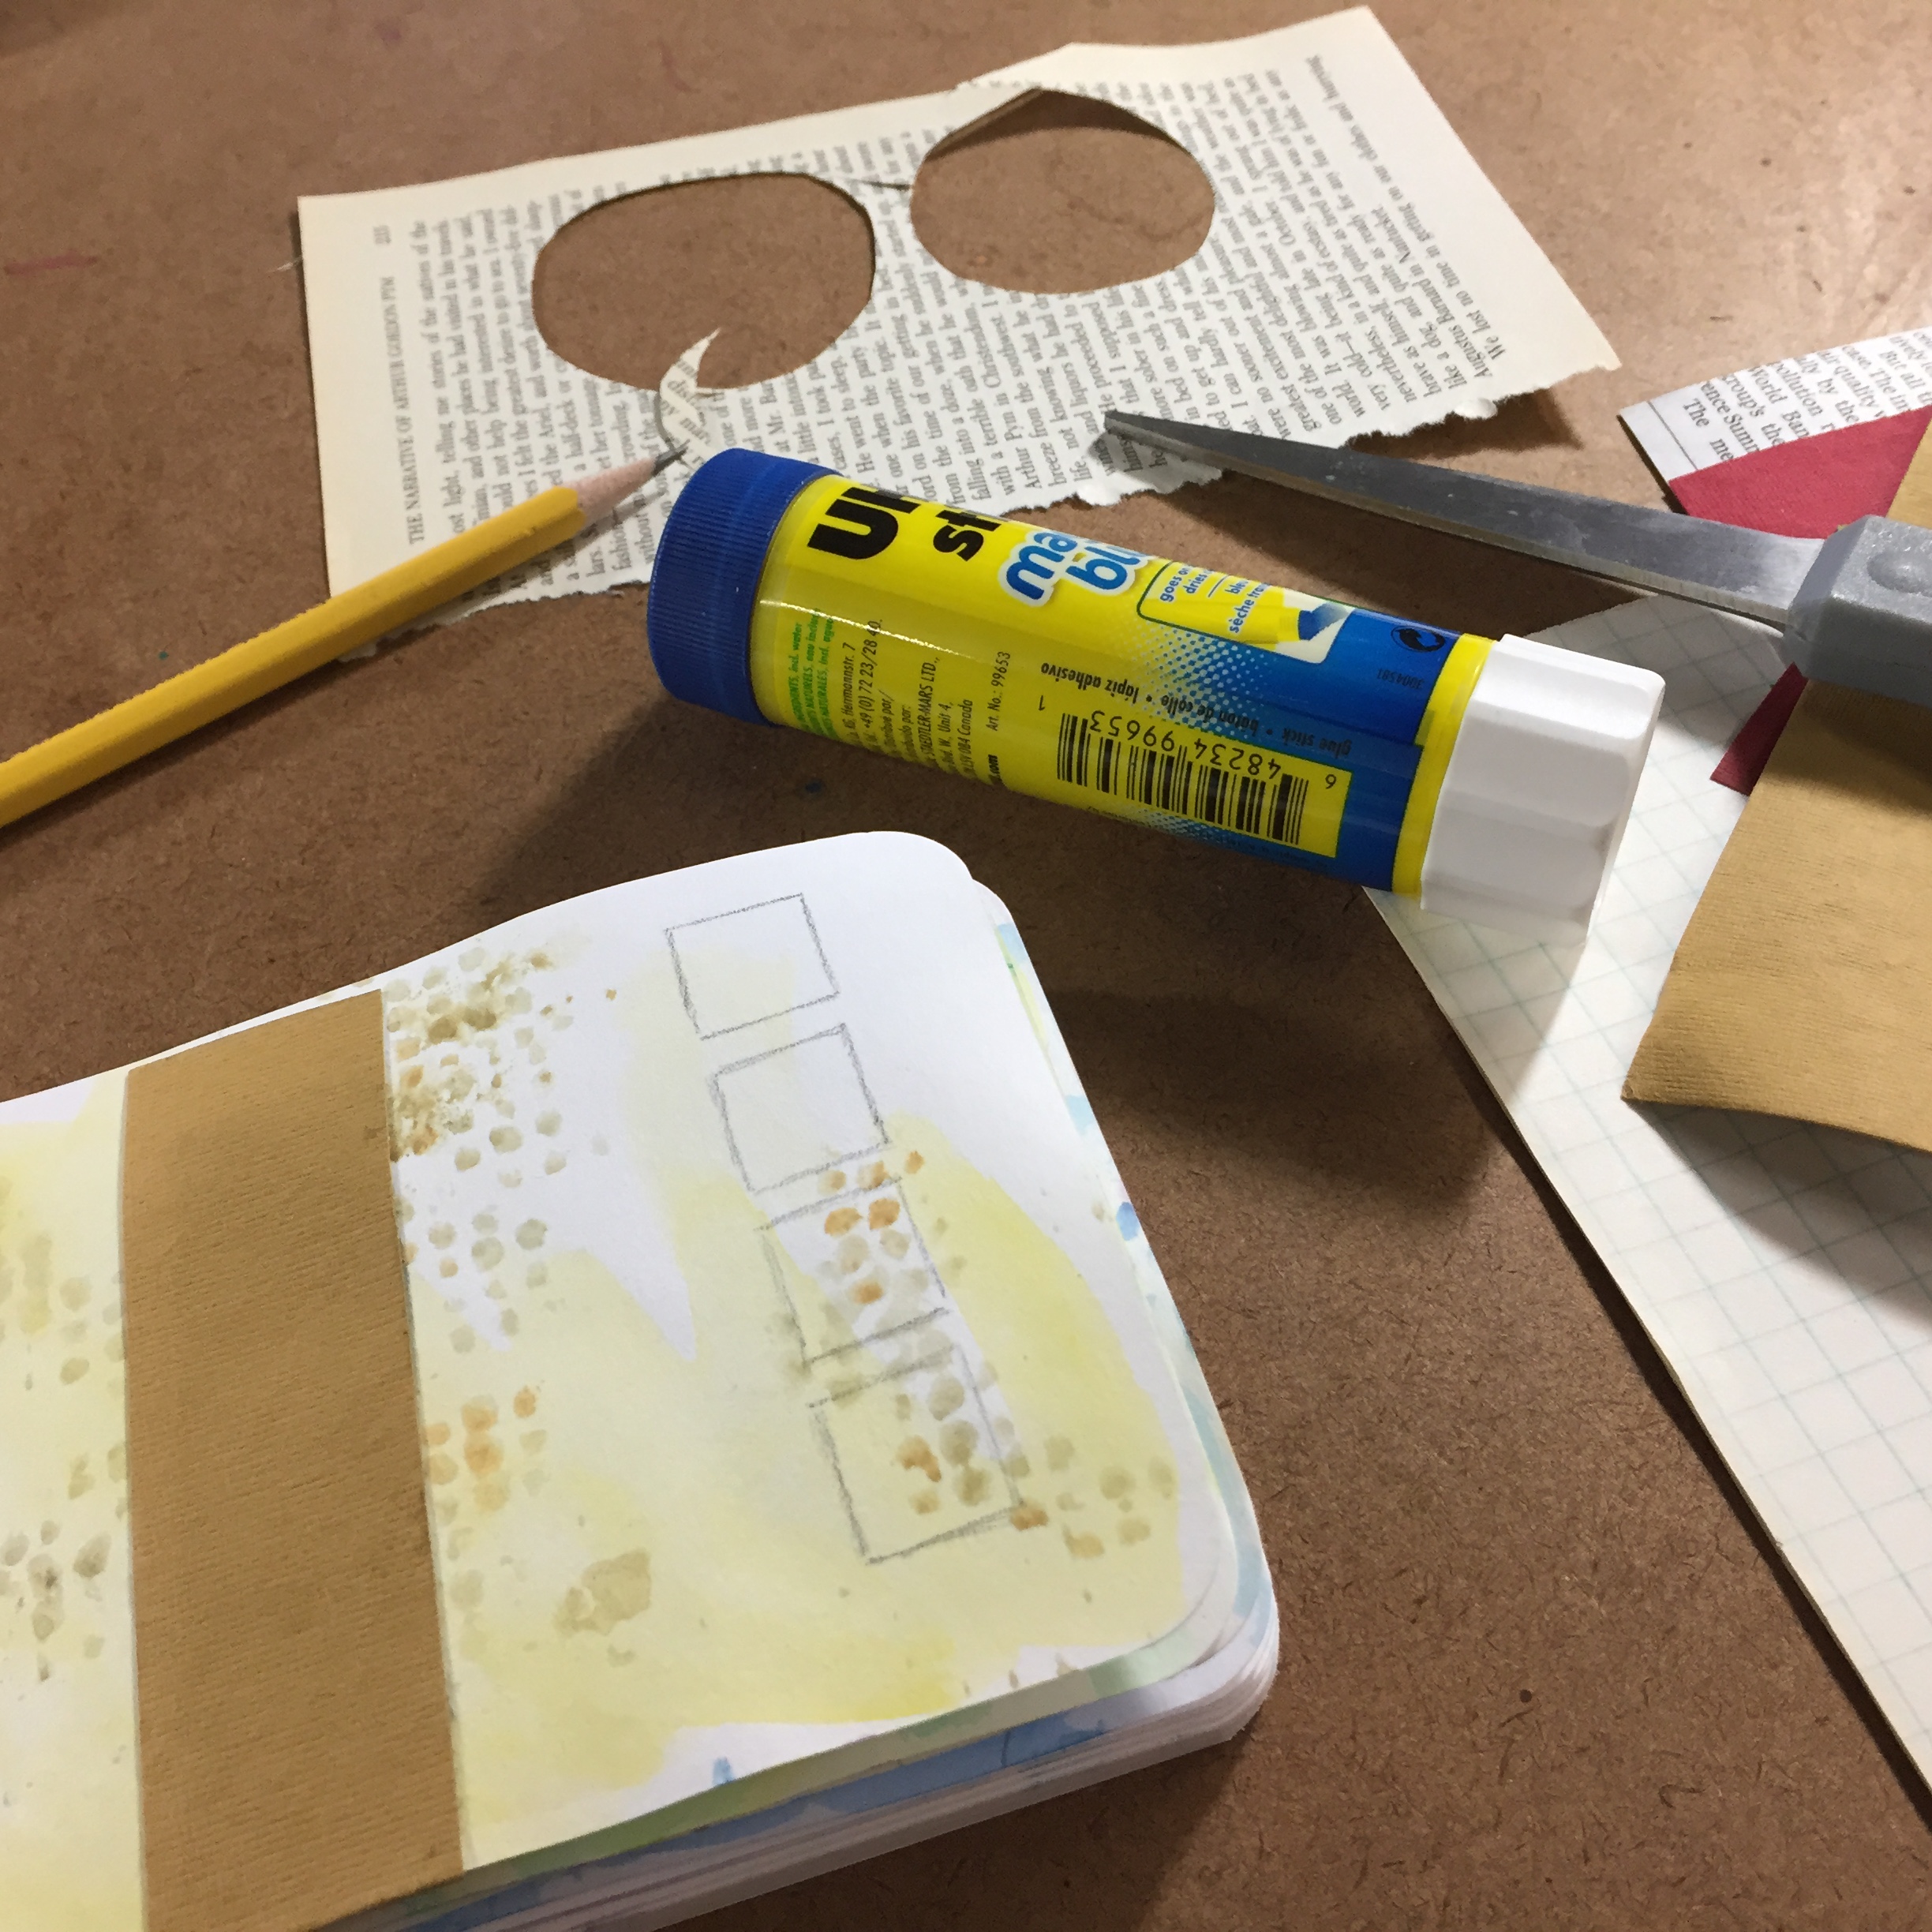
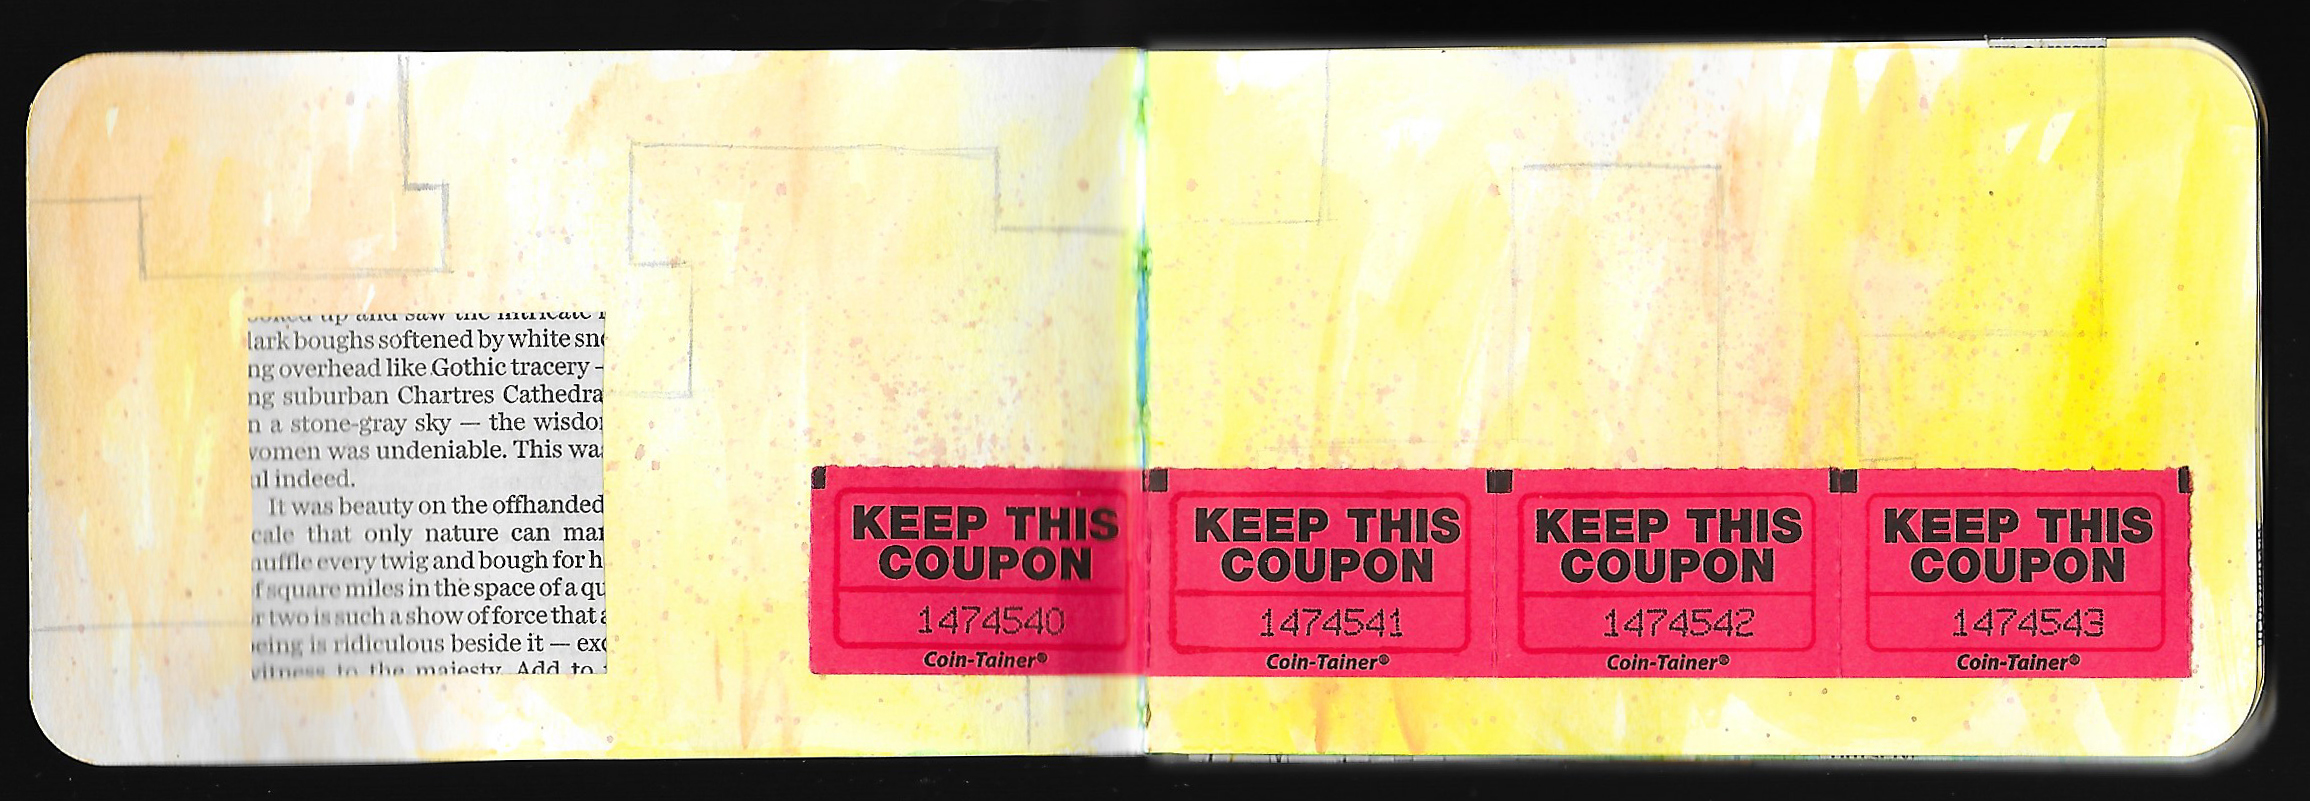
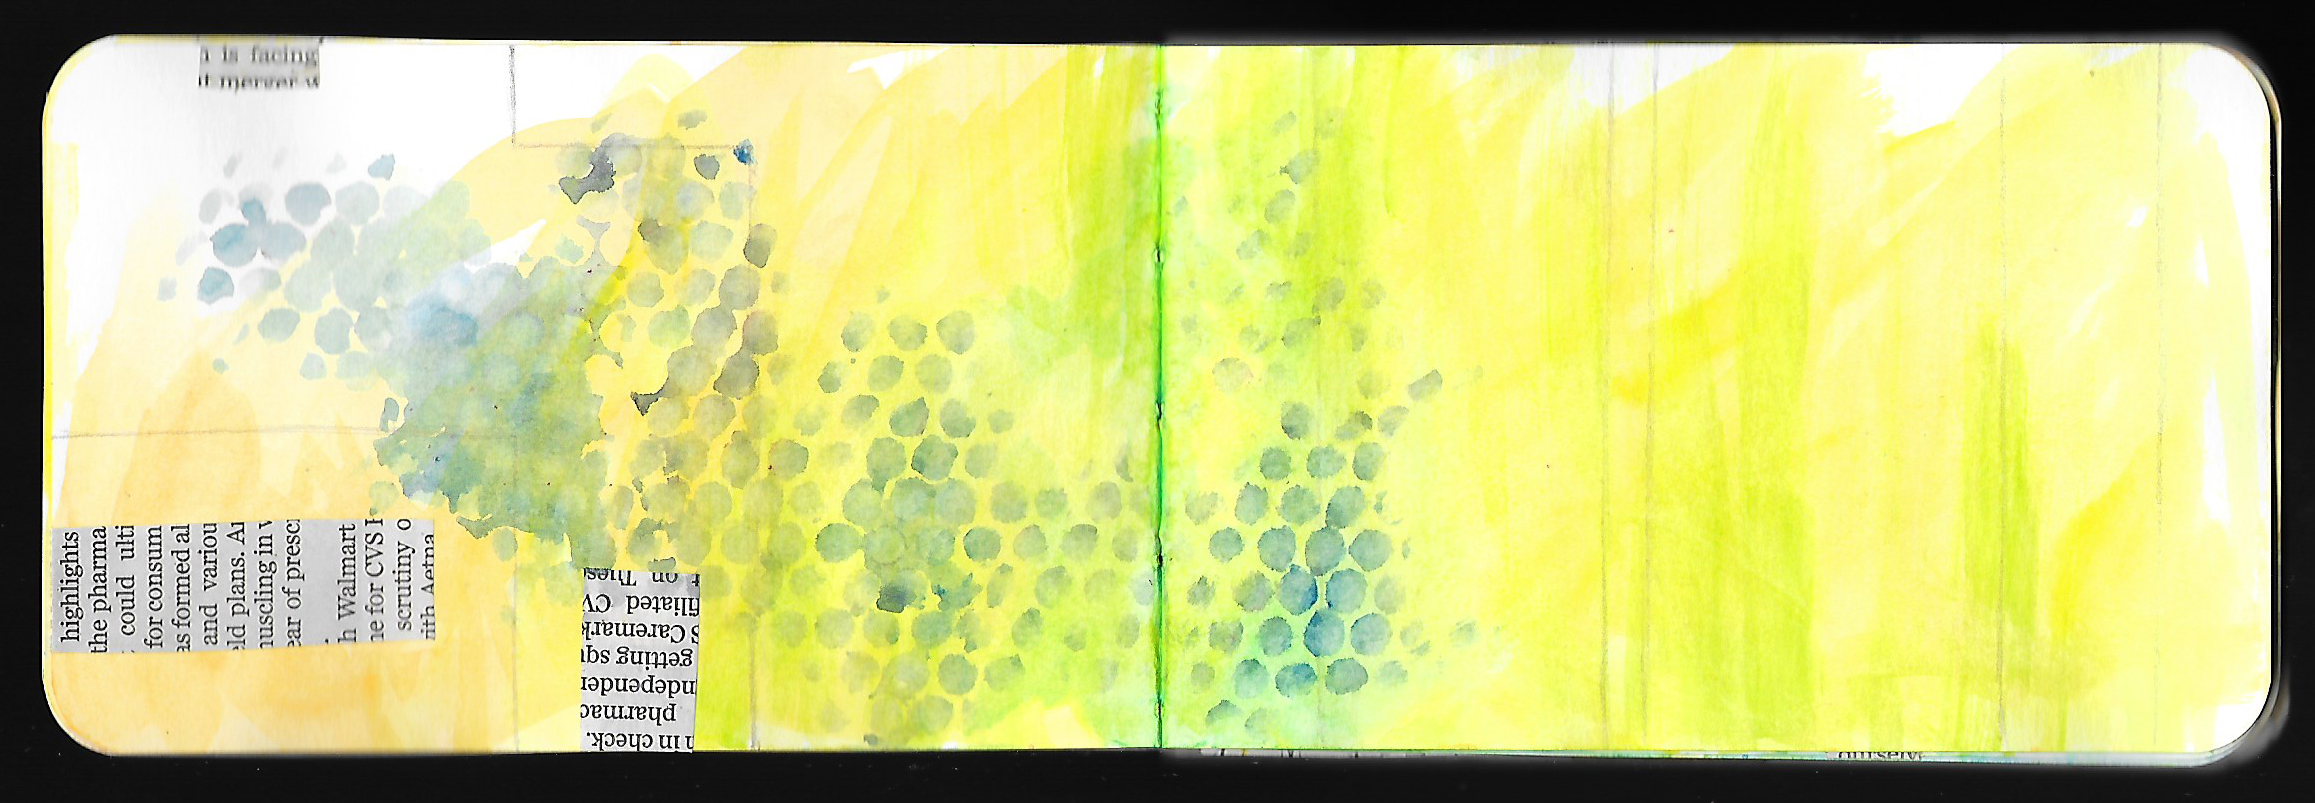
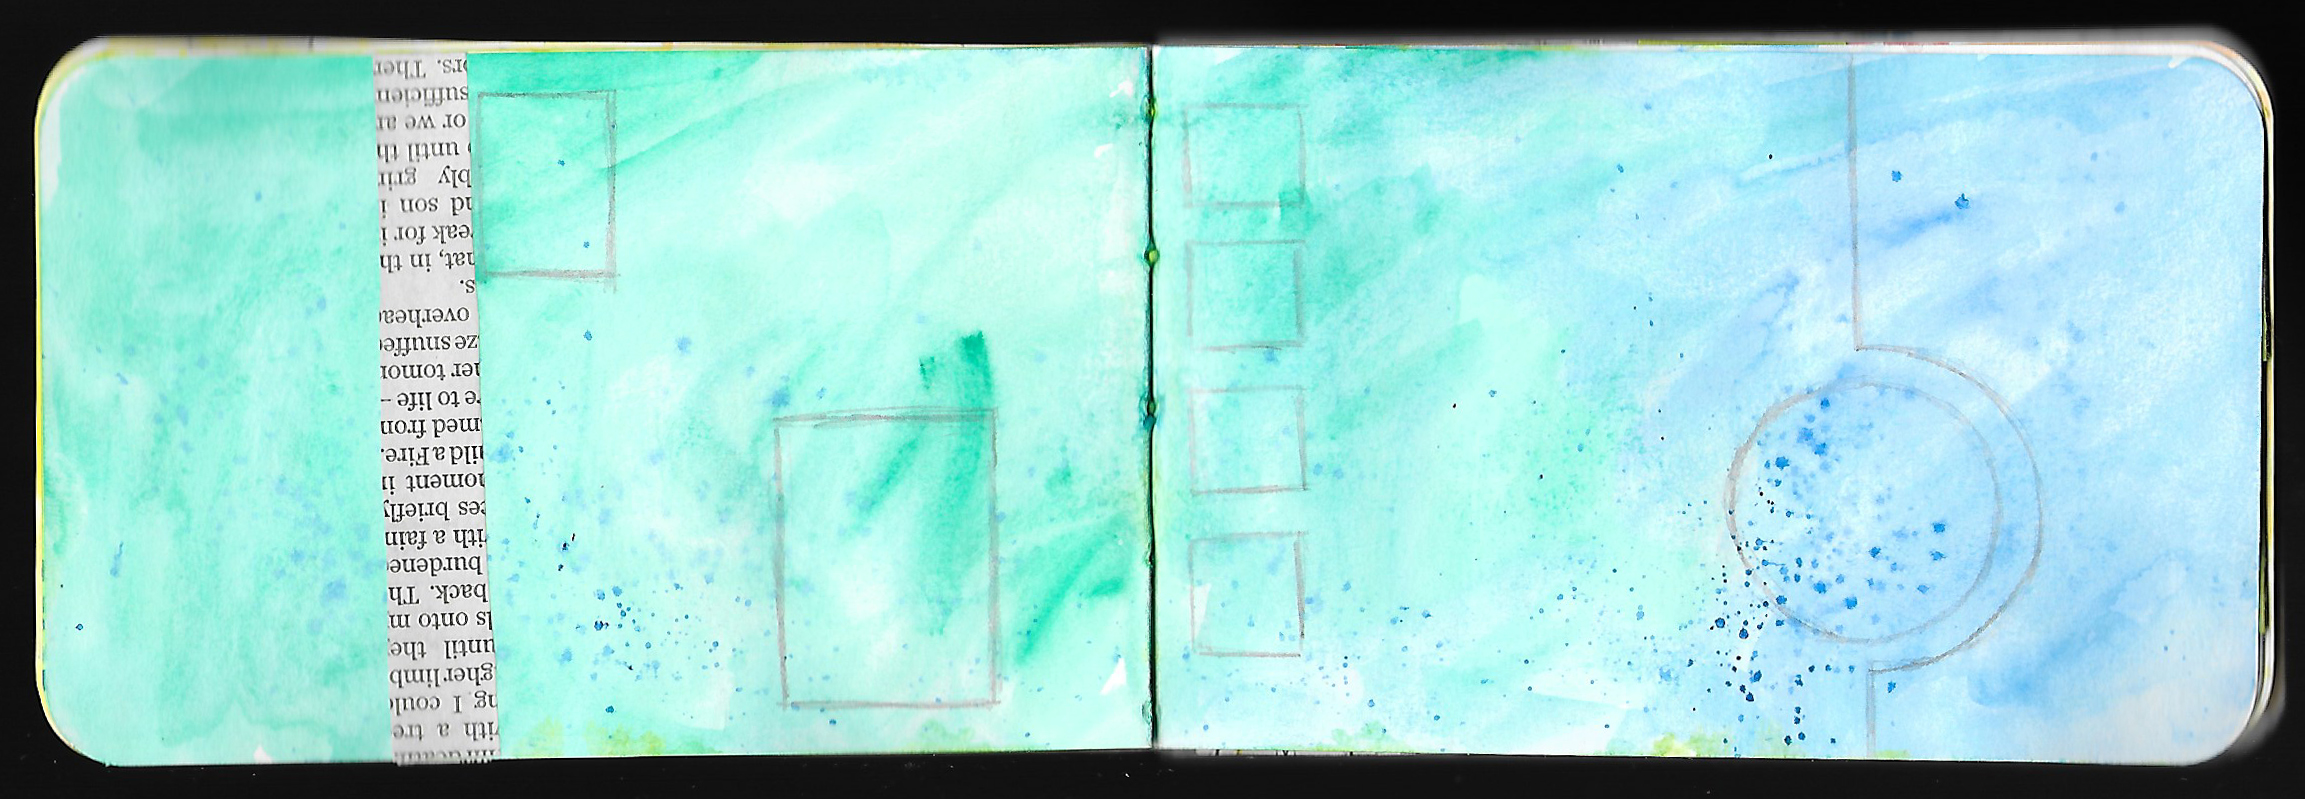
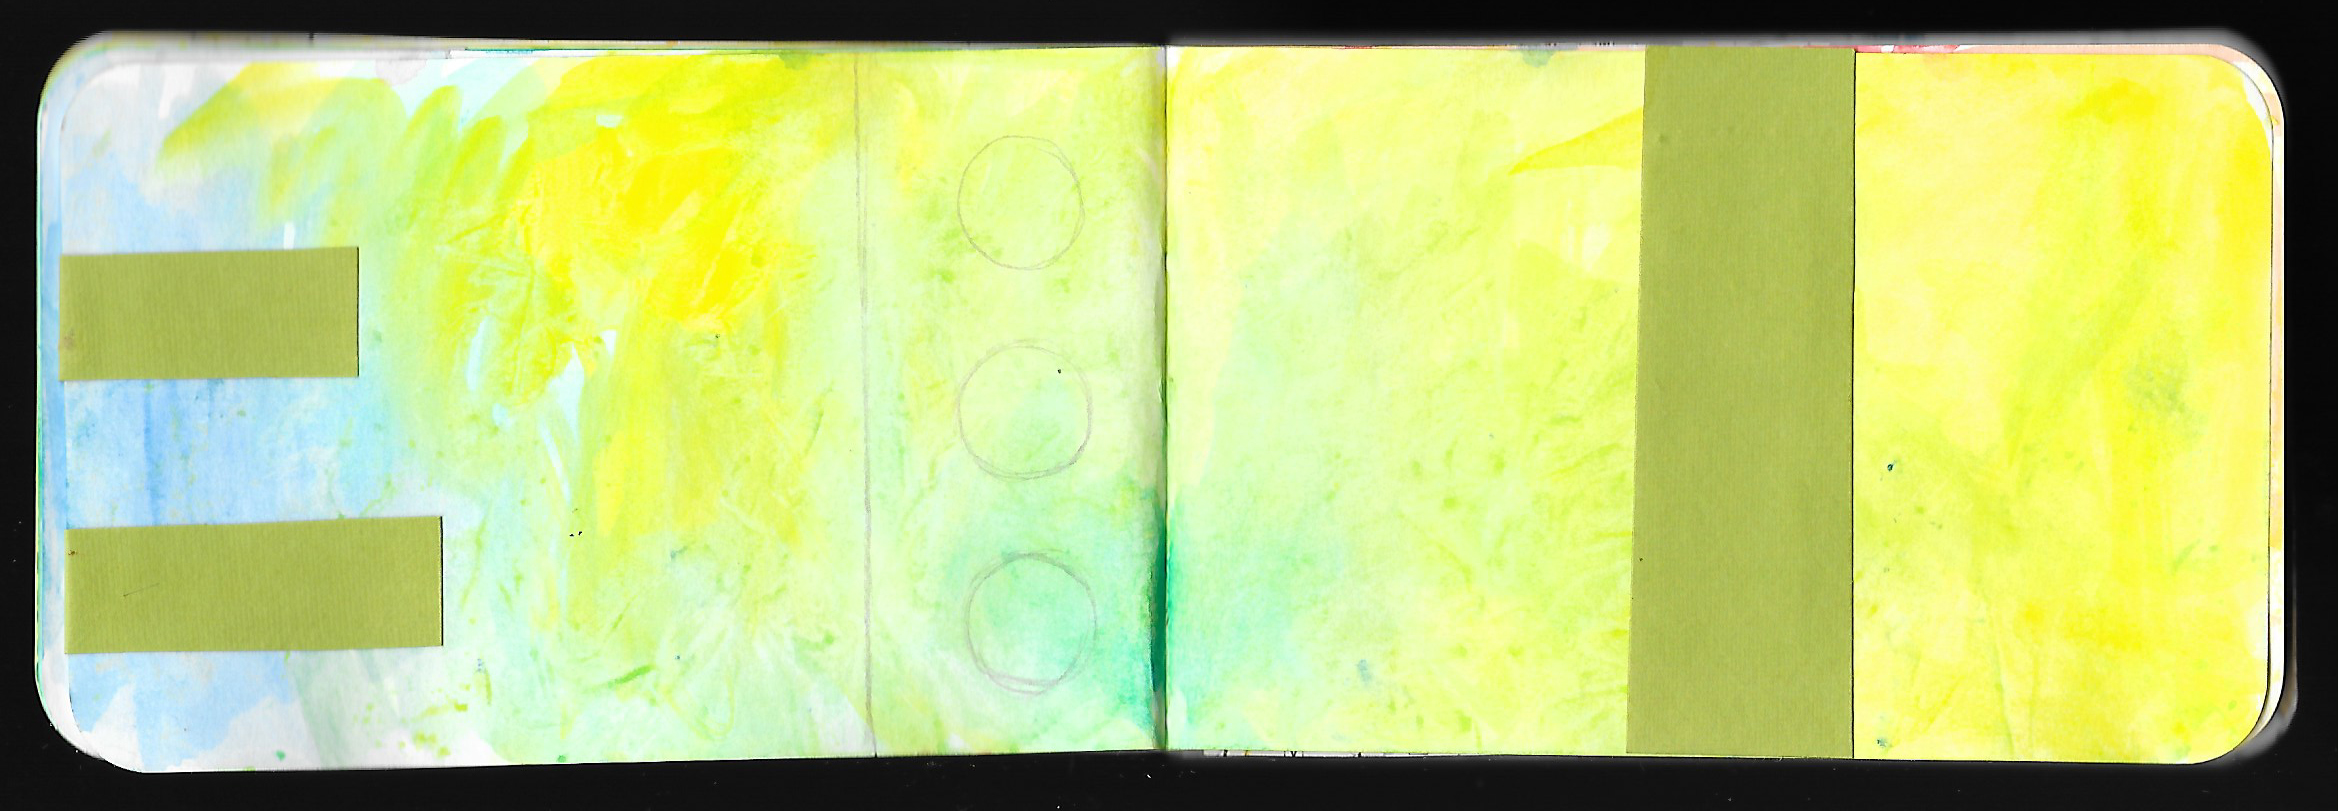
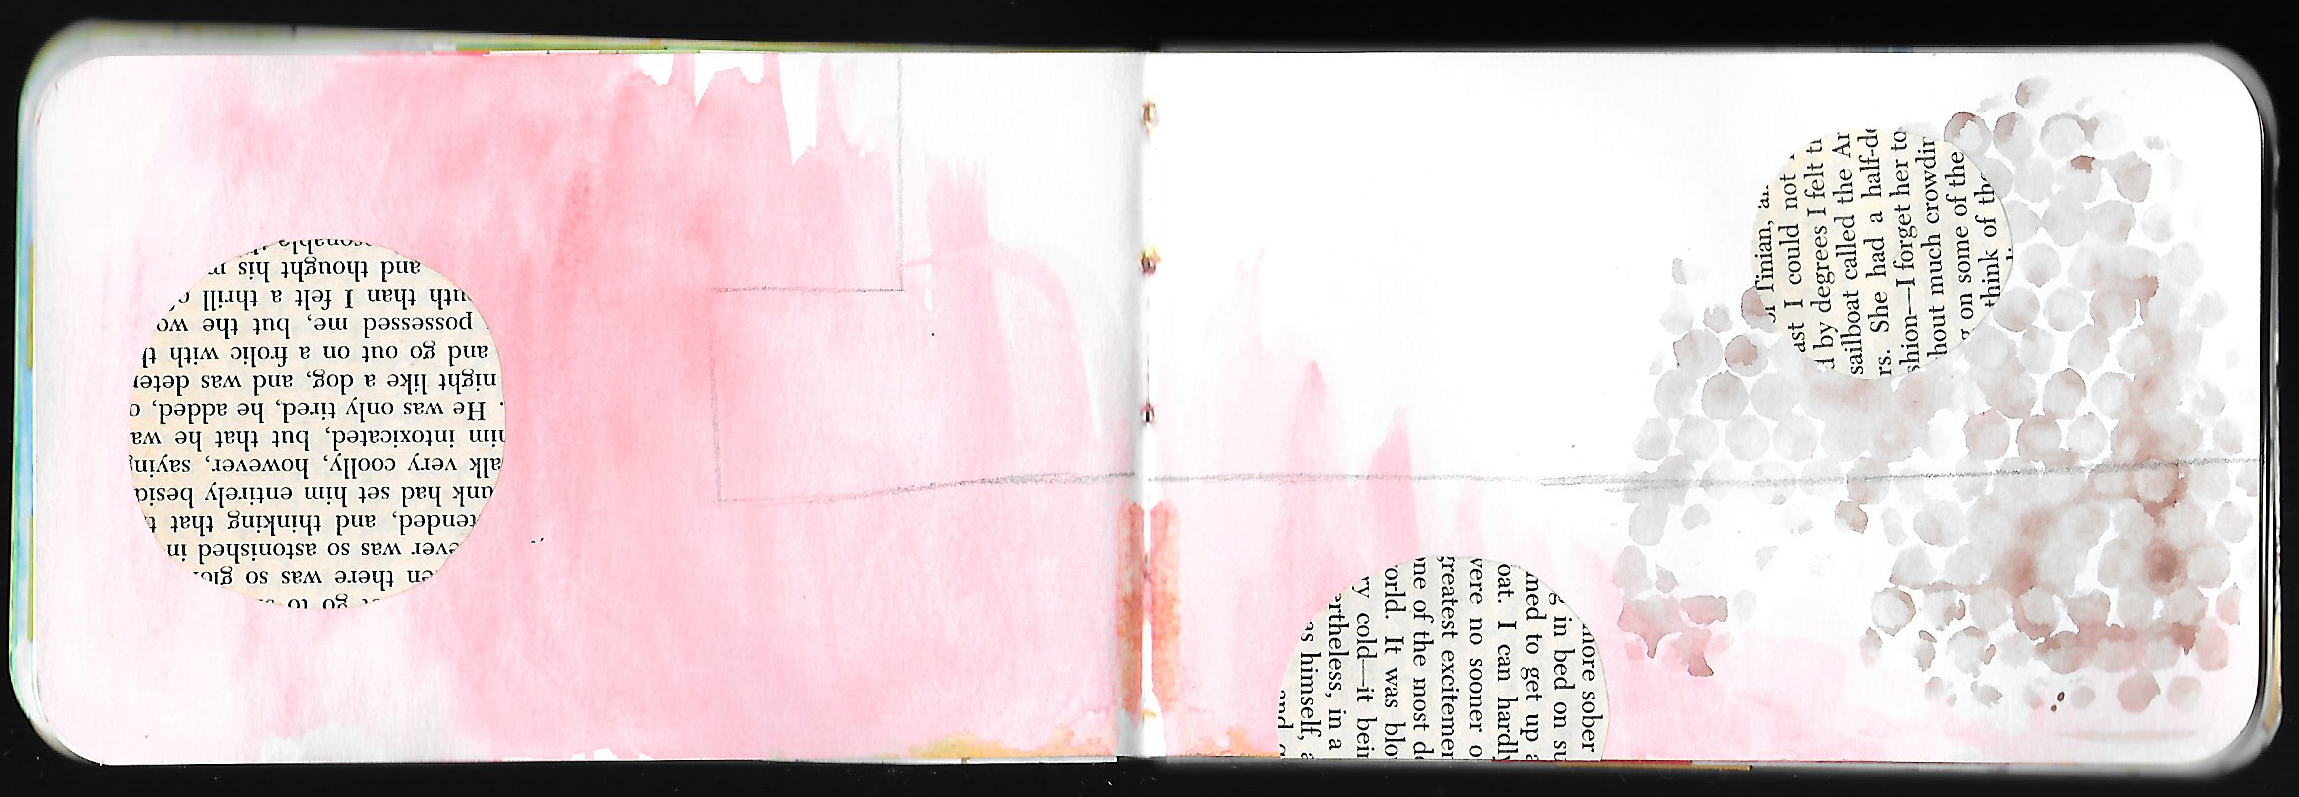
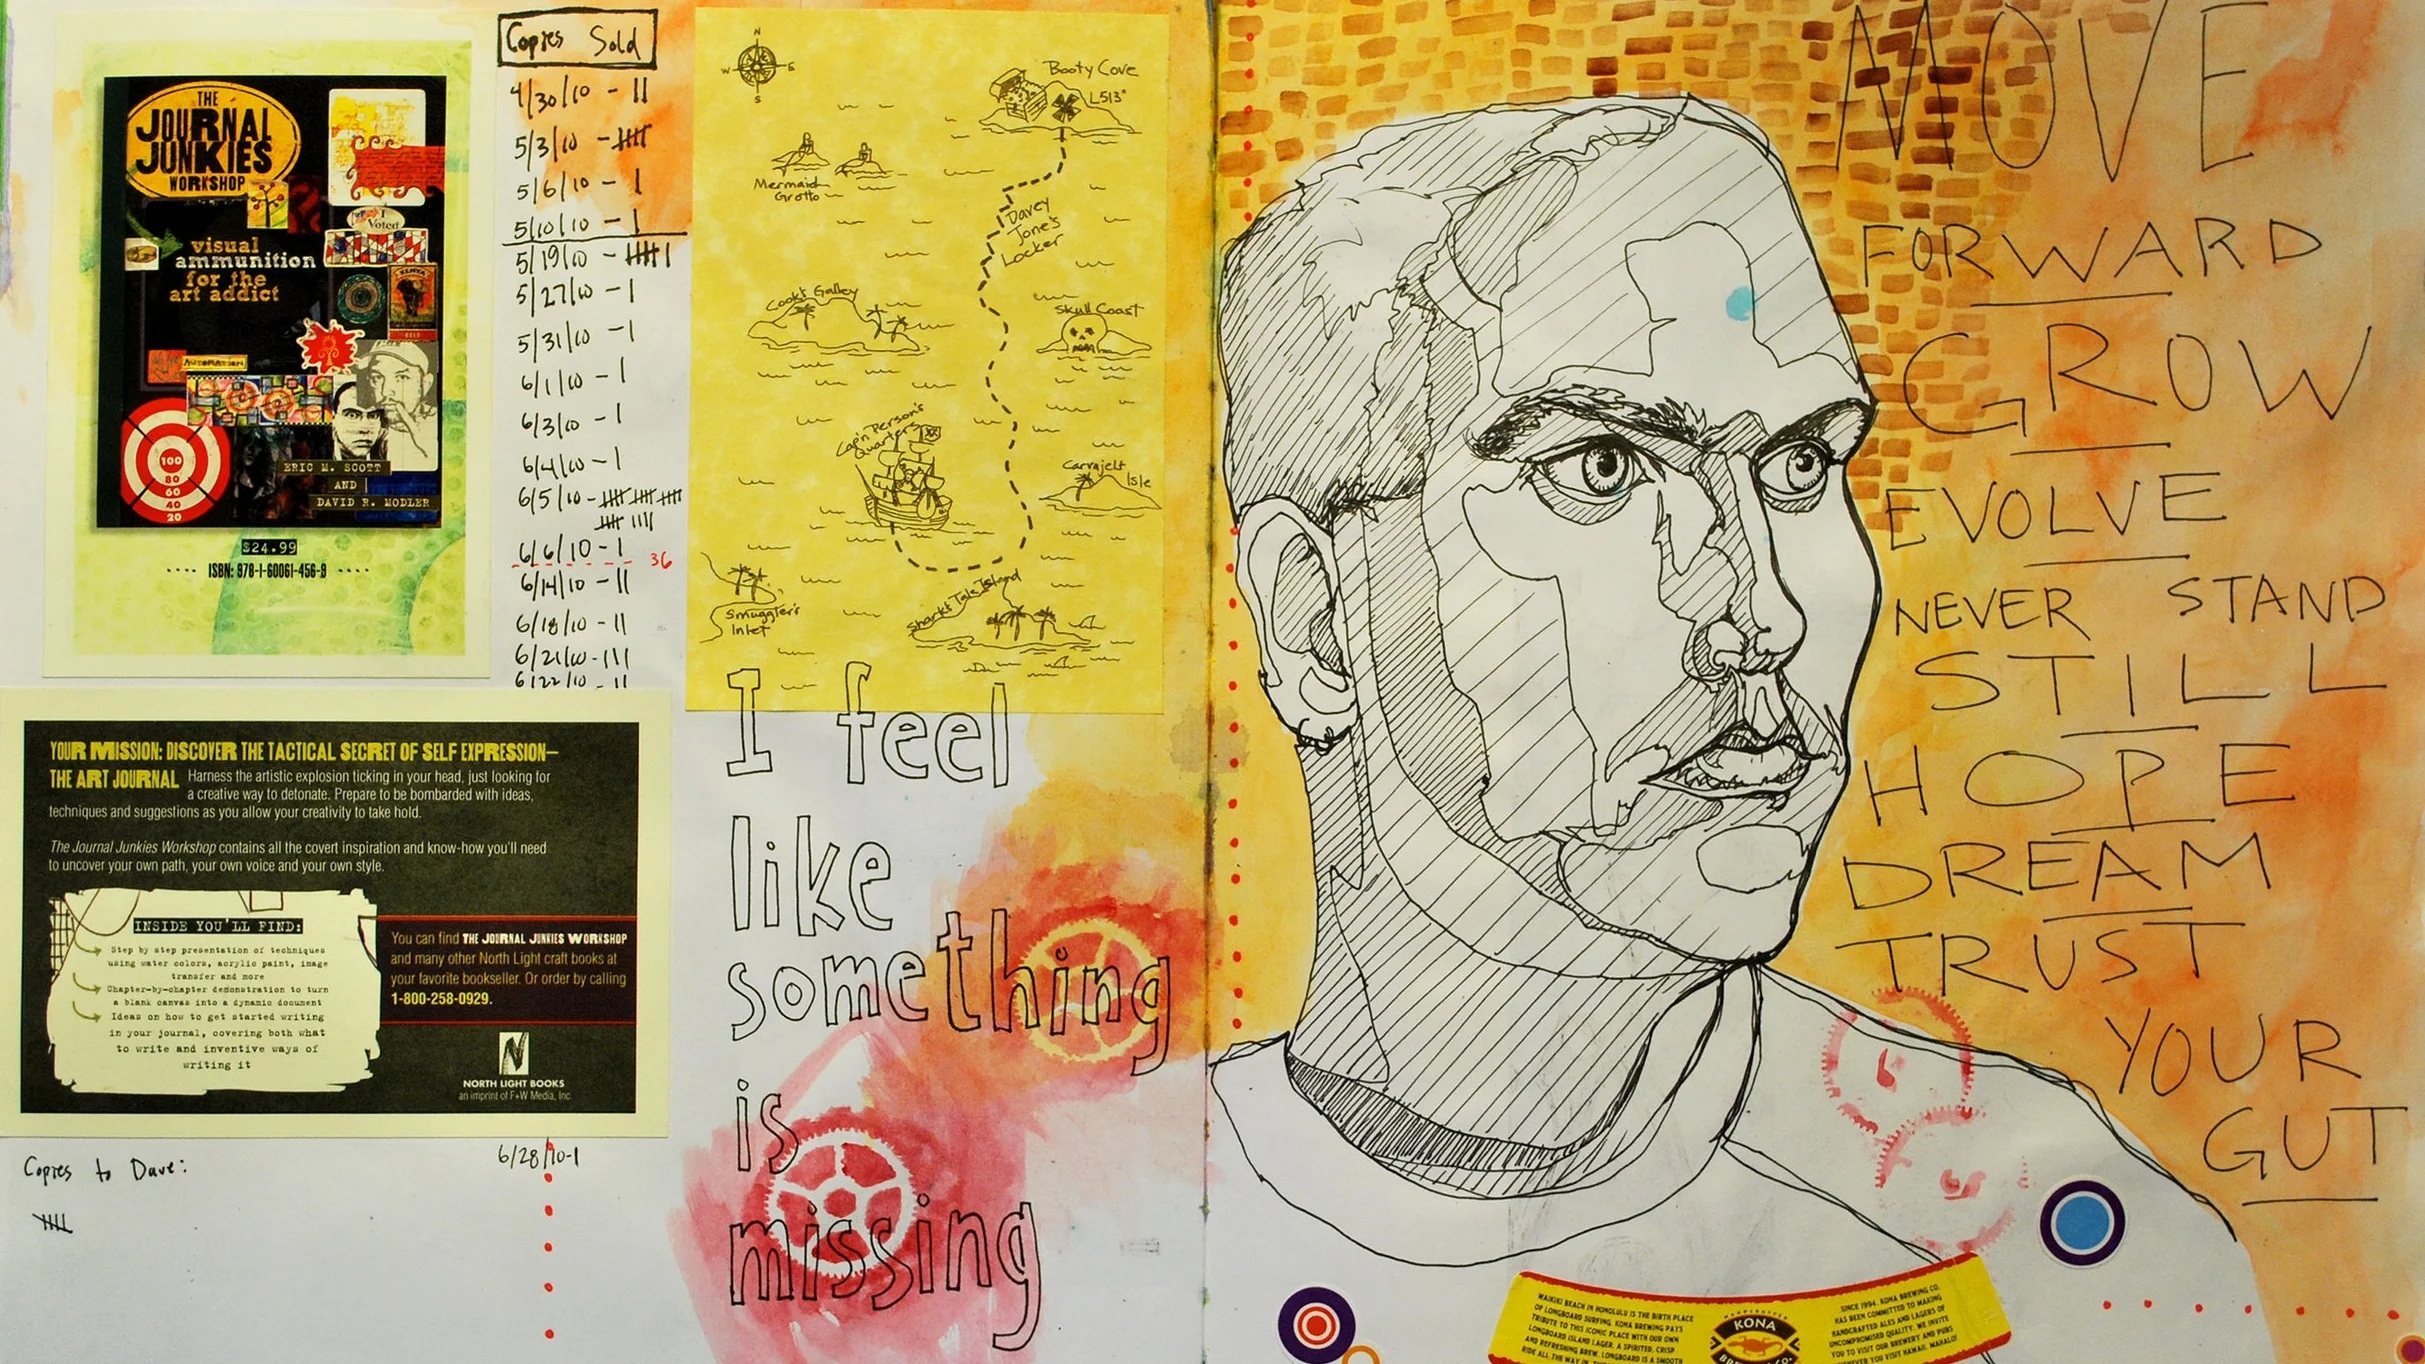
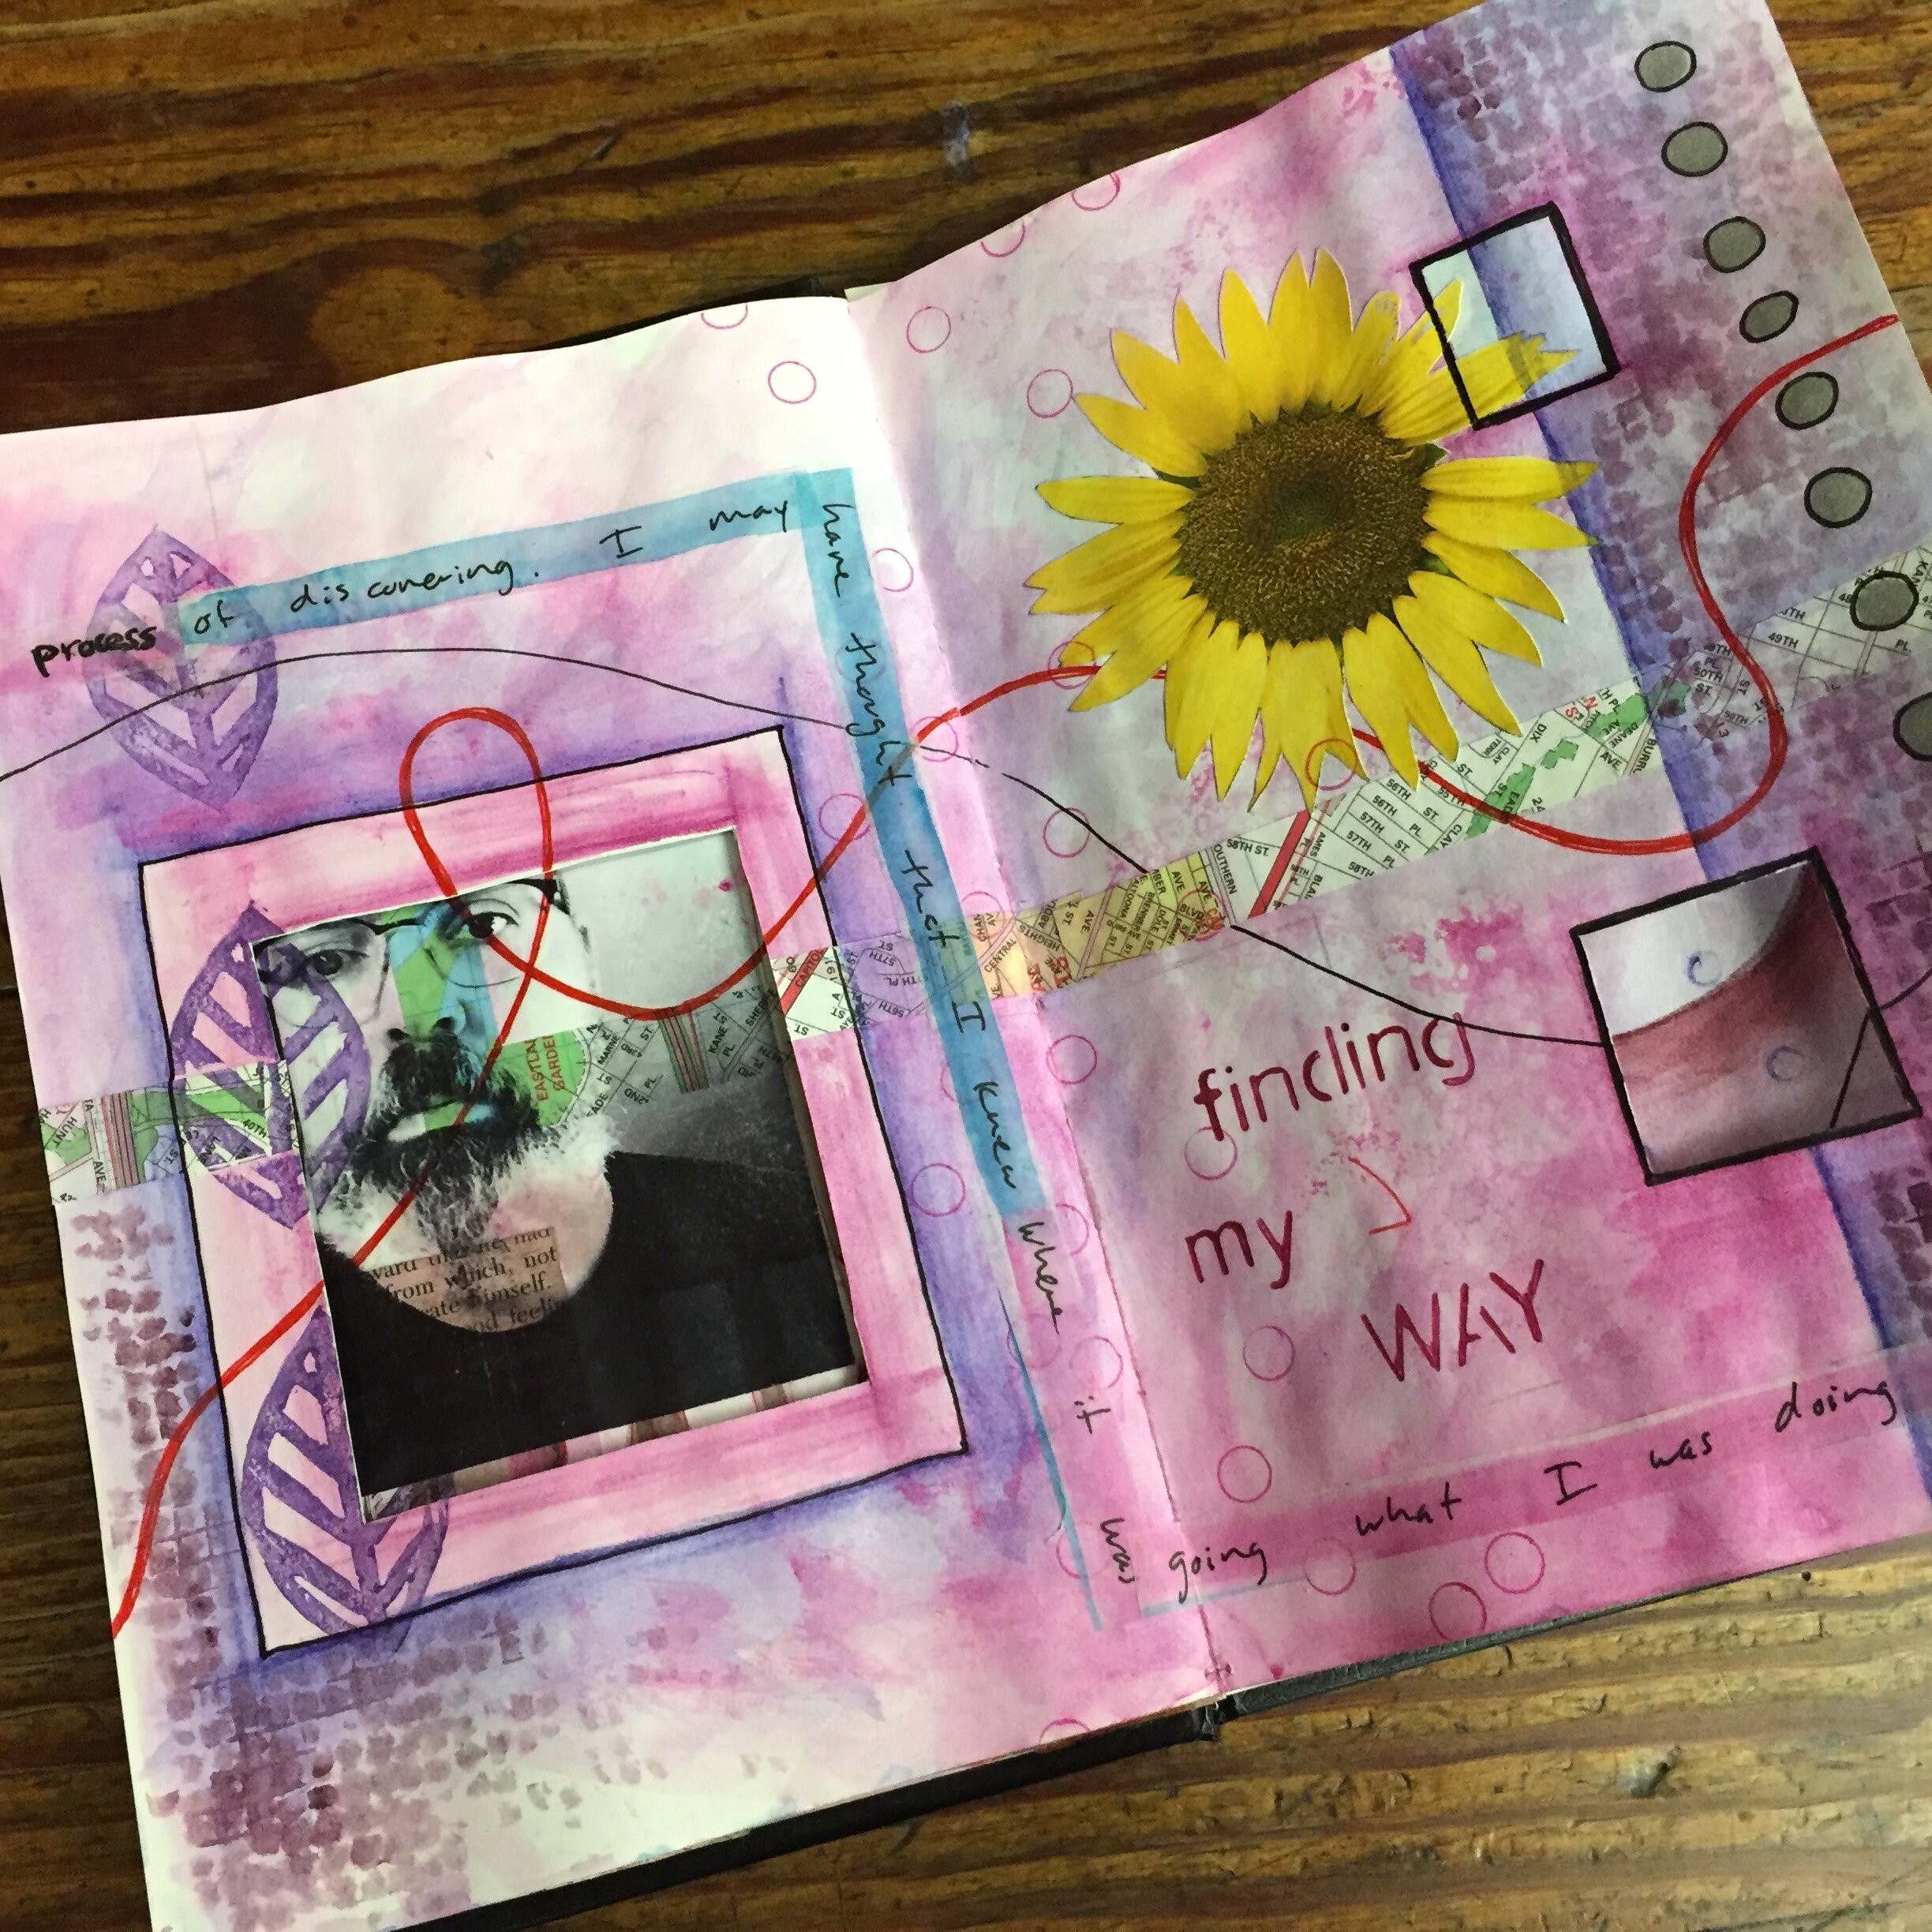
We dove into the visual journaling in a class called Beyond Blank Pages. I designed this class to be a bit different than other journal classes I have taught, and we approach the journal in a slightly different way, though we use many of the tried and true techniques that I have used and taught for years. The main idea of this class was to rethink what a book can be and to weave a visual and written narrative among, between, and through the pages. We thought about creating connection and interactivity as we painted, collaged, and wrote. We cut and folded pages, created windows, tunnels, and doors that went through pages. We tore the edges of pages, and connected spaces with color, lines, words, and more.


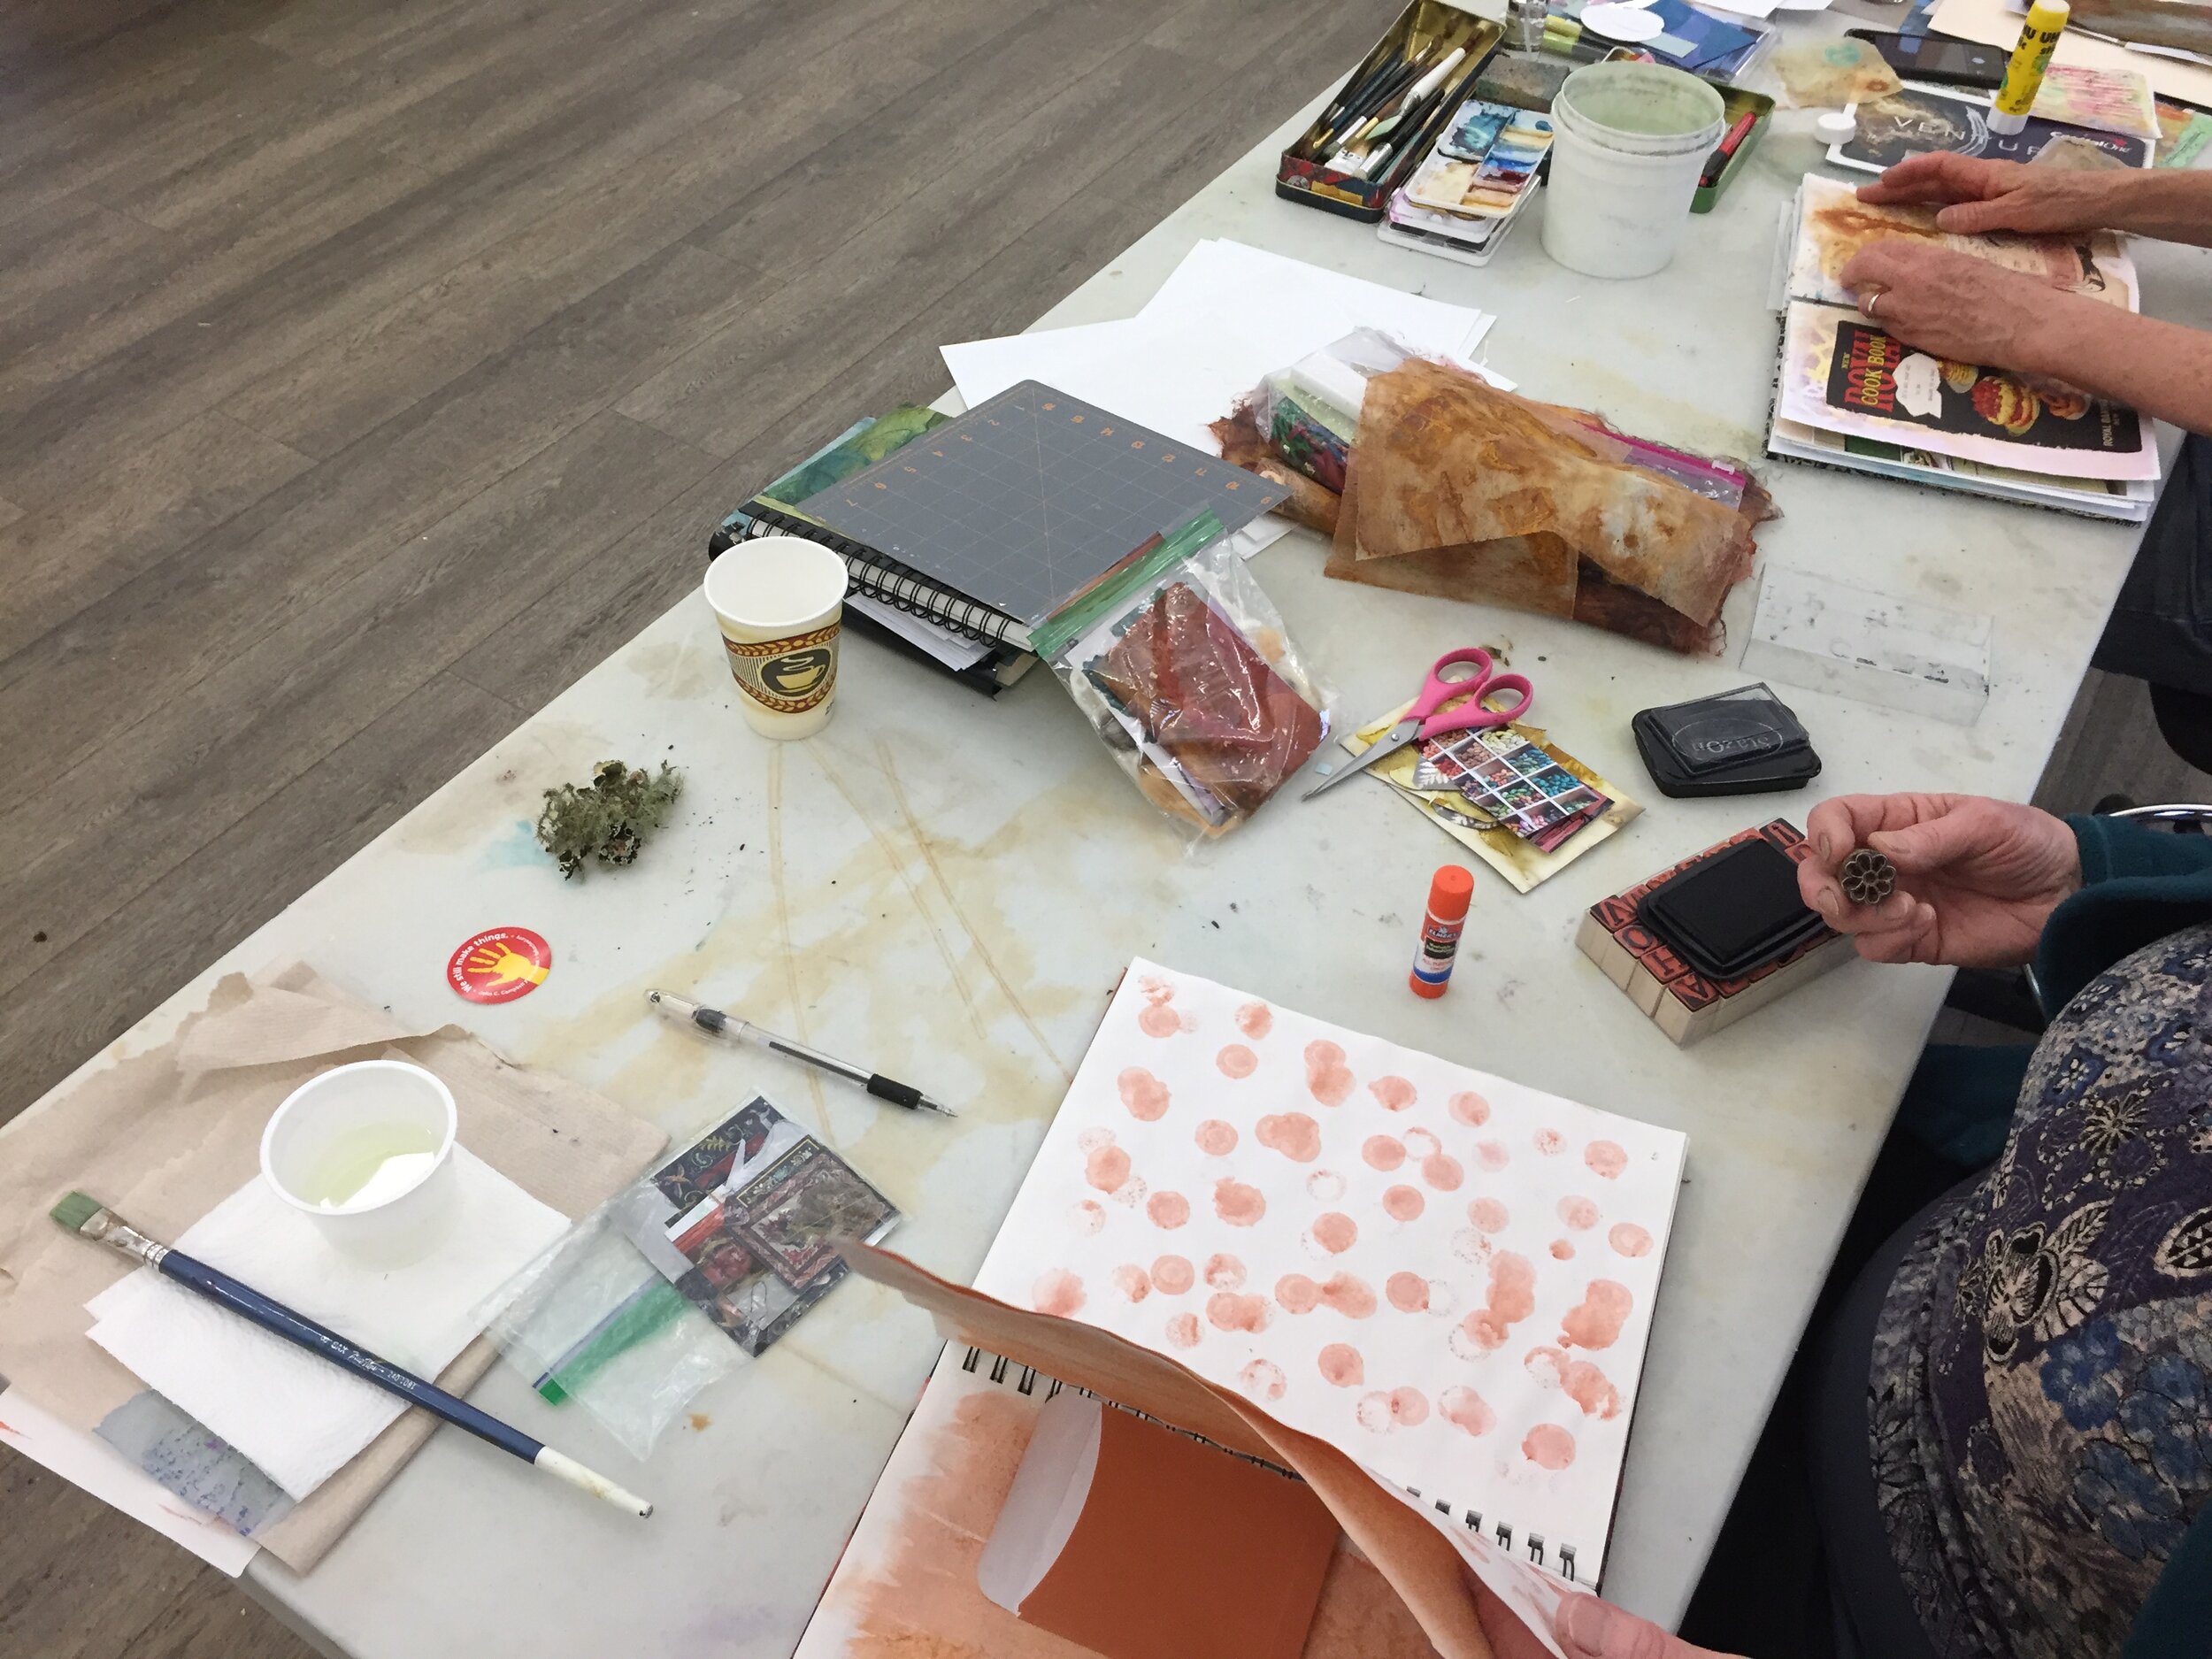
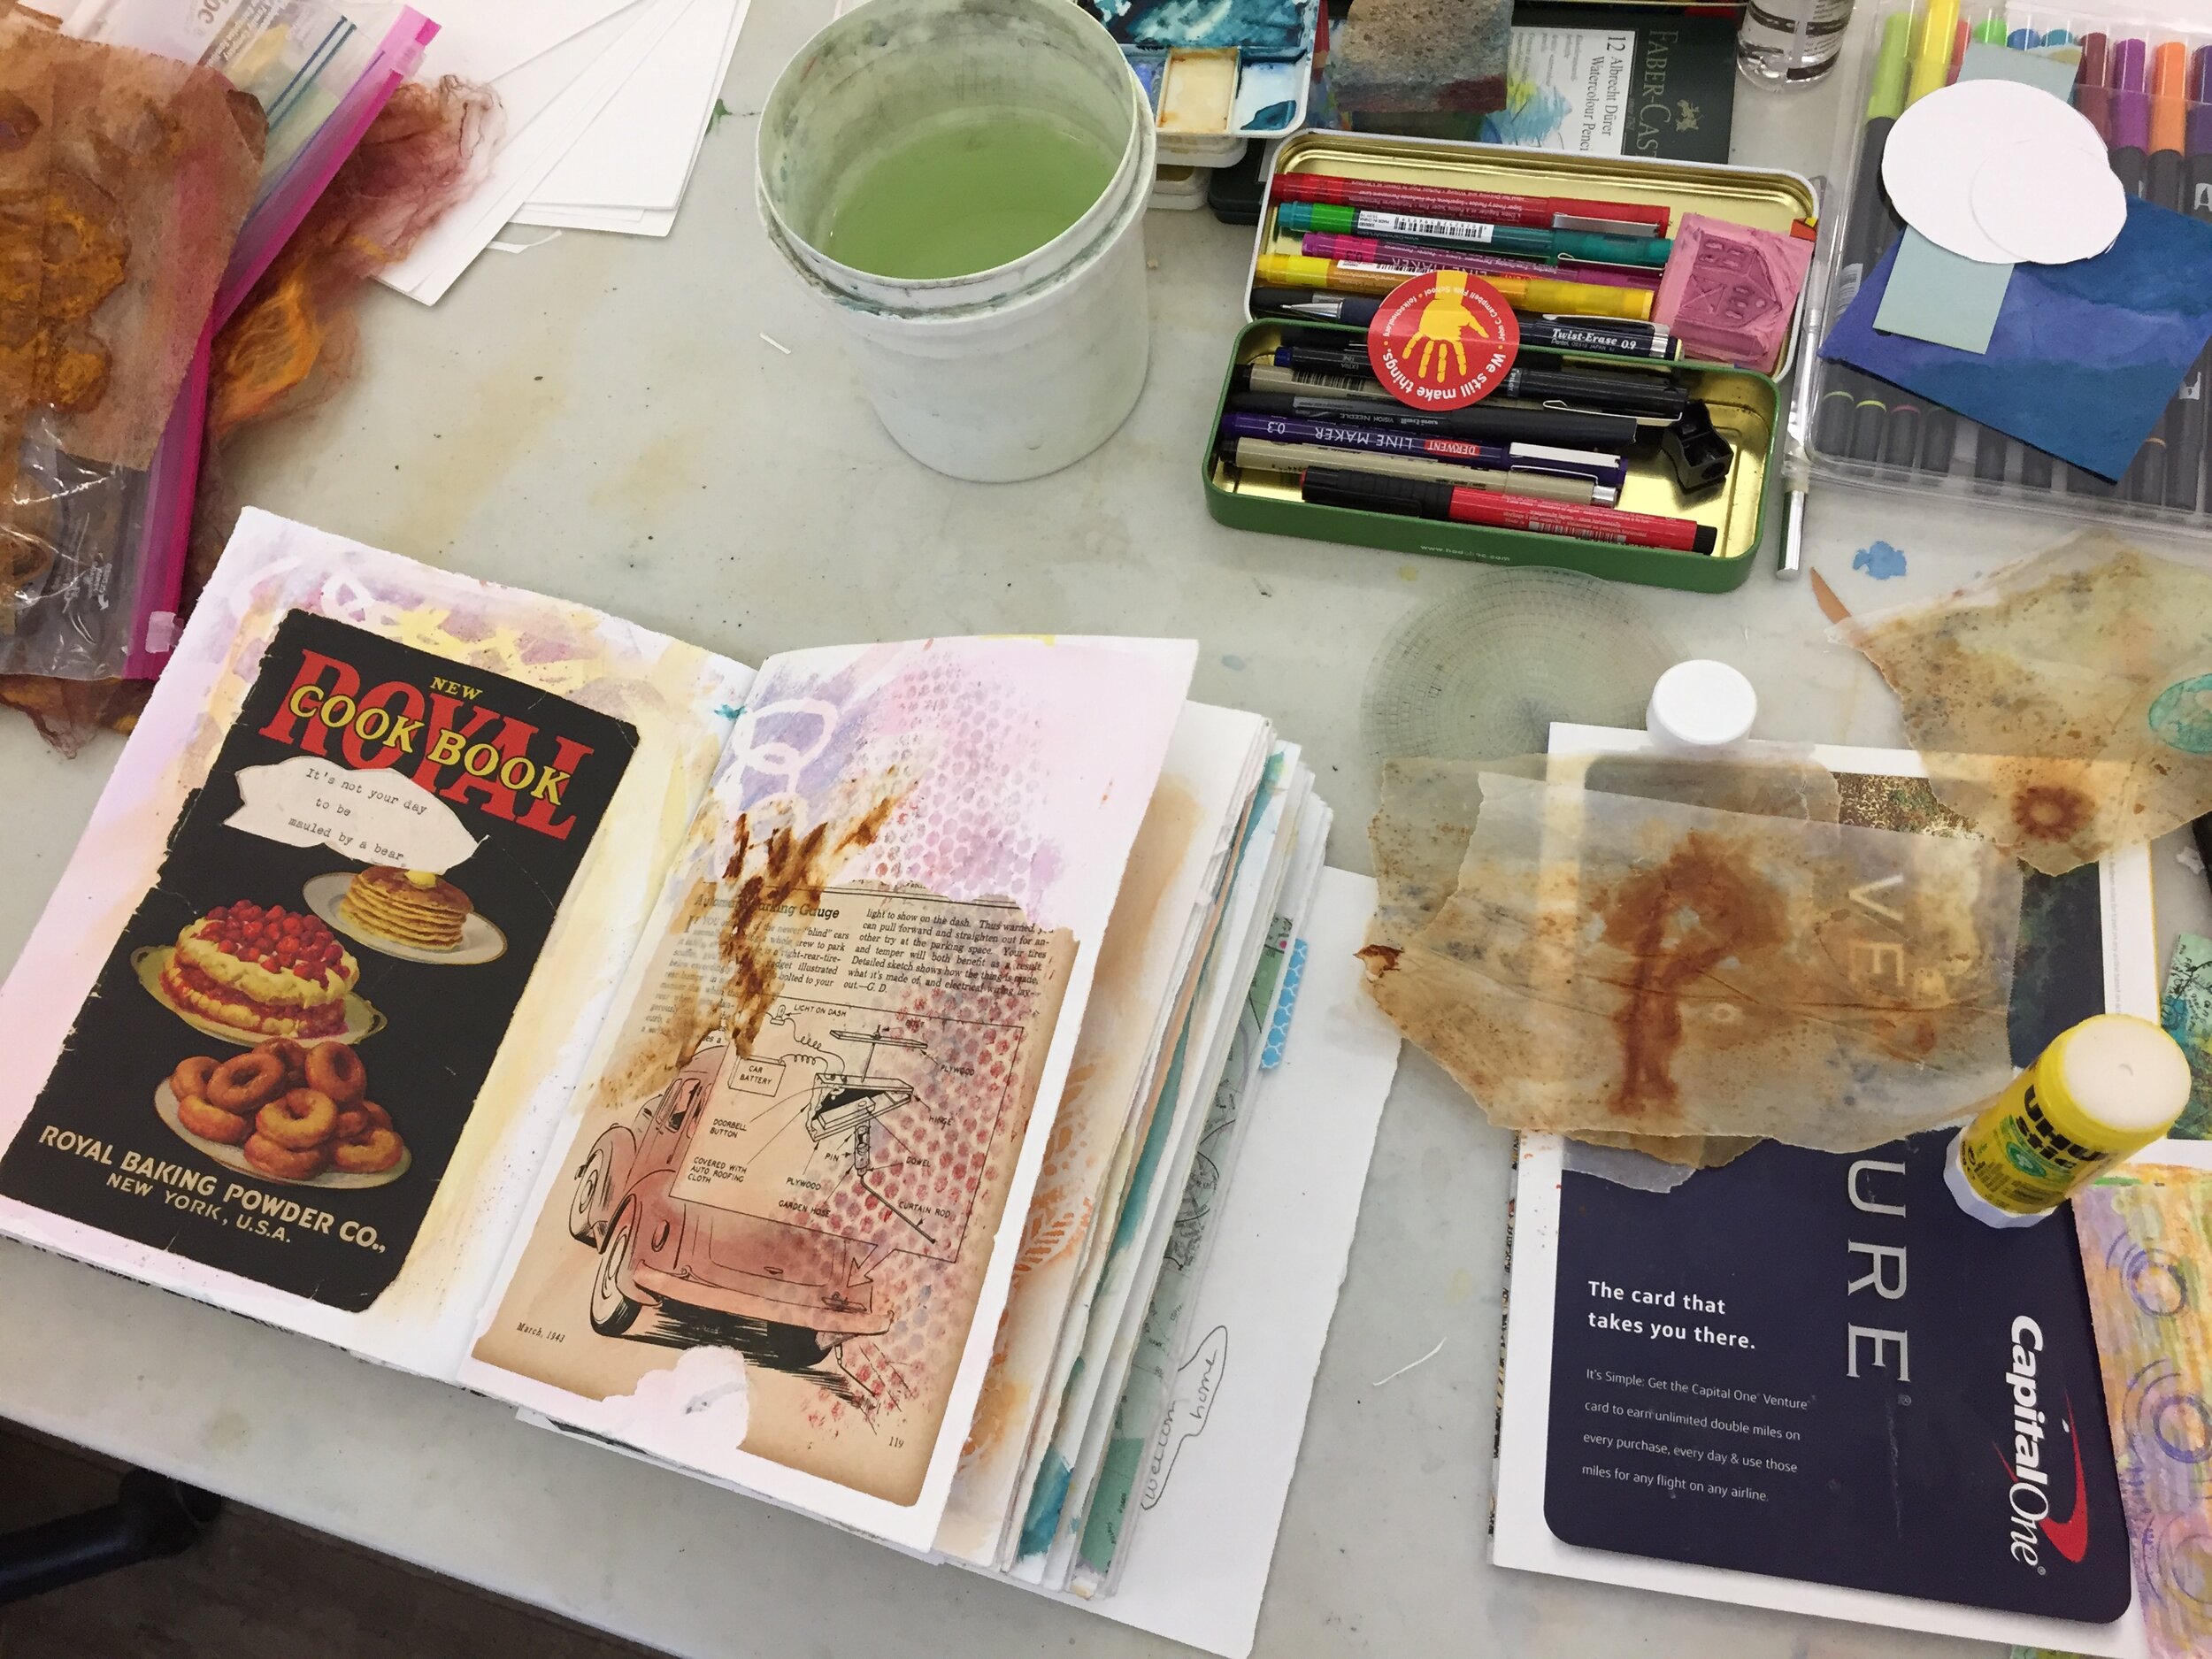
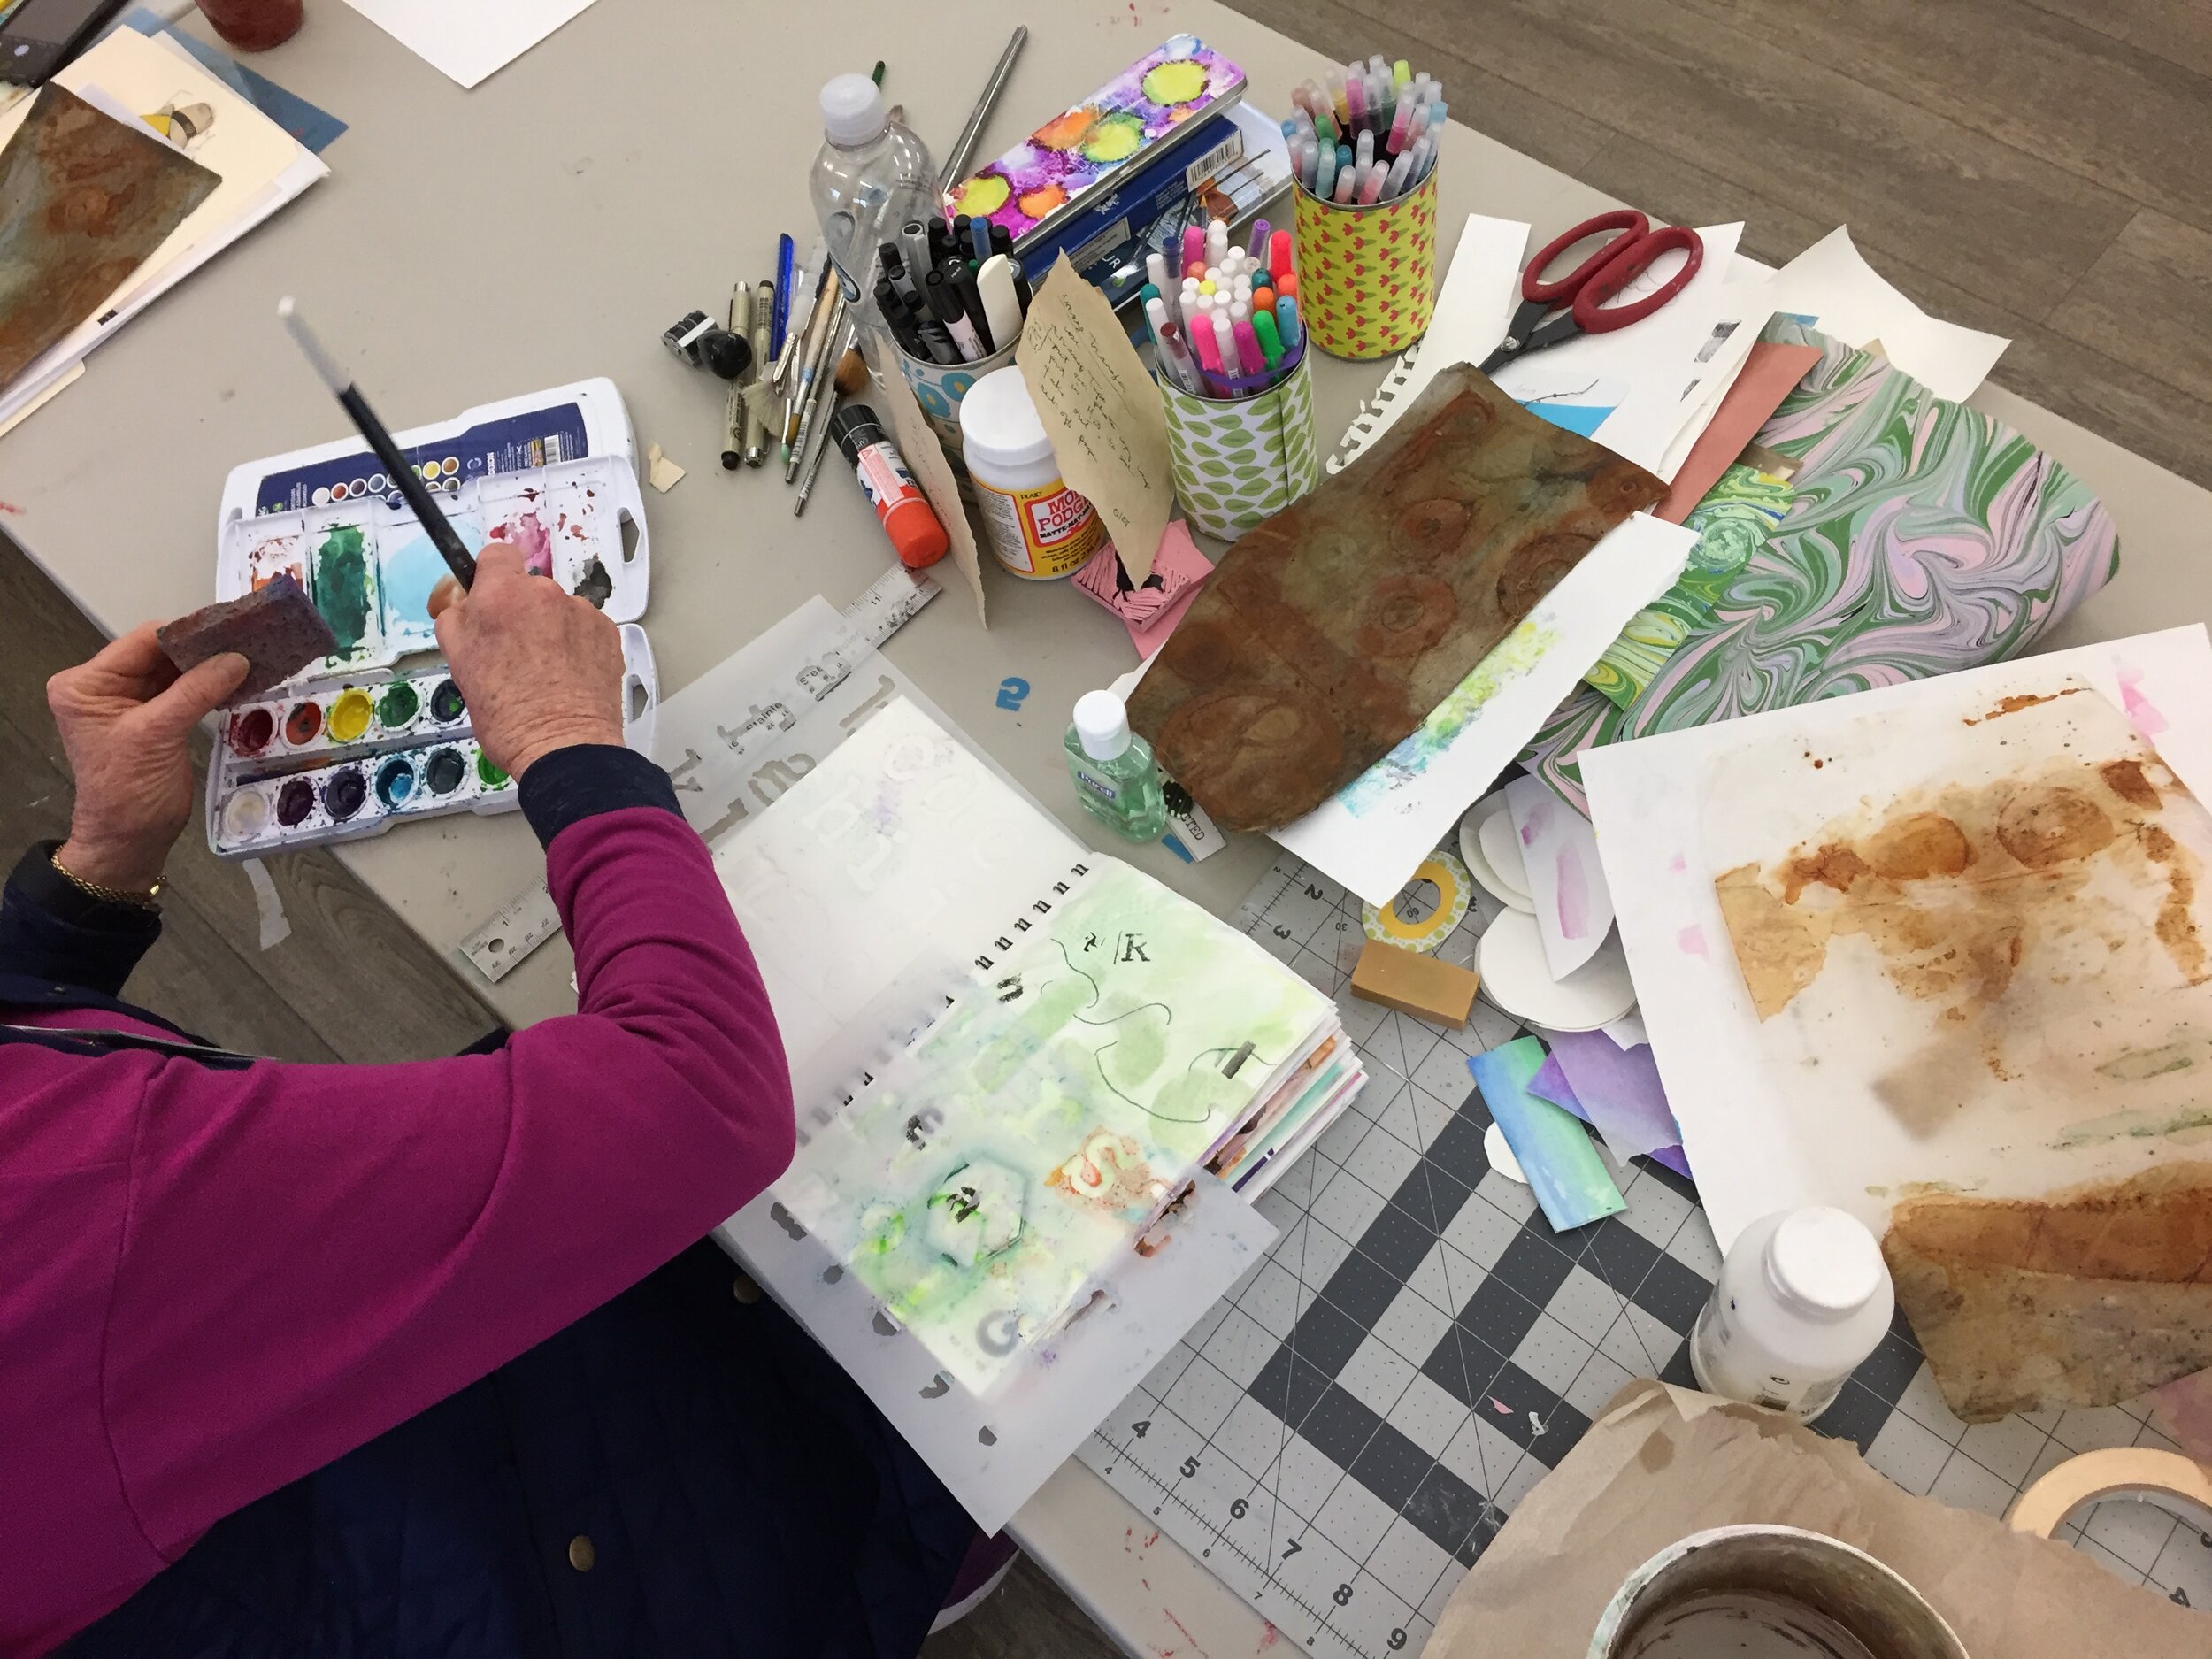
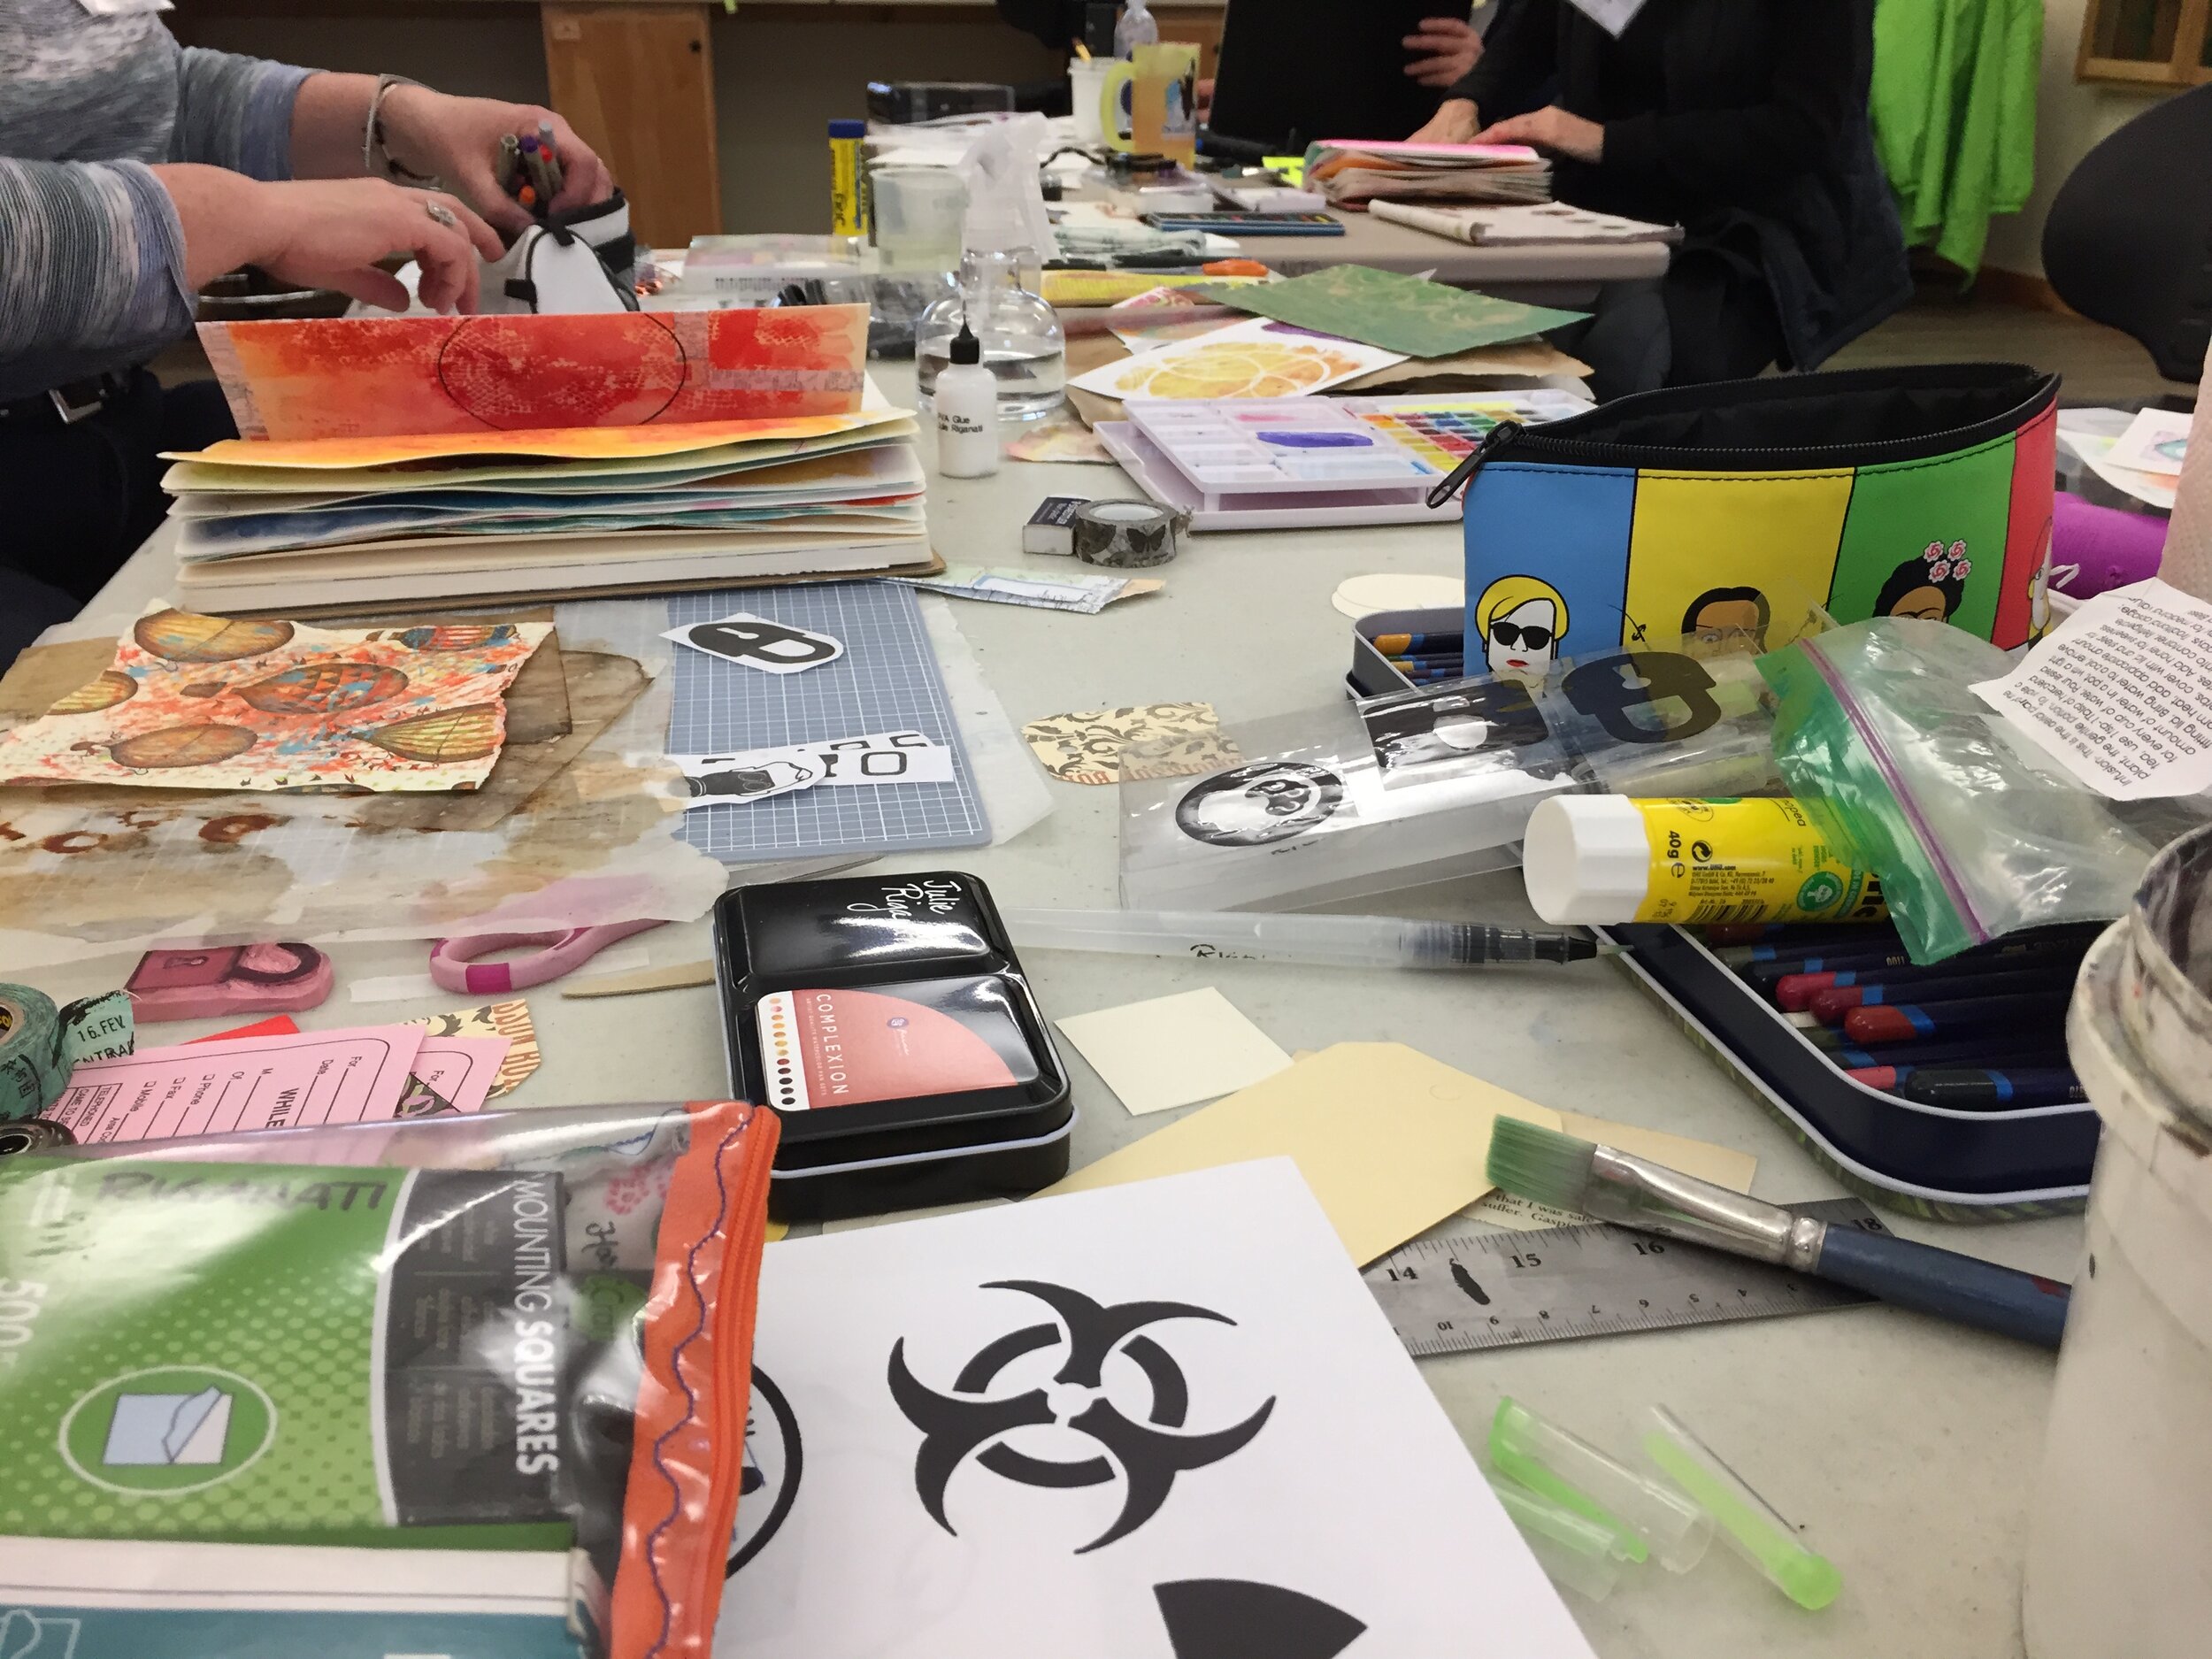
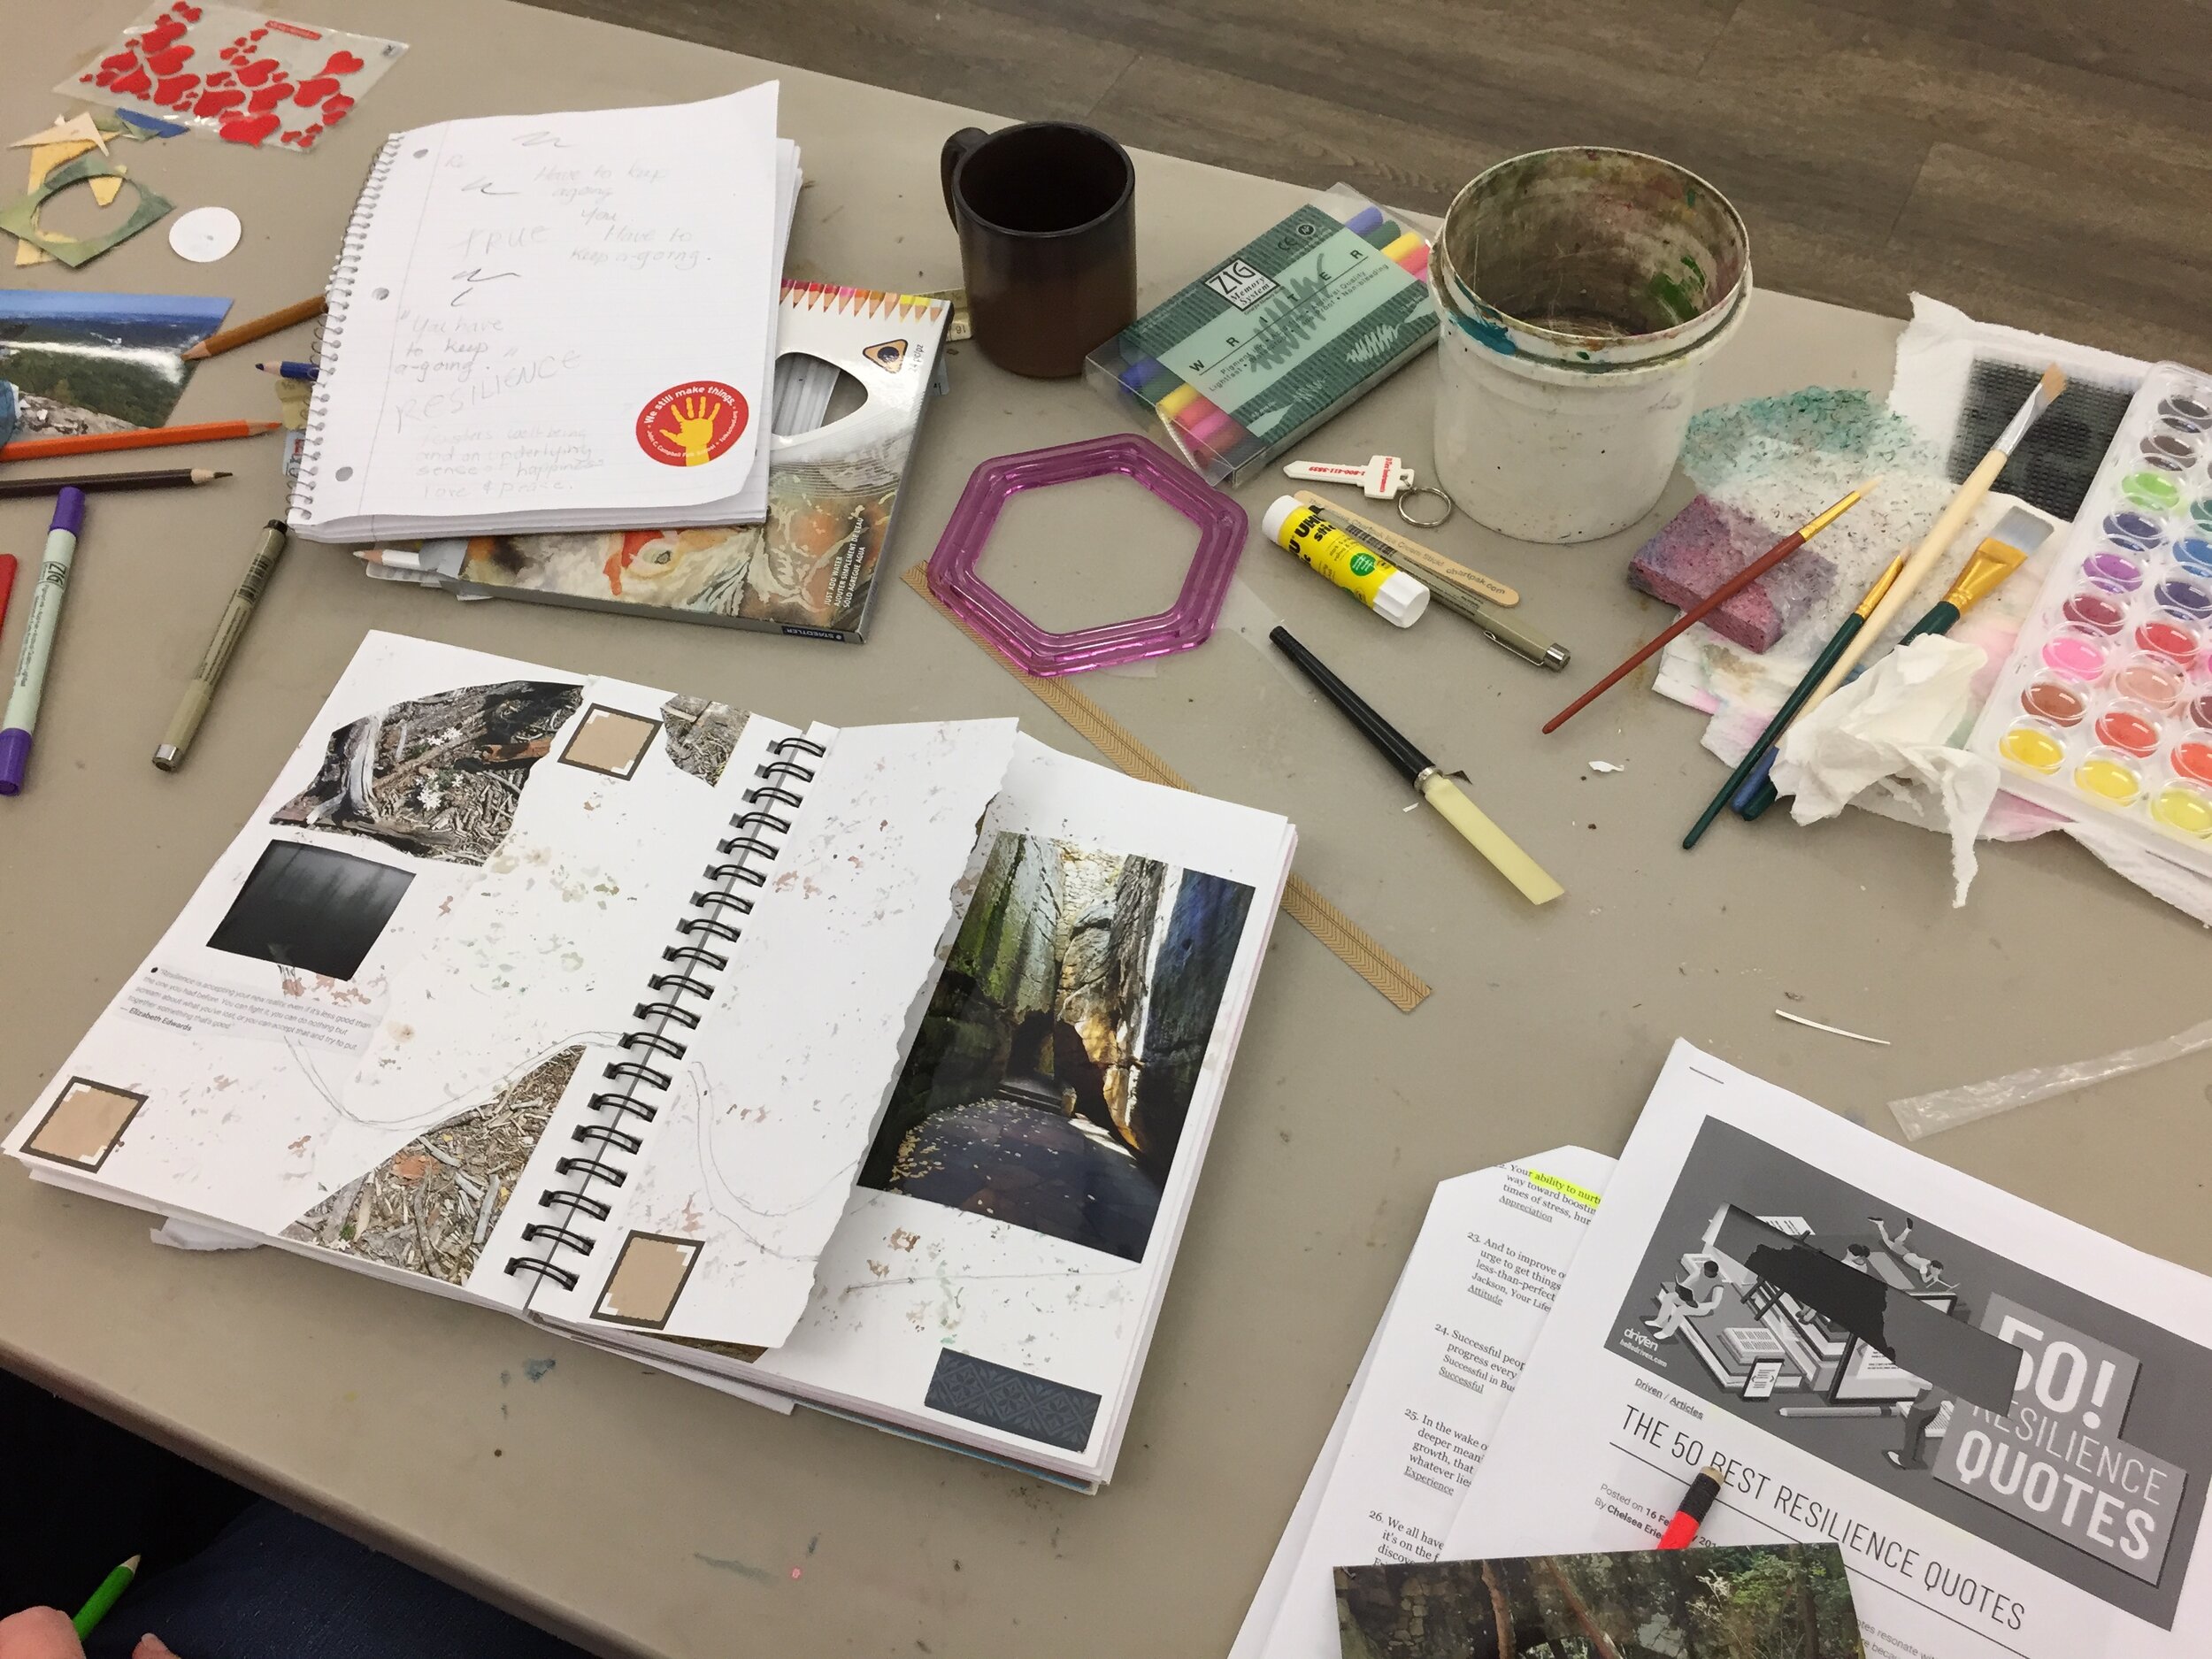
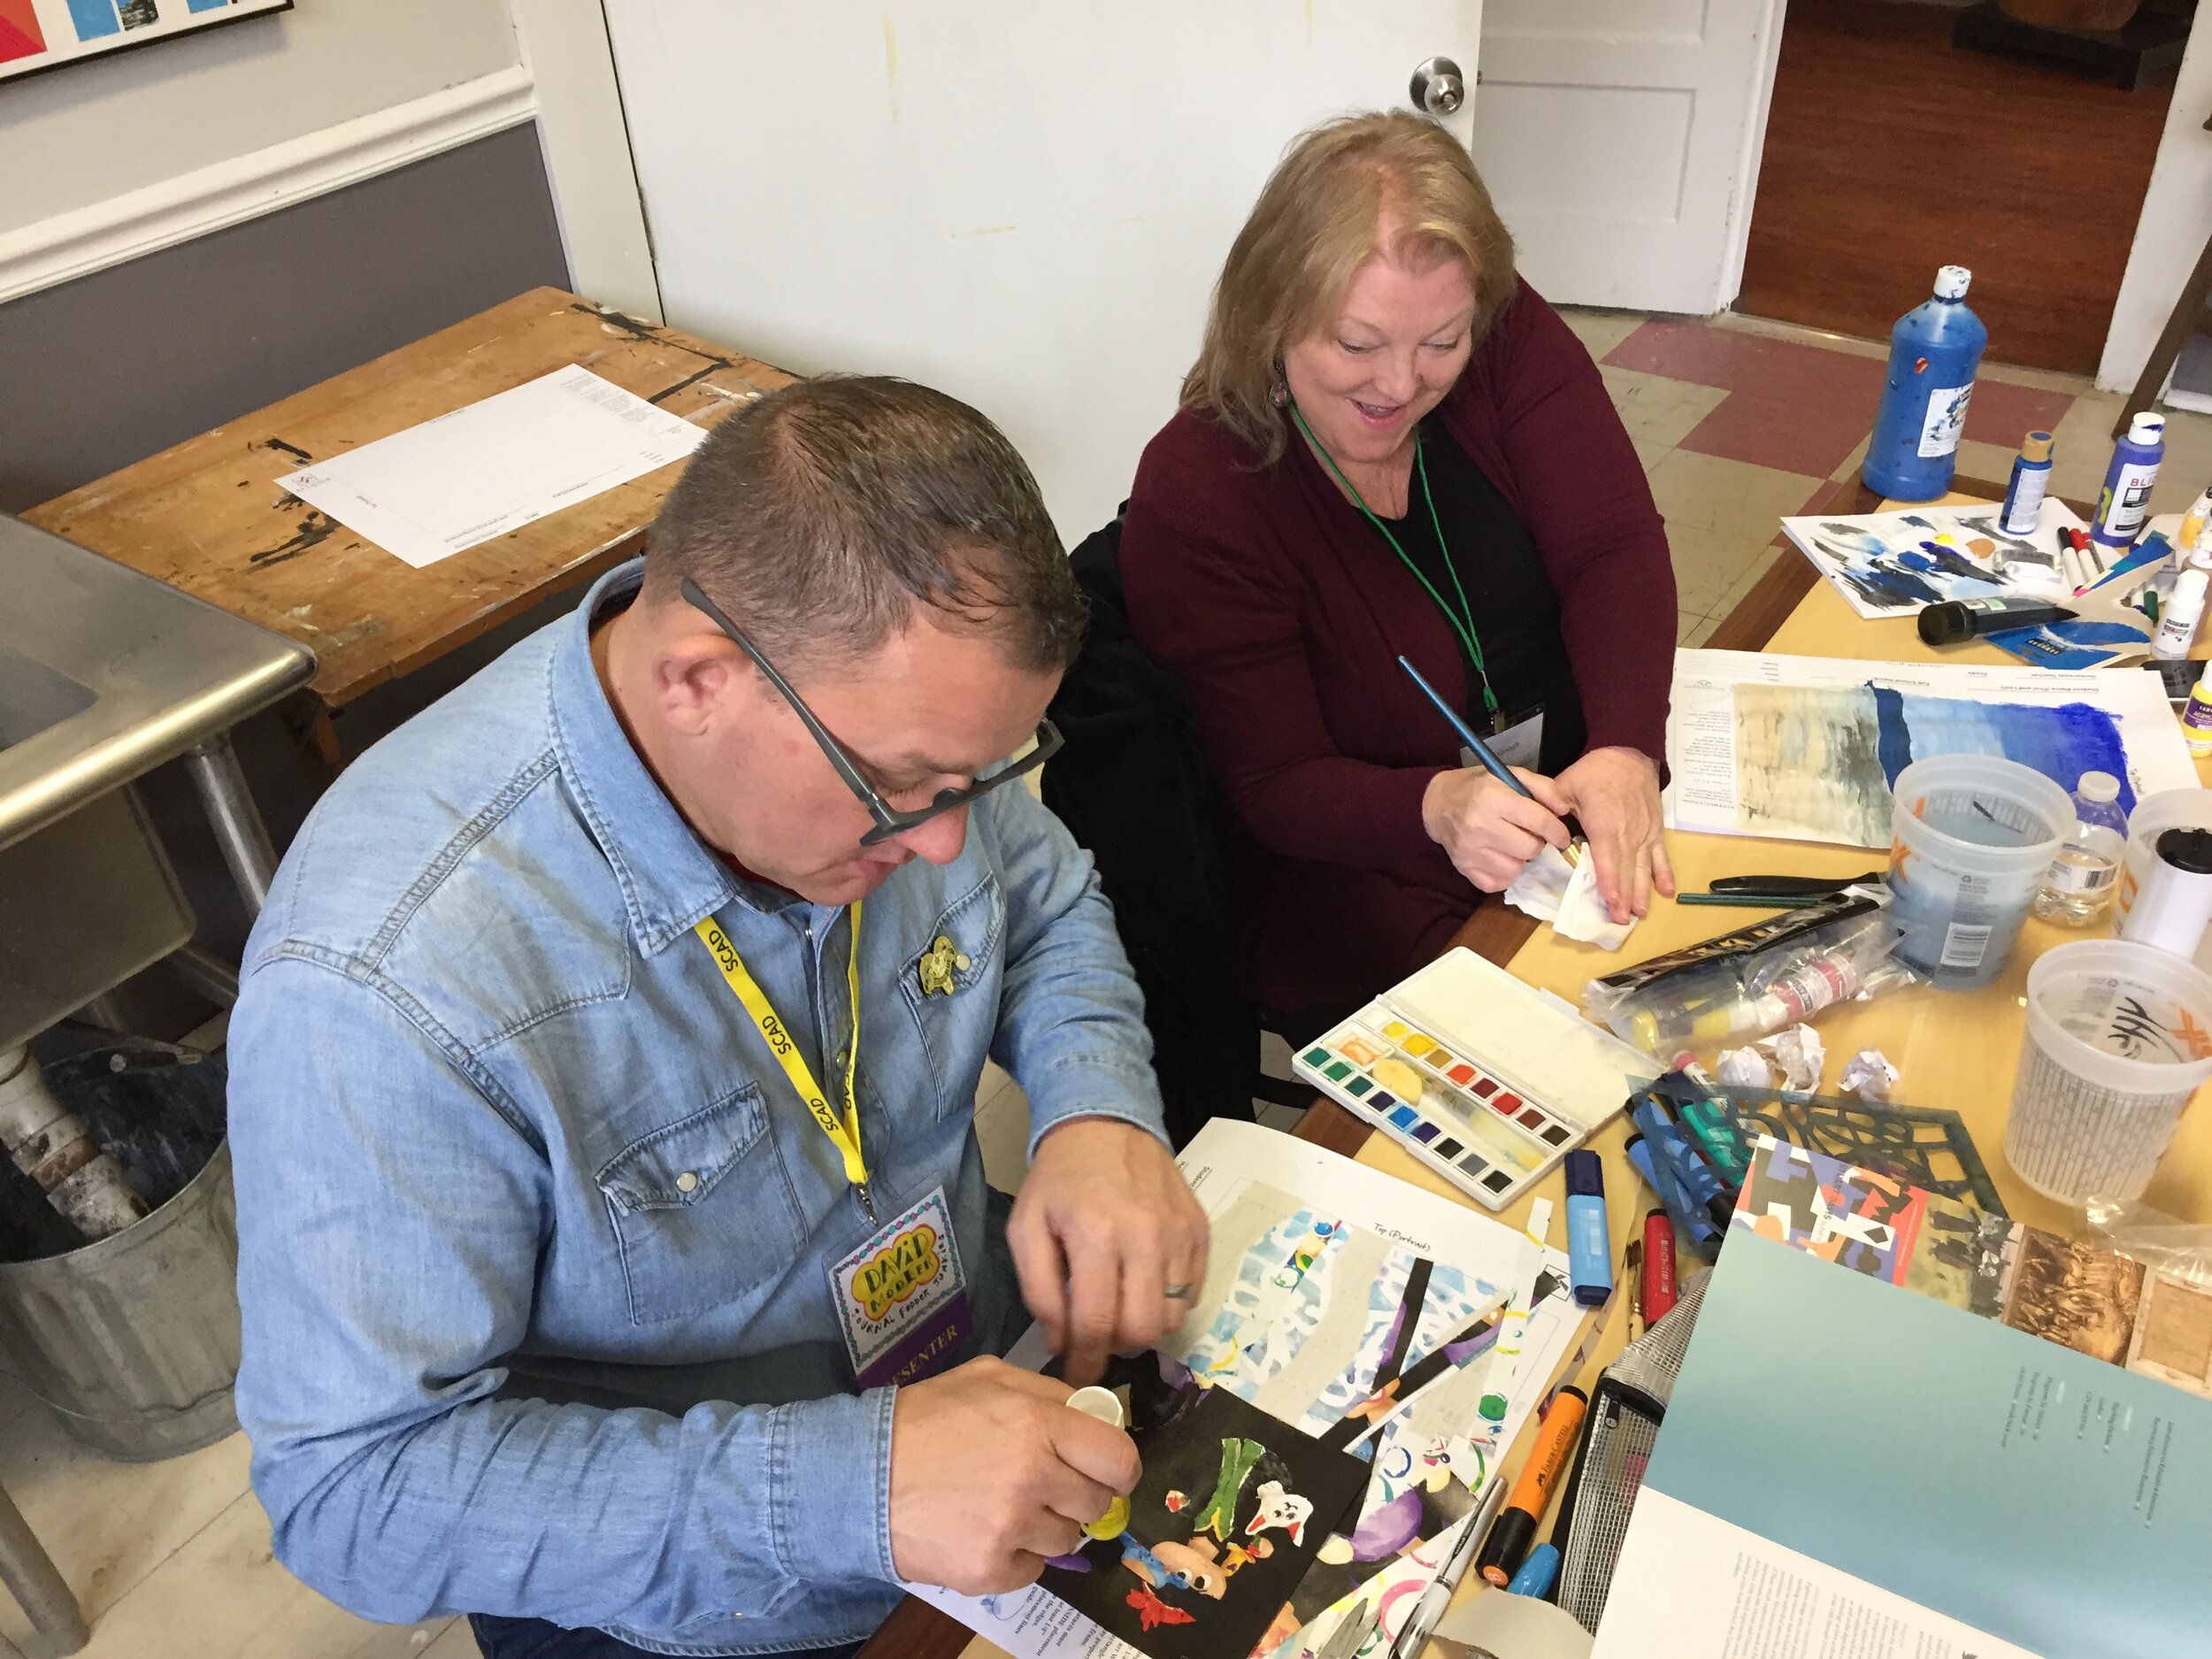
Through it all I wanted the students to go in with no preconceived ideas and, as Lynda Berry suggests in her book Making Comics, to let their hands wander a bit and discover something new. So they painted and collaged and wrote and cut, as they allowed ideas to flow. Eventually they each struck on a theme, an idea, or a notion that would drive the work. It was amazing to see how each took a different path in their books as a result of letting go of their resistances, judgments, and attachments. Each one had a unique take. They didn’t finish or fill the book, but instead walked away with the beginnings of a special book and ideas of how to continue the journey.

 
fullsizeoutput_145c.jpeg
 

It was an amazing week, full of power and discovery — filled with laughter and tears. I am filled with such gratitude, and I can’t thank, Jen, Thea, Dana, Eileen, Julie, Jo-Ellen, Vicki, Barbara, and Robin enough. I can’t wait to go back!


Connect, Inspire, and Grow

 
IMG_5535.JPG
 

It’s been quite a while since I sat down, and created an honest to goodness blog post. I was posting Journal Friday videos here for a while, but that has slowly tapered off simply because it’s easier to post the videos directly to social media. check out my Facebook and Instagram pages for them.

Still there’s a part of me that loves to share more in depth through the blog — to sit down and allow thoughts to stream out, but it seems that I’m too busy, too tired, are just too lazy. The unfortunate consequence has been that the blog has been a bit neglected, so I decided to sit down today and share a bit about what’s been going on in my world lately.

Since September, I’ve been teaching and traveling quite a bit, trying to share my art and my process with as many people as possible. That has meant workshops at the art center that I manage, traveling to the beach for Art and Soul, and partaking in several art education conferences in different states. It’s meant a lot of driving, some flying, and a lot of good conversations along the way. I finally have a lull in the action.

 
IMG_5559.JPG
 

I love connecting with folks, and though I love connecting virtually through social media, this blog, and my podcast, I love it even more when I can connect face-to-face with folks, and not only share my words, but share my art and my journals.

I won’t go into all of the details, but there was one major take away from all of this traveling and teaching — art is a very powerful, transformative process. Again and again, I heard from people how art, especially the visual journal is a life changer and a life saver. I’ve always known that from my personal experience, but connecting with so many people in different places really drove it home for me. I think I may have lost sight of that, and these past couple of months have me rethinking and reevaluating my approach.

The gears have started to spin, and ideas have started to flow. I can’t wait to share more as time progresses. Until then, thank you so much for being a part of this journey!

Creative Prayer Book: Wrap Up

EScott Creative Prayer 1.jpeg

Though I finished up the final lesson of the Creative Prayer Book last week, I wanted to share a wrap up of the project, and create a video that shows a flip through the pages.

I began this project several months ago, and I’ve been sharing a new lesson each week as I built up layers in a small Stillman & Birn journal to create a small book of creative affirmations. I am a long way from calling this project finished, and I only got about halfway through the book. I still have many more pages to fill, but I wanted to wrap up the lessons and finish the book on my own time. I plan to continue working over the coming months, and hopefully I’ll be able to share the filled journal fairly soon.

I want to thank everyone who has followed along on this journey, and who drew inspiration from my ideas, techniques, and methods. I am grateful for the positive comments and feedback that I’ve received over the months. It has been a good challenge to bring a new lesson to you each week, and I’m hoping to create a new project in the future.

So thank you all so very much, and as always, Happy Creating!

Creative Prayer Book: Found Text

 
IMG_4929.JPG
 

Welcome to the ninth lesson of the Creative Prayer Book. In this lesson, I continue to add text to my book. As I’ve said before, I’m creating a book of creative affirmations, but feel free to add hopes, wishes, dreams, prayers, or quotes to your book.

Over the past couple of weeks, I’ve been adding text using stencils and my own handwriting, but for today’s lesson, I want to add some found text — text from alternative sources. I’ll use some of my own handwriting in conjunction with this found text, but I want to find some of the words in other sources or create some of it in a different way. I turn to some readily available sources of text for my words today — magazines, stickers, and a label maker.


Magazine Text

Magazines are a great source for text, but I want to use big words, so I look for headlines and advertisements. I probably won’t be able to find very word in the phrase that I want to use, but I can probably find a a couple key words. I spend time flipping through magazines to find words that will work.

Newspapers are also a good source of headline text.

Stickers

Arts and craft stores often have sticker sets of words meant to be used in scrapbooking and mixed media art. I happen to have a set that I bought a long time ago in a stash of fodder in the studio. The words all deal with travel, and contain quite a few key words from a number of my affirmations.

Don’t feel like you need to make a special trip to the store of sticker words, but if you have some lying around, feel free to use them.

Label Maker

Label makers are great as an alternative source of text, and some electronic ones allow you to change the size and the font. I have an old embossing label maker from many years ago, and I think that it would be perfect for using for this lesson. This is the type that uses plastic tape and pushes the letters up into the plastic causing the letters to be raised and to turn white. I used to use it a lot when I first got into journaling, but I haven’t used it in quite a while. I use it to create whole phrases and to add key words.

Think about printing out words from the computer if you don’t have a label maker, but use one if you got it. I was surprised to see that Dymo still makes the embossing type of label maker similar to the one I have.

I do use my regular handwriting for some of the words that go with the magazine text and label maker, and if I wanted, I could thicken the letters like I did last week. But, I’ll wait because I have some ideas for embellishing the text in different ways, and I’ll save it for a future lesson.

Think about ways that you can use found text or words from alternative sources as you continue to add your affirmations, prayers, or quotes to your book, and until next time, Happy Creating!

Art and Soul: Portland 2019

IMG_4901.JPG

I got back a few days ago from the annual Art and Soul retreat in Portland, OR, but it’s taken a few days to recover. Travel is always good, but it tends to wear me out. I’ve taken it easy the last couple of days, but now’s time to get back into the swing of things. So, I thought that I’d reflect a little about Art and Soul to kick off the week, and perhaps I can squeeze a new Materials Monday in before the end of the day to get back on track with those as well.

But onto Art and Soul!

I must say that I had a blast in Portland, and the week just whooshed by so quickly. I flew in on Monday, and didn’t have a class until Tuesday evening. So I grabbed lunch with a friend who lives in Portland, and spent a couple of hours wandering downtown Portland. I was almost late for my own class when I narrowly missed the train back. Luckily a train runs every 15 minutes, but that 15 minutes difference meant that I was nearly running to get back on time. Luckily I got to class with 5 minutes to spare, and we had a great class. I taught my Artful Layers class which I’ve done before as an all-day and a 2-day workshop, but this time it was a three-hour evening class. I was so into the class that I completely forgot to take photos, but we had fun layering watercolor, watercolor pencil, collage, and more.

On Wednesday I taught my Monster Maker Workshop as an all-day class, and we had so much fun creating little creatures in watercolor, polymer clay, and collage. It was a small intimate class, and I remembered to take photos. I’ve had so much fun making my monsters over the past several years, that it was good to see others who enjoyed it just as much.

Beyond Blank Pages was my all-day class on Thursday, and it was great to teach a brand new class. I developed the class as a week-long workshop for the John C. Campbell Folk School, but it was cancelled due to low enrollment. I turned it into a one-day class for Art and Soul, and we spent the day creating pages that linked together through color, repetition, cut-outs and more. Though it’s based on journal workshops that I’ve taught before, it’s a new spin on the journal as you try to consciously create a visual narrative that runs through the pages as ideas, themes, colors, lines, and more all connect from page to page.

I had a fantastic time working with the students, and it was so nice to see so many new faces. Though a couple had taken classes with my before, most were brand new, and many knew very little about me or what I do. I’m so glad that my classes appealed to them. Teaching at Art and Soul last week reminded me why I teach — to connect with others and to share my love of art. I am grateful for everyone who came out and made art with me, and I am looking forward to next year!

In the meantime, I have a couple of other teaching gigs lined up for 2019, and I’m hoping to add more. In May, I’m teaching the Creative Prayer Book as an all-day workshop at the Round Hill Arts Center in Round Hill, VA. In October, I’ll be repeating Artful Layers, Monster Maker Workshop, and Beyond Blank Pages at Art and Soul in Ocean City, MD.

Creative Prayer Book: Letter Stencils


Welcome to the 7th lesson of the Creative Prayer Book. This lesson is all about using letter stencils to begin adding text to some of the pages. I’ve decided to use my book as a book of affirmations, and I’m using a series of phrases, quotes, words, and ideas to create reminders about my creative journey. Several years ago, I wrote a bunch of these affirmations on index cards with the notion of using them in my journal or my art, but they have been sitting around my studio all this time. The Creative Prayer Book is a perfect use for them.


CPB Stencil 3.jpeg

As I begin adding words to my book, I want to use letter stencils for some of the affirmations, especially since I don’t have the best handwriting. I could just use the stencils plain, and trace the letters with a pen, pencil, or marker, but it can be hard to read the words sometimes. So, I want to use a couple of techniques to make the words “pop.”

Inktense

I can use one of my favorite materials, Derwent Inktense pencils, to create some contrast around the letters so that the words stand out from the page. I trace the letters first with my black uni-ball Vision pen, and then shade a dark Inktense pencil around the letters and spread it with plain water. This makes the words stand out a bit from background. If the color isn’t dark enough, I can add a darker color later.

Fill

Another technique for making the words stand out is to fill them with color, and I could simply fill them in with solid color. But I like to fill them in a slightly more creative way. I like using my uni-ball Vision pens and leave a white line around the edge of the letters giving the letters a bit of a sophisticated look. By drawing a shape inside of the letters that runs parallel to the edge of the letters, I can then fill the shape to create a two-tone letter. I really like the look of this technique.

Think about using stencils in your book since their are a quick and easy way to add text and word. If you want to add a bit of flair and make the words stand out, try using a little ink or Inktense pencil to add some visual interest to the letters and make them “pop.” Try experimenting with letter stencils, but don’t fill all of your pages because we’ll tackle some other lettering techniques in lessons to come.

Happy Creating!

Creative Prayer Book: Inktense Pencils

 
IMG_4843.JPG
 

Welcome to the fifth lesson of the Creative Prayer Book. I’ve built up several layers using watercolor, graphite pencil, collage, watercolor pencil, and ink in previous lessons, and I was originally thinking of using collage for this lesson. But as I worked with the ink this past week, I felt like I wanted at least one more layer before diving back into using collage.

To create this layer, I pulled out my Derwent Inktense Pencils, which I discussed at length in this week’s Materials Monday. The Inktense are used just like watercolor pencils, but they are all very transparent since they are water-soluble ink instead of watercolor. This makes them perfect for layering over other materials.


My main goal in this lesson is to use the Inktense pencils to reinforce the structure of the pages. Last week, I used lines and shapes drawn with ink to experiment with layout and composition on my pages, and this week I use the Inktense to create contrast that will heighten the structure and make the pages more dynamic.

Since the Inktense work just like watercolor pencil, I use my technique of shading around shapes and fading the color into the background with plain water. This gives me a chance to shift the colors on my pages by give adding a tint of one color or another, and allows me to make shapes and areas pop out. The darker color in certain areas fades into the background making the lighter areas stand out more.


Try experimenting with water-soluble pencils to see if you can reinforce the composition of your pages, and if you don’t have water-soluble pencils, watercolor crayons will work just as well. You could also just use watercolor paint to create a similar effect. No matter what, have fun building layers!


Happy creating!

Creative Prayer Book: Ink - Lines, Shapes, and Textures

 
fullsizeoutput_1218.jpeg
 

The fourth lesson of the Creative Prayer Book is a quick lesson about using ink to add another layer or two to my pages. I turn to my favorite ink pens — my uni-ball Vision pens, and I make certain that they are waterproof. Since I may want to paint or use a wet material in a future lesson, I want to minimize bleeding. The ink may bleed and blend a little if I paint over it, but not a lot. I use the pens in three main ways — to connect pages, to create structure, and to add texture.


Connection

One of my goals with the Creative Prayer Book is to try to make it so that the pages feel connected, so I’ve been trying to make sure that colors, lines, and textures flow and repeat from page to page. I do the same with ink. I draw lines that act like threads that bridge and tie pages together. Two-page spreads are easy to connect, but in order to tie back-to-back pages together, I wrap the lines around the edge of the page so that they continue from one page to another. By extending these lines, I can tie together quite a few pages. Another way to connect pages is through repetition. By repeating lines, shapes, and textures, I can tie my pages together.

Structure

Another way that I use the ink pen is to draw lines and shapes to divide and break up the space of some of my pages. I use a lot of rectangles, squares, and straight lines to create structure and to create interesting spaces within my pages. I use big and little shapes to have some variety, and I thicken some of the lines so that they stand out. Some of the shapes might be filled in later with images and drawings, and others will be left as generic structural elements.

Texture

In the previous lesson, I used watercolor pencil to add texture to some of my pages, and I want to reinforce that with ink, so I use some of the punchinella, plastic mesh, and circle templates to trace patterns on some of my pages. This repeats some of the elements that I’ve already used, and creates some additional visual interest. The marks and shapes that I make are other small, and I try to spread them throughout my pages so that they don’t create too much emphasis.

CPB Ink 5.jpeg

With everything that I’ve done so far in my little book, I’ve been laying the foundation and slowly building layers. I’ve thought about what affirmations that I want to use, but I haven’t made any hard decisions about exactly which ones will go where. But I’m starting to think about it, and I’m looking forward to seeing how things will develop.

I hope that you’ll try experimenting a little with ink as you build in more layers into your book, and as always, Happy Creating!

Creative Prayer Book: More Layers

CPB WC Pencil 4.jpeg

Welcome to Lesson 3 of the Creative Prayer Book. So far, I’ve built a couple of initial layers using watercolor, pencil, and collage, and I’ve begun quite a number of pages in my small Stillman & Birn Alpha Series softcover journal.

Now I want to focus on creating some structure and texture using watercolor pencil, as a way to add more layers. I’m a big fan of using a variety of materials to create rich layered pages, and one of my favorite materials to use for this is watercolor pencil. The pencil gives me a lot of control, but with a little water, I get some nice painterly effects. Watercolor crayons can be used as well, and act in a similar manner.


Structure

I want to use the watercolor pencil in two main ways in my little book. The first is to create some structure using some simple geometric shapes — mostly squares and rectangles. Most people might think to color or shade in the shape, but I like to shade around the shape. This creates a “window” effect when I paint plain water over the pencil. I can use this technique on top of pages that already have something on them, but I could easily use the technique to start new pages. I could use watercolor paint or a water-based marker to activate the watercolor pencil, but I use them mostly use plain water. Feel free to experiment and explore the pencil.


Texture

The second way that I use the pencil is to create textures and patterns on top of my pages. I can trace stencils and items to create patterns, and I can use marks, dashes, dots, and more to create textures. Again I use water to activate the pencil, but I spread the water all over the marks to make them blend into the page.


As I work with the watercolor pencil, I also begin to think about the content that I want to include in my book. I’m envisioning my book as one of creative affirmations — words, phrases, and quotes that will be reminders and motivators for my creative journey.

I hope that you will experiment with watercolor pencils, and begin to think about the content, the prayers, the affirmations, the words that you want to include.

Happy creating!

Creative Prayer Book: Initial Layers

IMG_4780.JPG

Last week I eased into my Creative Prayer Book with a variety of techniques using watercolor paint, so this week in Lesson 2, I want to build some initial layers on top of the watercolor. I’m not too focused on the content of the pages yet, so I’m only using materials and techniques that will add some structure, color, pattern, or texture to the pages. I’m avoiding anything with a strong image or content, and this will allow me to build up the background before delving into the meaning making. I want to add some drawing with pencil and some simple collage as a way to begin building layers..

Just like with the watercolor paint, I’m focusing on allowing the pages to flow from one to another, so I want to use lines and shapes to transition from page to page, so I wrap some of the collage around the edges of pages and repeat some of the same shapes from page to page. This helps connect the pages together, and helps tie the pages into a cohesive whole.


Pencil Drawing
Adding simple lines and shapes with pencil is an easy way to add more to the background. The value of the pencil is subtle and doesn’t stand out too much, allowing my marks to fade into the page. I like to use geometric shapes and lines, and rectangles, and straight lines add a lot of structure and help divide up the space of the pages. Circles and curved lines, on the other hand, help to add some variety and visual interest to pages. Feel free to use any types of lines, shapes, or marks that you want. Perhaps avoid drawing representational images, and keep your mars on the decorative side.


Collage
Collage is a big part of my journal practice, and I always have a pretty big stash of ephemera to use. Just like the pencil drawing, I want the collage to be somewhat subtle, so I don’t have anything with imagery. Newspaper, book pages, raffle tickets, maps, and colored paper all add some color, pattern, or texture to the pages without hinting at content or meaning. UHU glue stick is my go-to adhesive. I know some people have issues with glue stick, but when used effectively it works great. Besides, glue stick is the most appropriate for the materials that I use. A lot of people use an acrylic medium as a glue, but watercolor and watercolor pencil just won’t stick to the acrylic. Dig through your stash of papers and materials and find things that you want to glue in.


Try experimenting with some drawing and collage to build some layers on your pages, and don’t worry yet about what the content will be. We’ll get to that in future lessons, so have some fun building some initial layers and using up some of your fodder stash. Just like with the watercolor, work on as many pages as you wish, and remember that you don’t have to include the drawing and collage on every page.

Happy creating!