
Teaching at Art and Soul in Virginia Beach got me jazzed up again to cut stencils, and people seemed to really like the ones that I brought with me. Not only did I teach an evening stencil making class where I showed off the numerous stencils I had made over the last few years, but many people used them in my other classes.

Hand Cut Stencil - Pebbles
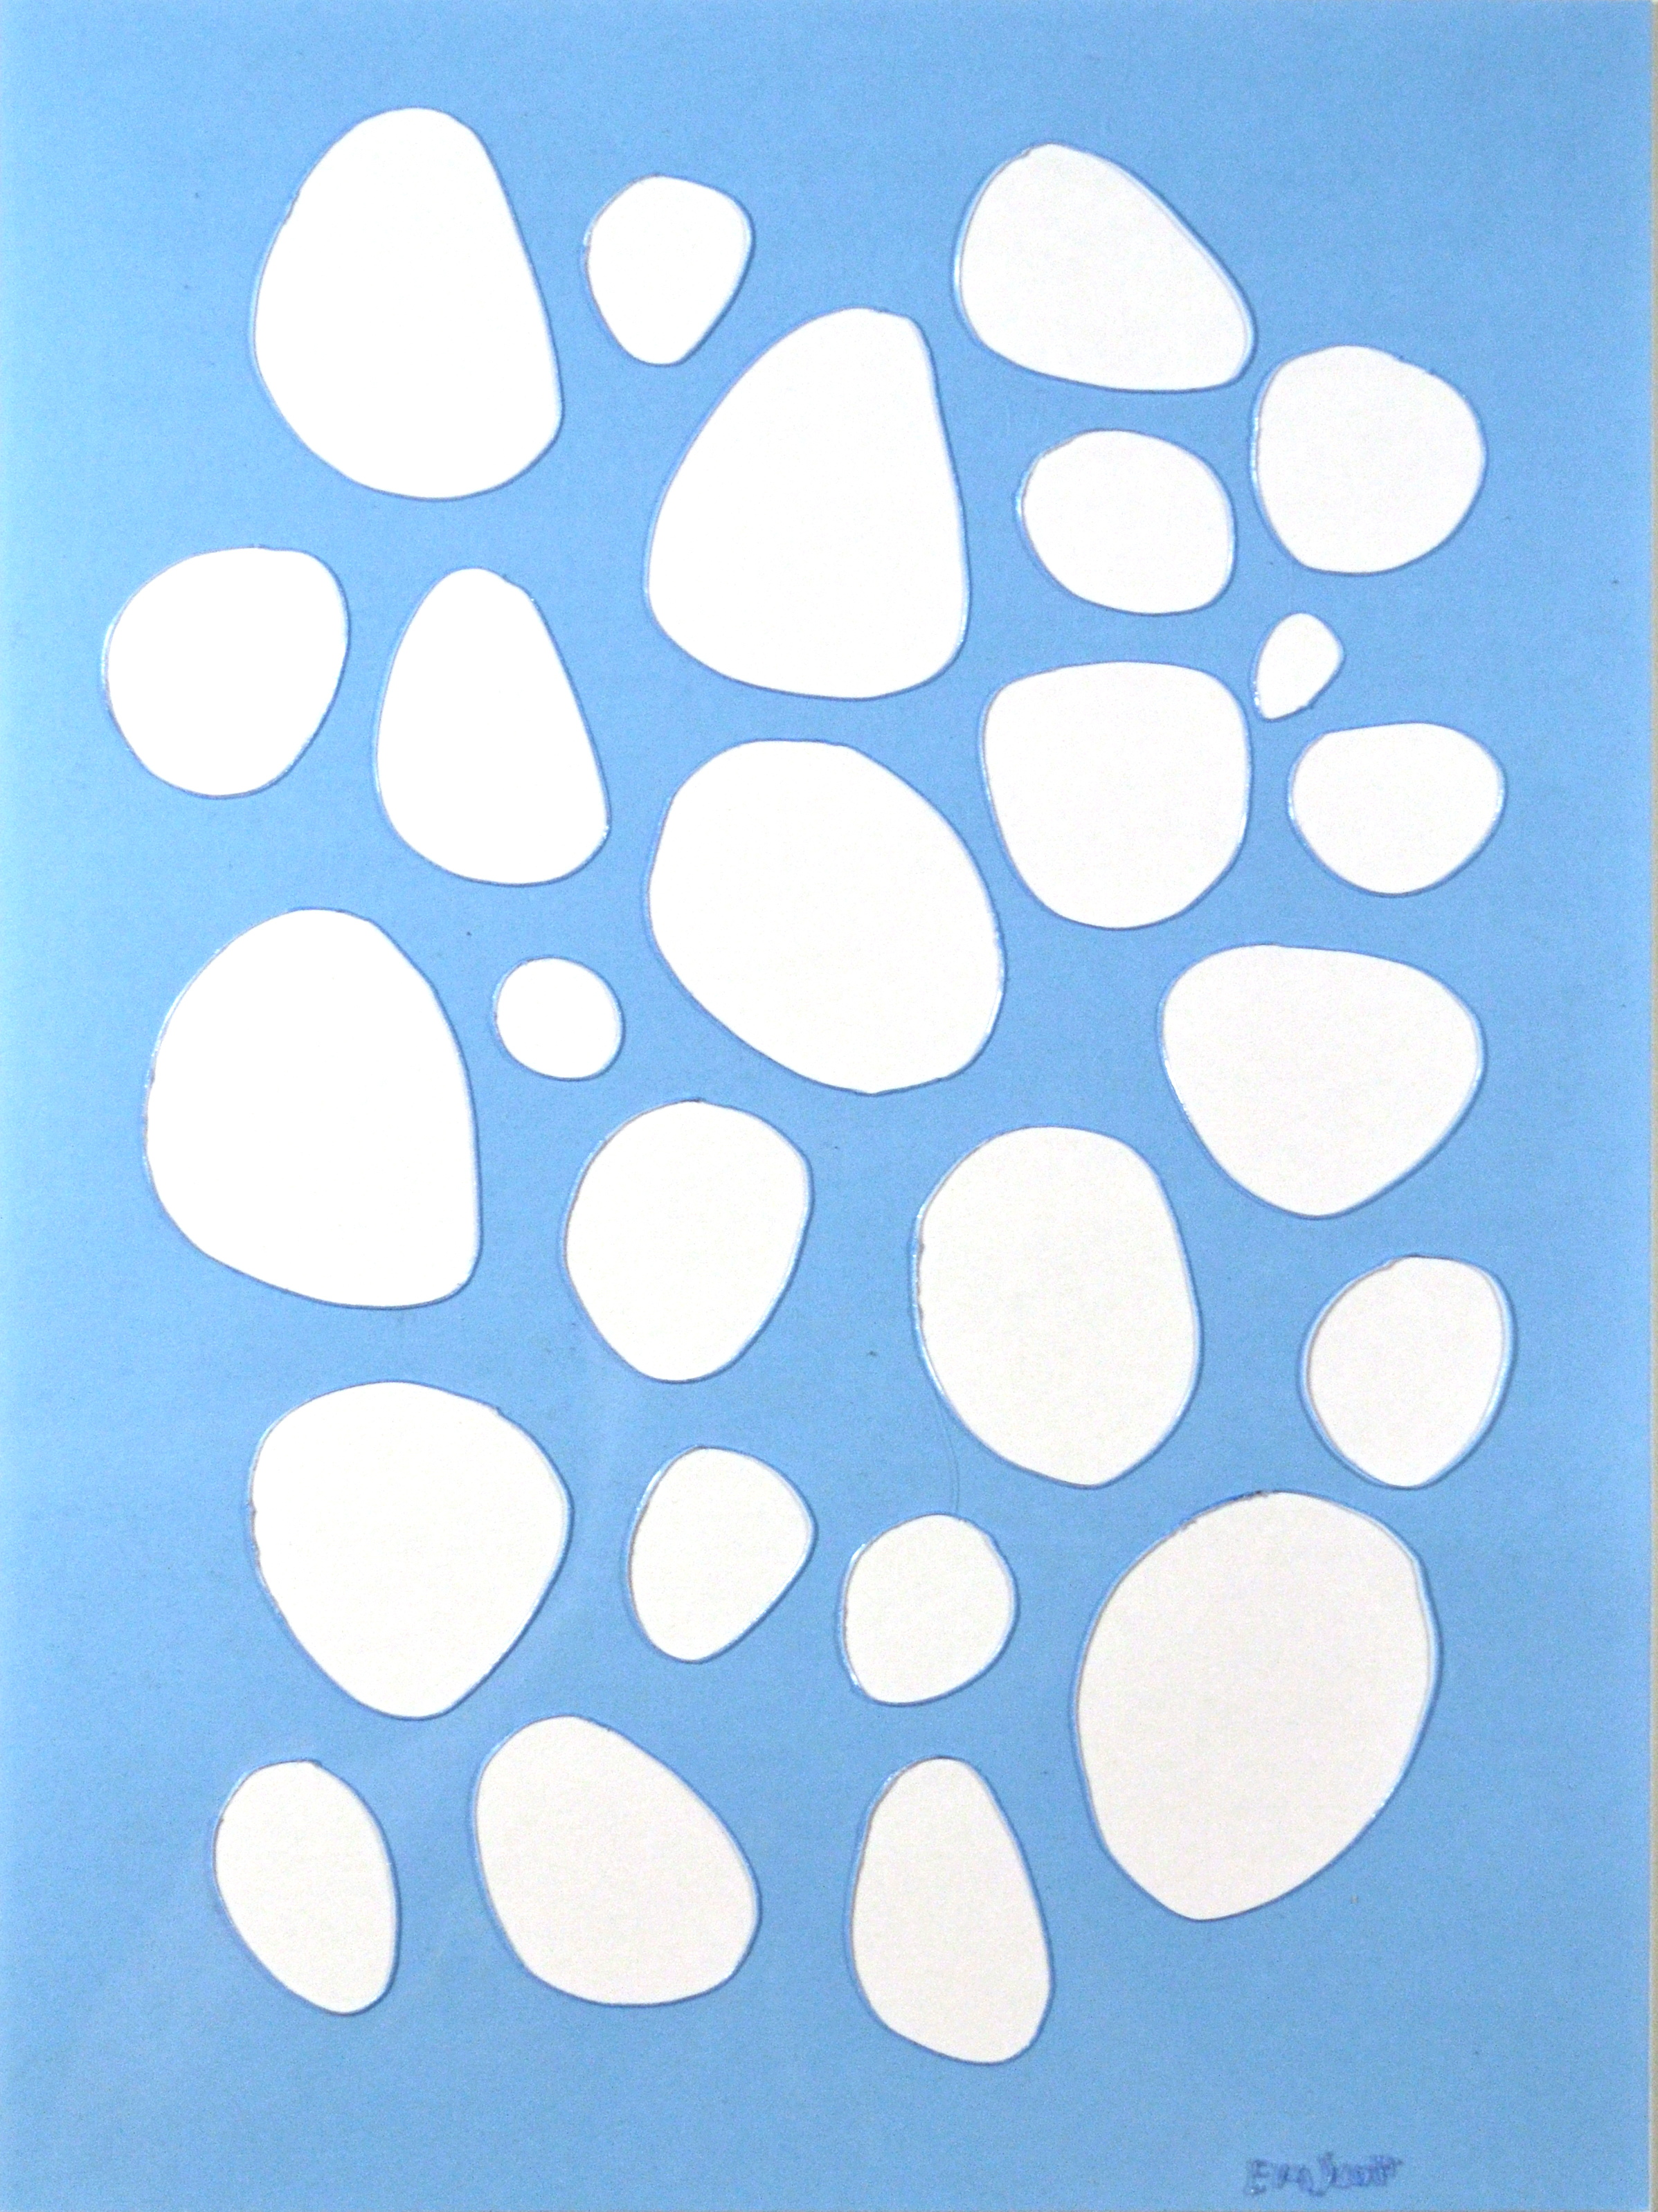
Hand Cut Stencil - Large Pebbles
So I thought that I'd put some in the shop. I've come up with four styles that I'm selling in the JFJ online Shop - Pebbles, Large Pebbles, Squares, and Curves. Each stencil is hand cut with an electric stencil cutter. This heat tool's sharp point melts the plastic as you draw instead of slicing through like a knife blade. Since they are hand cut, no two stencils are the same, and each stencil is created on demand. So even if you order 2 of the same style, they will be similar but not identical.

Hand Cut Stencil - Squares

Hand Cut Stencil - Curves
Because they are hand cut, each stencil may contain scratches, burrs, and other imperfections that arise in this unique process. But these little blemishes do not detract from the function of the stencil.
Each stencil is $20 and that includes shipping and handling, but you can save $10 when you purchase 3. Just make sure to click on the three pack, and specify which stencils you'd like.

Hand Cut Stencils - 3 Pack
Check out the Shop for more info, and the purchase!